Origins
The origins of the Boer War lay in Britain's desire to unite, or confederate, the British South African territories of the Cape Colony and Natal with the Boer republics of the Orange Free State and the South African Republic (also known as the Transvaal).
The Boers, Afrikaans-speaking farmers, wanted to maintain their independence. Indeed, in 1880-81, the Transvaal Boers had successfully fought the British in order to achieve this.
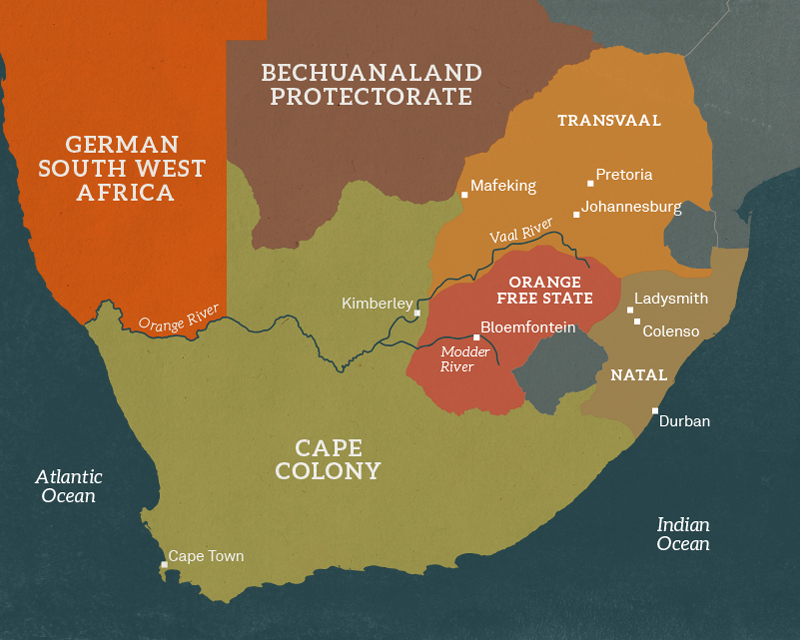
Map of southern Africa, c1899
Uitlanders
The discovery of gold in the South African Republic (SAR) in 1886 raised the stakes. The arrival of a large influx of English-speaking people attracted by the goldfields - known as Uitlanders (literally 'Outlanders') by the Afrikaners - was a major worry for the Boers, who saw them as a threat to their way of life.
Jameson Raid
The Jameson Raid of 1896 was an attempt to create an uprising among the Uitlanders in the SAR. Led by Dr Leander Starr Jameson and his British South Africa Company troops, its failure was a humiliation for Britain and the supporters of confederation. It led to a further deterioration of the relationship between the British and Boer governments.
Anxious to overcome this setback and to give the British policy fresh impetus, Colonial Secretary Joseph Chamberlain appointed an outspoken imperialist, Sir Alfred Milner, as High Commissioner for South Africa in 1897.
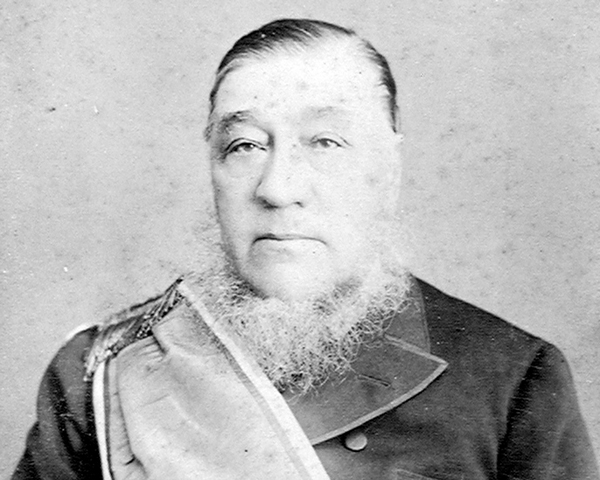
Kruger
The Jameson Raid hardened Boer opinion and led to a resounding victory for Paul Kruger in the 1898 SAR presidential election. Kruger was even more reluctant to permit the Uitlanders to enjoy political power.
Proposals
The following year, Kruger offered an extension of the franchise to the Uitlanders in return for British agreement not to interfere in the SAR's internal affairs. He also demanded that Britain drop its claim to rule the SAR and allow external arbitration of other unresolved disputes between the two governments. However, Chamberlain rejected Kruger's proposals, confident that the Boers could be quickly defeated.
Boers strike
Recognising that Britain was not seeking a peaceful settlement, the SAR and its ally the Orange Free State resolved to strike first.
On 9 October, the SAR issued an ultimatum demanding the withdrawal not only of British troops from their borders, but of all reinforcements sent to South Africa since 1 June 1899. When this was rejected, the allied republics invaded the Cape Colony and Natal on 12 October.
Black Week
The Boers soon laid siege to the towns of Kimberley, Mafeking and Ladysmith and, in December 1899, defeated British attempts to relieve them in the battles of Stormberg, Magersfontein and Colenso.
'Black Week', as the period of these defeats became known, was a major shock to the British public who were used to hearing of victories throughout the Empire.

7 October 1899
British Army ordered to mobilise
9 October 1899
Sir Redvers Buller appointed Commander-in-Chief in South Africa
11 October 1899
Boer ultimatum expires
12 October 1899
South African Republic invades Natal, Battle of Laing's Nek
13 October 1899
Siege of Mafeking begins
15 October 1899
Siege of Kimberley begins
21 October 1899
Battle of Elandslaagte
2 November 1899
Siege of Ladysmith begins
28 November 1899
Battle of Modder River
10 December 1899
Battle of Stromberg
11 December 1899
Battle of Magersfontein
15 December 1899
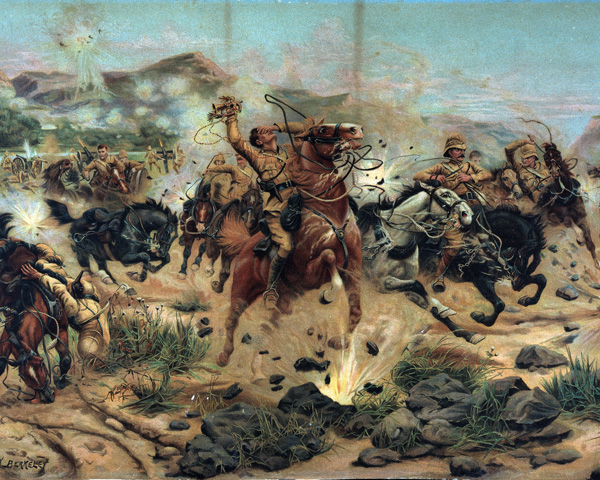
Battle of Colenso
18 December 1899
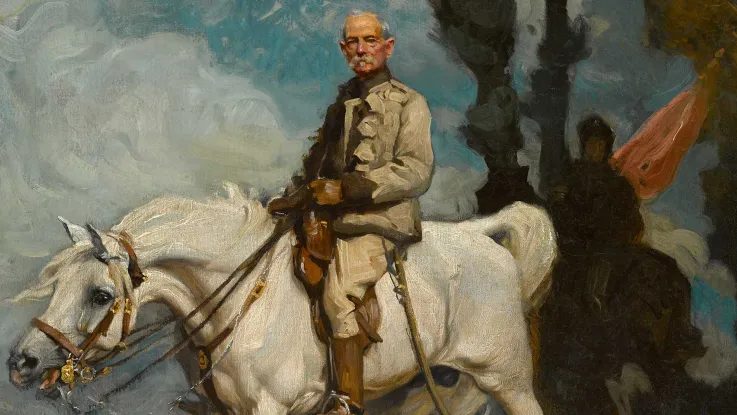
Lord Roberts appointed Commander-in-Chief in South Africa

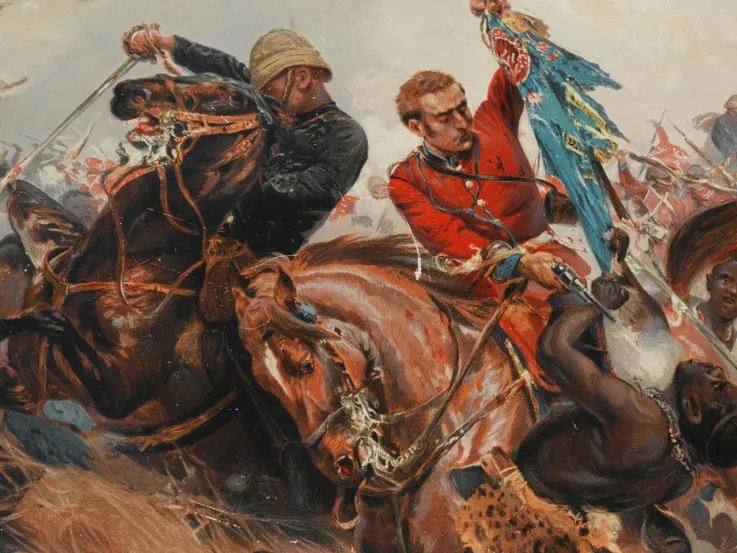
Skilled enemy
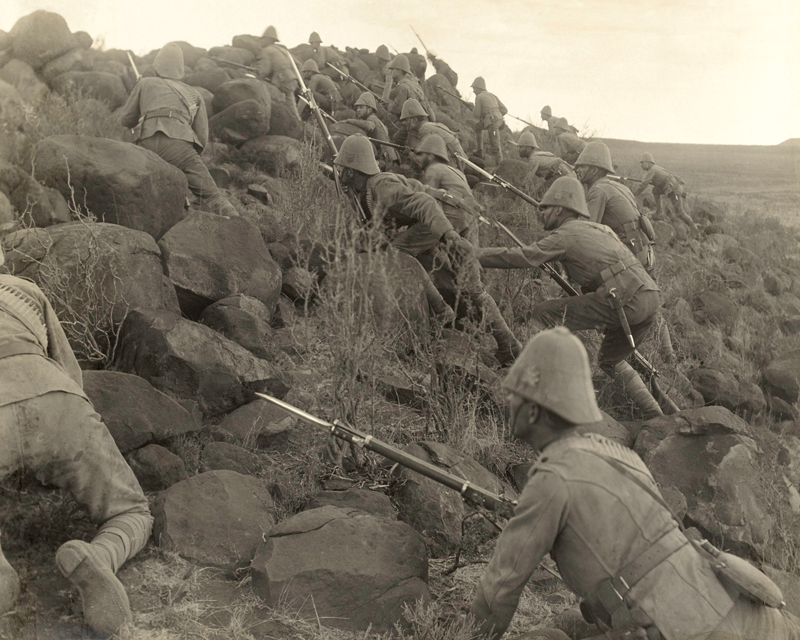
British tactics, which had generally proved successful against poorly armed opponents, turned out to be disastrous when used against the Boers. The British launched frontal attacks on concealed Boer positions. These were ineffective and led to several defeats in December 1899.
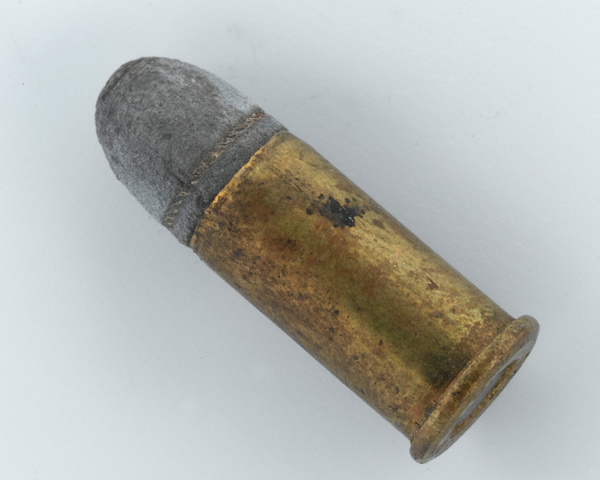
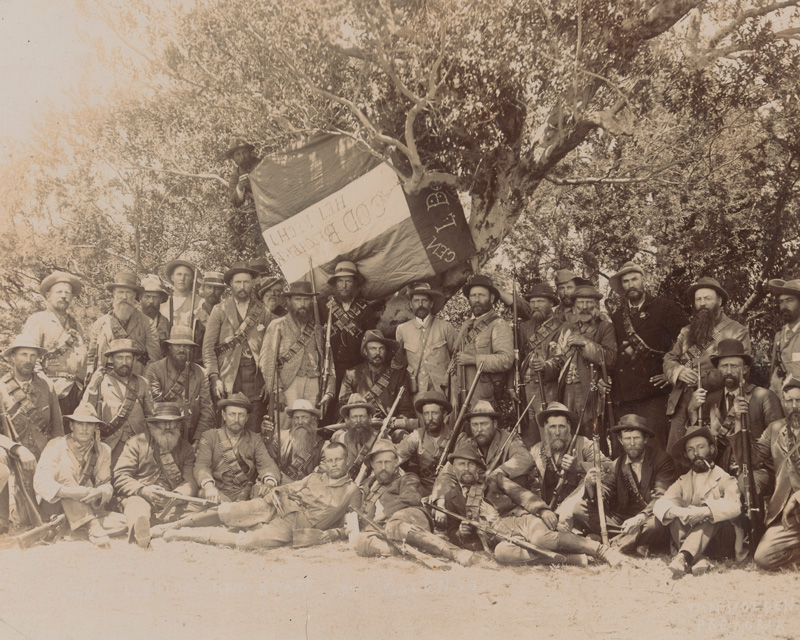
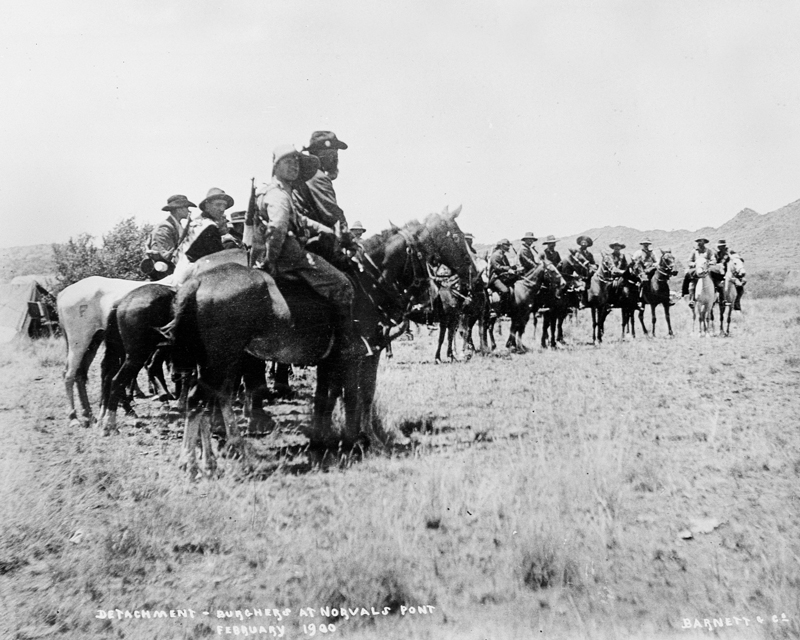
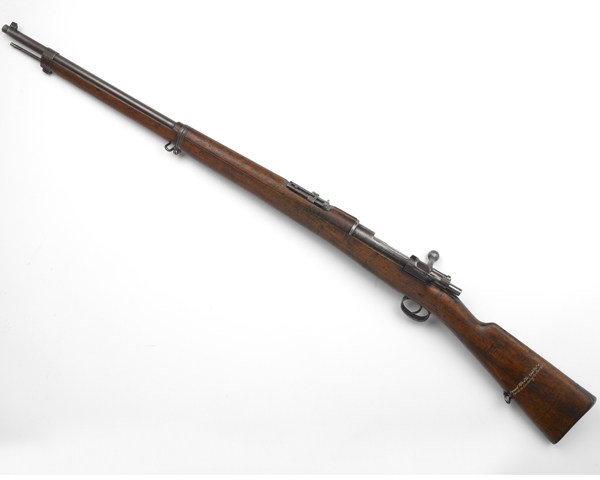
Using modern rifles and smokeless powder, the Boers were able to snipe at British infantry from long distances before withdrawing to avoid any set-piece confrontation. They were highly mobile, adept in fieldcraft and used to life on the high veldt.
Although the Boers only had 88,000 soldiers and relatively few artillery pieces, they were led by outstanding generals such as Louis Botha, Jan Smuts and Christiaan de Wet.
Empire strikes back
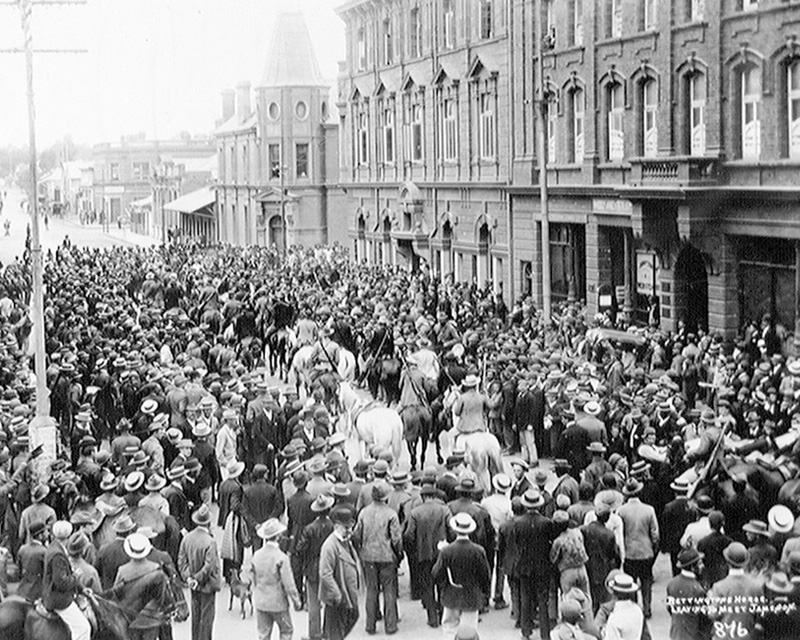
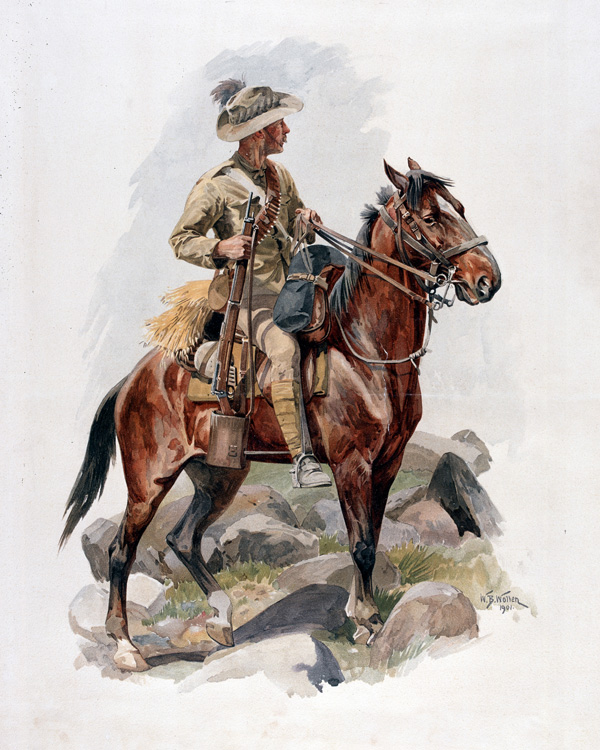
After several reverses, the British mobilised their superior resources and sent more men to South Africa. These included troops from across the Empire, especially from Canada and Australia. Eventually, over 400,000 soldiers were involved.
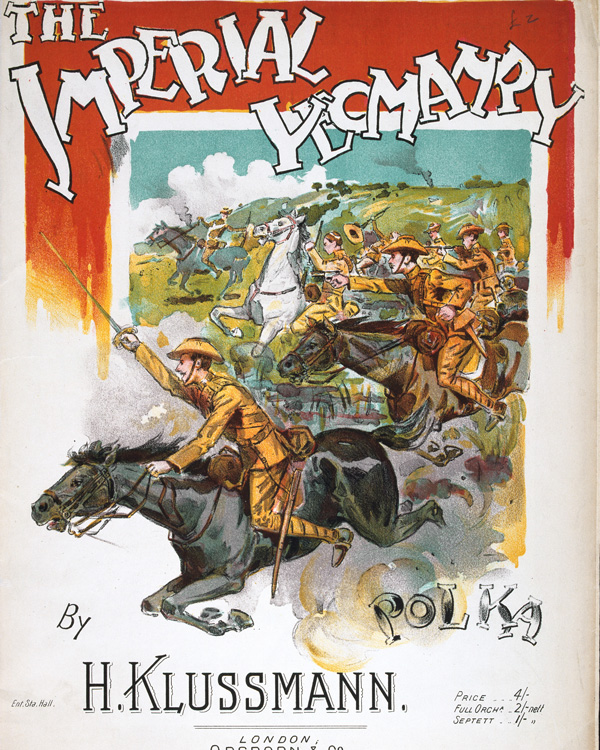
At home, the population volunteered in great numbers to serve in South Africa. The war was the first campaign in which British people from all sectors of society took up arms, with many joining newly raised formations like the Imperial Yeomanry. This was a precursor to the patriotic fervour that inspired volunteers during the First World War (1914-18).
African and Indian role
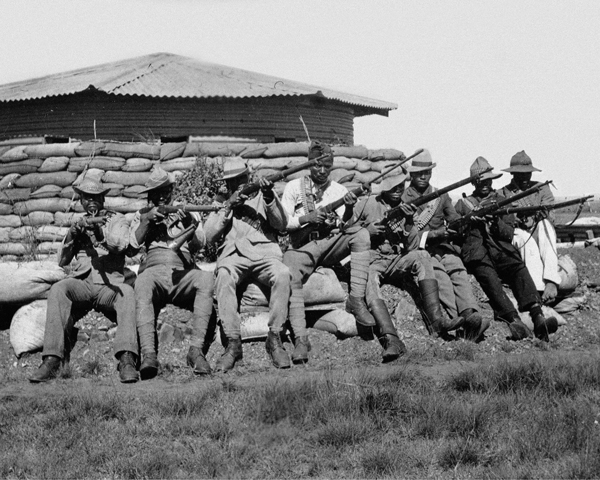
On the outbreak of war, the British made a tacit agreement with their Boer enemies that both sides would not arm the black population. As the war progressed, however, this stance proved difficult to maintain and they began employing armed black people as scouts.
It is estimated that between 15,000 and 30,000 black Africans eventually served under arms with the British Army as scouts and sentries. Another 100,000 worked as labourers, transport drivers, blacksmiths, wheelwrights, farriers and builders.
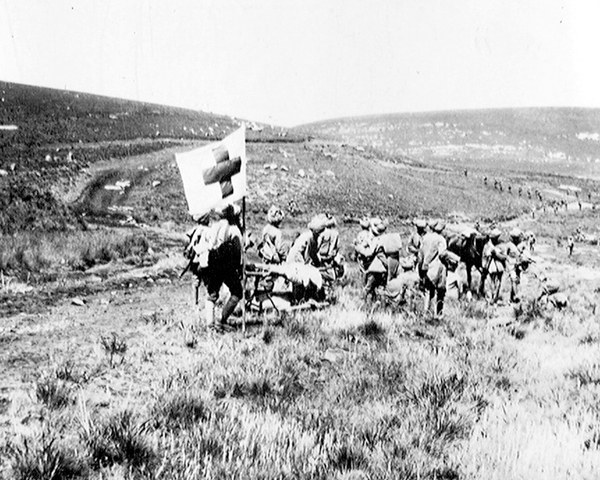
Although the Indian Army was not deployed to South Africa, a small number of Indian stretcher bearers and servants took part in the campaign. The Indian Ambulance Corps consisted of 300 free Indians and 800 indentured workers from sugar estates, who were sent to the front by their employers.
Kimberley
Shortly after the SAR's ultimatum expired on 11 October 1899, 7,500 Orange Free State troops crossed the border into the Cape Colony with the intention of capturing Kimberley. They wished to gain control of the diamond mines, the railway and the supplies in the town. The Boers were further motivated by a hatred of Cecil Rhodes, a leading proponent of confederation, who was among those besieged.
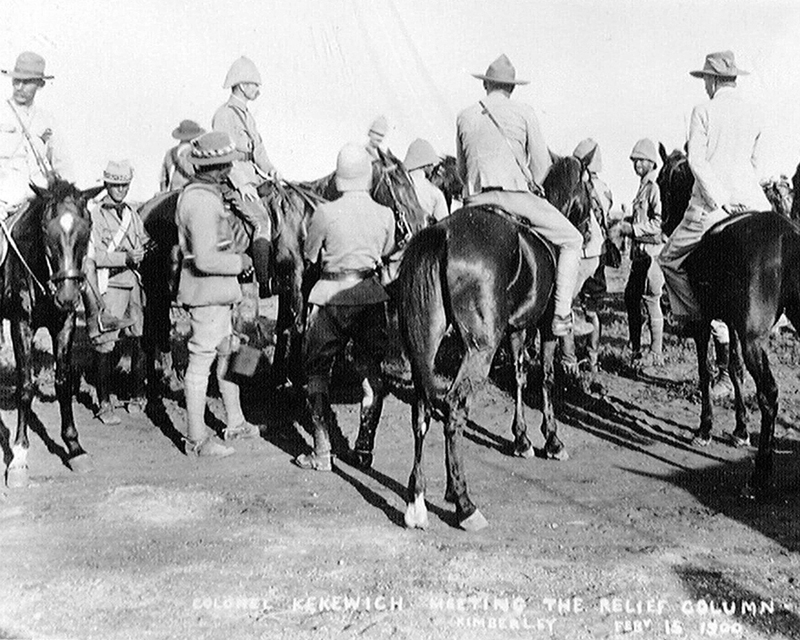
Kimberley had a garrison of 4,800 men, 600 of whom were regulars. They were commanded by Lieutenant-Colonel Robert Kekewich.
Garrison
Kekewich had to defend a civilian population of 50,000, as well as a perimeter 20 miles (32km) long. His task was hindered by a shortage of firearms.
On 15 October, Kimberley was cut off by the Boers. But their bombardment of the town did not begin until 6 November, after Kekewich had rejected Chief Commandant CJ Wessels' summons to surrender.
Although stocks of foodstuffs were initially high, rations had to be reduced early in 1900. This coincided with a marked increase in sickness and mortality. A shortage of fresh vegetables also caused scurvy among the black population.

Relief delayed
British troops under Lieutenant-General Lord Methuen marched to relieve the town. They fought battles at Graspan, Belmont and Modder River before their advance was halted for two months after defeat at Magersfontein. Lord Roberts then assumed command of a reinforced column that renewed the offensive.
After a four-month siege, Kimberley was relieved on 15 February 1900, when a patrol of the Australian Horse from Lieutenant-General John French's Cavalry Division entered the town.

Ladysmith
After successes against the invading Boers at the Battles of Talana and Elandslaagte on 20-21 October 1899, Lieutenant-General Sir George White's Natal Field Force, charged with the defence of the colony, was itself besieged in Ladysmith.
About 13,500 troops - the majority British regulars - and 7,500 civilians - 2,500 of them Indians - were trapped. As the siege proceeded, the number of Boers in the trenches rarely exceeded 5,000. They opened their bombardment on 2 November with 17 field-guns.


Colenso
Encouraged to believe that relief was coming by General Sir Redvers Buller's advance, the Ladysmith garrison made a number of sorties to distract the Boers. But the initiative passed back to the Boers after Buller's reverse at Colenso on 15 December, when he suggested to White that he should consider surrendering.
Caesar’s Camp and Spion Kop
In January, the Boers attempted to take Ladysmith by storm. Their unsuccessful assaults on Caesar's Camp and Wagon Hill ended this policy. But after Buller was again defeated at Spion Kop on 24 January, the full rigours of the siege began to be felt in Ladysmith.

Relief
An alarming increase in sickness rates, coupled with serious shortages of food, led to the introduction of horseflesh into the rations.
But on 28 February 1900, Buller finally broke through after close co-operation between his infantry and artillery. This success freed up the men of the former Natal Field Force to play an active role in the prosecution of the war elsewhere.
‘Our provisions are getting very scarce… coffee, tobacco, jam, pickles and other necessaries. I don’t think I will ever again grumble at dry bread for tea, or complain if there’s no milk in the jug… The Boers are beginning to use their guns properly. This morning at 7 while some men of the Gloucestershire Regiment were eating breakfast, a shell burst on one of the sangars with terrible results, killing 7 men and wounding 10 others… it broke right in amongst them. All this afternoon shrapnel shells were flying.’Ladysmith diary of Army Schoolmaster WH Gilbert — 19 and 22 December 1899

Mafeking
Mafeking was the most northerly town in the Cape Colony and had been claimed by the SAR prior to the outbreak of war. Immediately after the expiry of the SAR ultimatum on 11 October, 6,000 Boers under the command of General Piet Cronje attempted to seize it.
Strategic importance
The town contained stocks of food, forage and railway material, which would have proved useful to the Boers. In the wider context of the war, the Siege of Mafeking was of greater strategic importance to the British, since it prevented the besiegers from participating in the campaign against them further south.
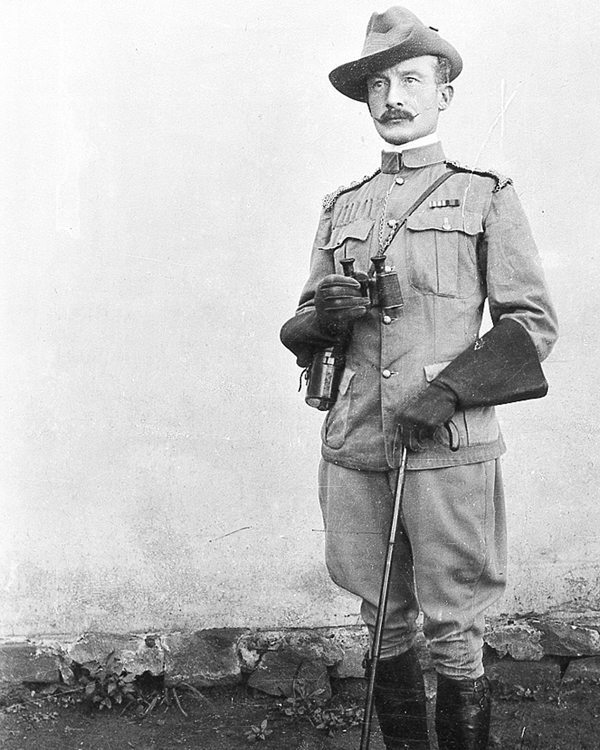
Troops
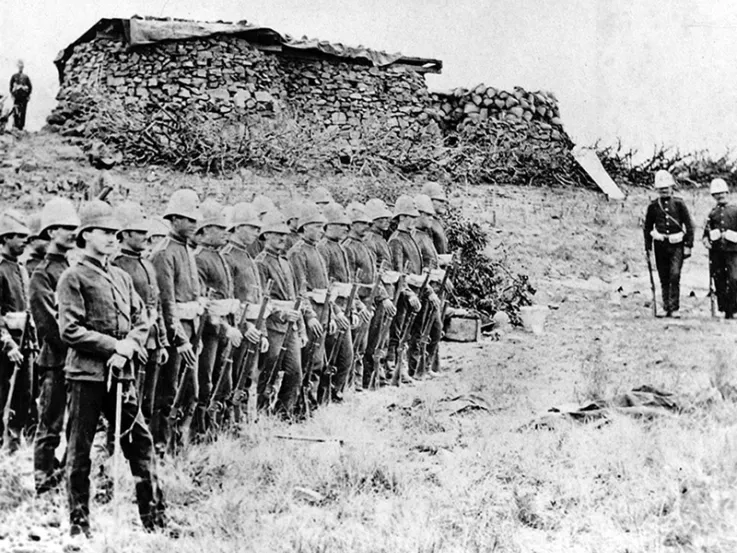
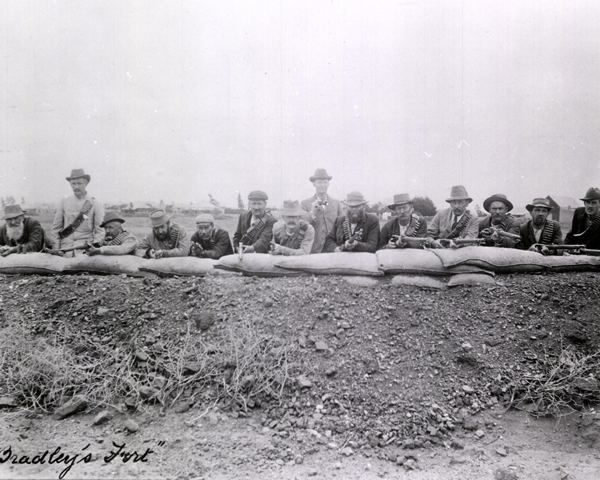
The commander of Mafeking was Colonel Robert Baden-Powell. At the outset of the siege, he had at his disposal 750 locally raised troops and a force of 400 irregulars formed from the townspeople. In addition, more than 600 black Africans were employed as cattle guards. The civilian population of the town numbered 650 Europeans and 7,000 Africans.
Baden-Powell decided to defend a perimeter around 7.5 miles (12km) long around the town. As the siege progressed, the military role of the armed black population became increasingly important.
Baden-Powell had an ambivalent attitude towards the black Africans in Mafeking, without whose assistance the town would quickly have fallen. He reduced their rations during the siege and by playing down their contribution ensured that they received little reward after it.
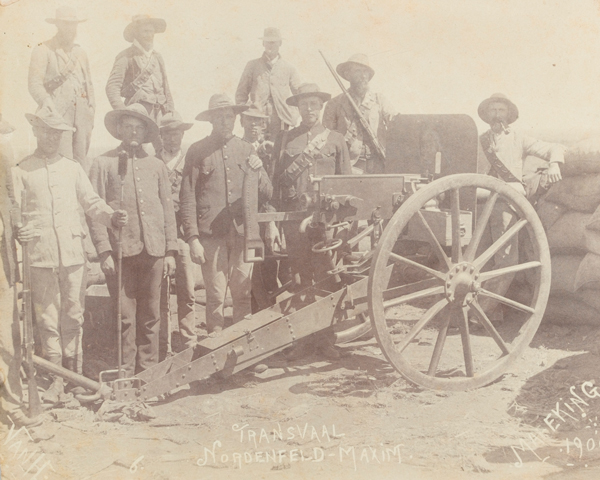
Siege
The Boer bombardment of Mafeking began on 16 October. After Cronje left on 19 November and command devolved to General J Snyman, the siege became less energetic. It lasted 217 days and was the longest of the war.
By the time the town was relieved on 17 May, battle casualties on both sides had reached 463. Its relief led to riotous celebrations throughout Britain and made Baden-Powell a national hero.

British success
Following the end of the sieges, the war gradually turned Britain's way. By the end of May 1900, the British had overrun the Orange Free State. And by October, the Transvaal had been annexed.
Yet the British found that they only controlled the ground their columns physically occupied. As soon as the troops left a town or district, their control of that area faded away.

24 January 1900
Battle of Spion Kop
15 February 1900
Relief of Kimberley
18 February 1900
Battle of Paardeburg
27 February 1900
Surrender of General Piet Cronje at Paardeburg
28 February 1900
Relief of Ladysmith
13 March 1900
British occupation of Bloemfontein
15 May 1900
Battles of Glencoe and Dundee
17 May 1900
Relief of Mafeking
24 May 1900
Annexation of the Orange Free State
29 May 1900
Battle of Doornkop
31 May 1900
British occupation of Pretoria
11-12 June 1900
Battle of Diamond Hill
30 July 1900
Surrender of General Marthinus Prinsloo in the Brandwater Basin
1 September 1900
Annexation of the South African Republic
13 September 1900
Lord Roberts calls on the Boers to surrender
29 September 1900
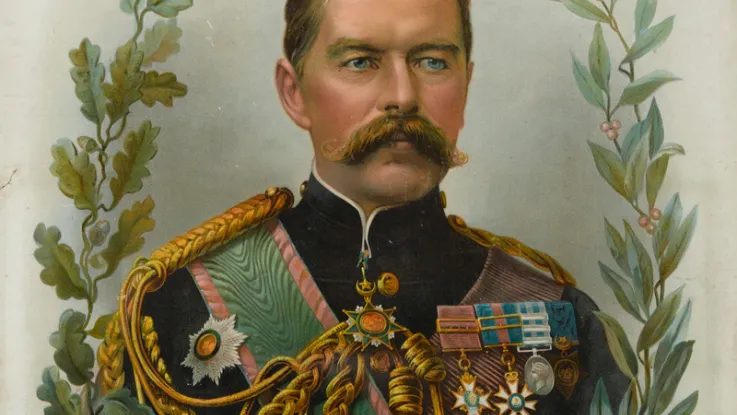
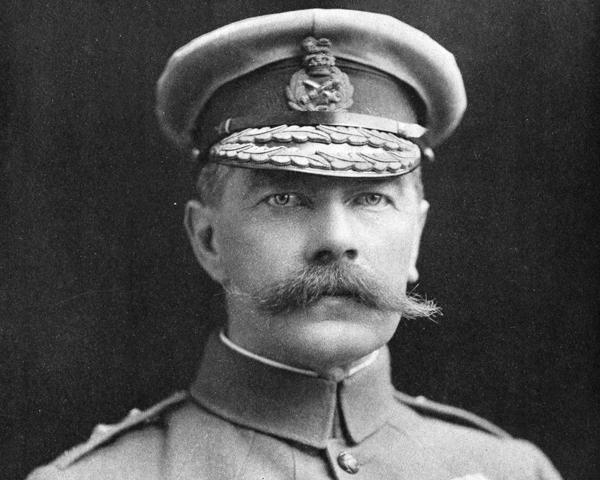
Lord Kitchener succeeds Roberts as Commander-in-Chief
November 1900
Concentration camps introduced

Guerrilla war
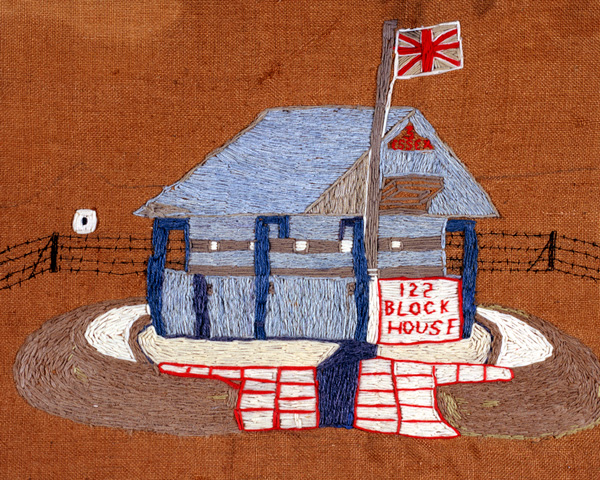
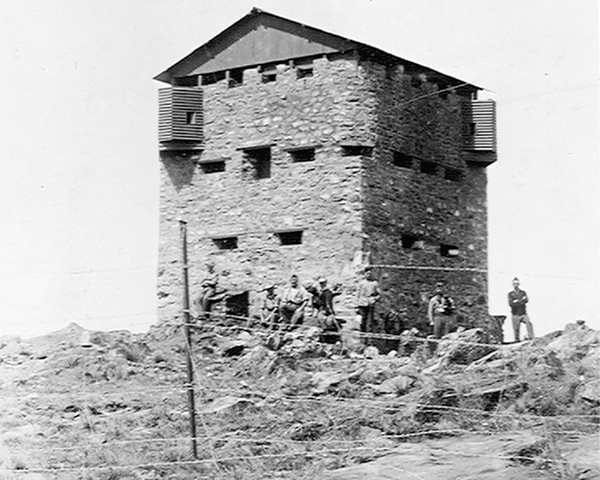
Many Boers fought on and 18 months of cruel guerrilla warfare were to follow the annexations. To control the countryside, the British built stone and corrugated iron blockhouses that were manned by permanent garrisons, connected by telephone and barbed-wire fencing.
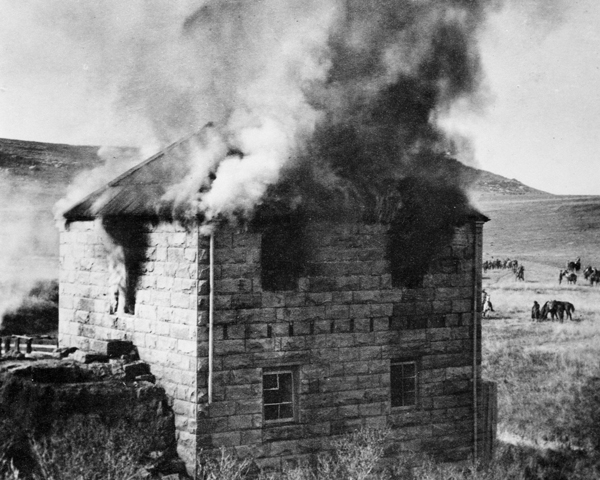
Farms burnt
To prevent the guerrillas from obtaining supplies, information and assistance, the British burnt thousands of farms and destroyed crops. The burnings were also undertaken as a punishment to the locals for supporting the guerrillas.
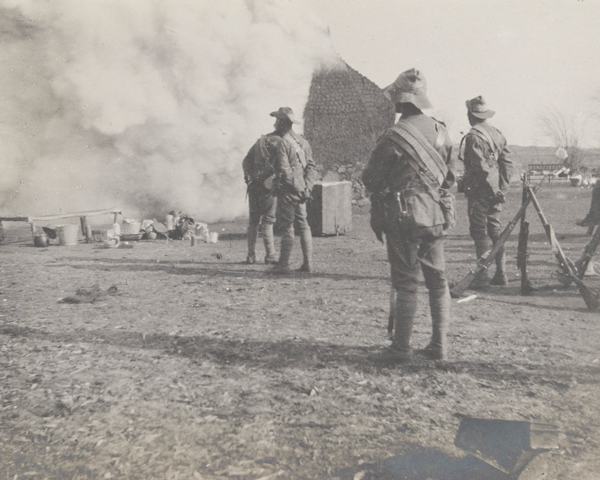
‘We must put a stop to these raids on our railway and telegraph lines, and the best way will be to let the inhabitants understand that they cannot be continued with impunity. Troops are now available and a commencement should be made tomorrow by burning De Wet’s farm… He like all Free Staters now fighting against us is a rebel and must be treated as such. Let it be known all over the country that in the event of any damage being done to the railway or telegraph the nearest farm will be burnt to the ground.’Letter from Lord Roberts to Lord Kitchener — 14 June 1900
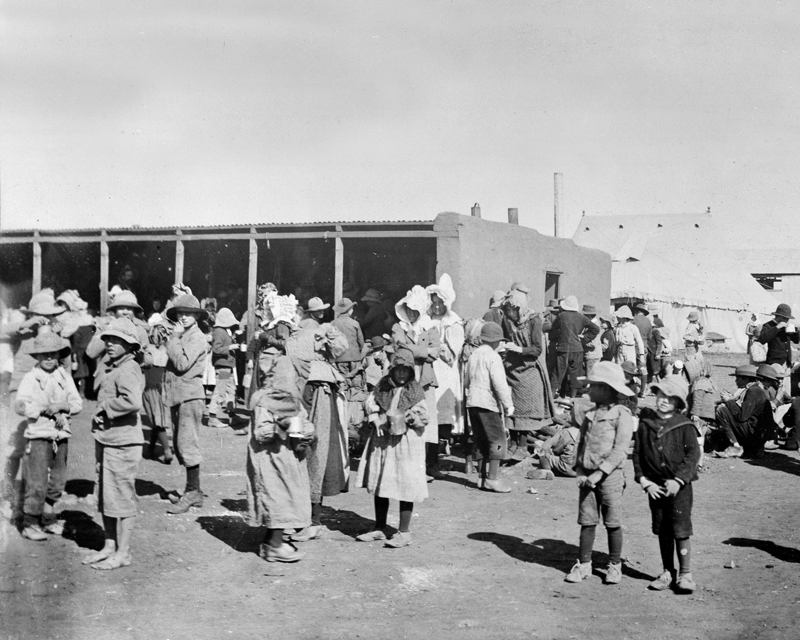
Camps
The British also confined Boer families and black Africans in a network of concentration camps. As well as removing a means of support for the guerrillas, it was believed the presence of Boer families in the camps would make soldiers in the field surrender.
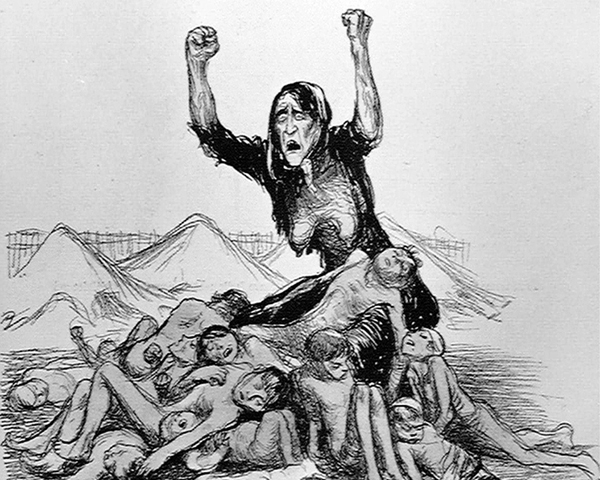
Accommodation in the camps was poor. Water and food were in short supply, and medical and sanitary facilities almost non-existent. Sickness became widespread. In all, 28,000 Boers, mainly women and children, died in the camps. Around half that number of black Africans died in separate camps.
‘I call this camp system a wholesale cruelty… To keep these camps going is murder to the children... They drop in the terrible heat, and with the insufficient unsuitable food; whatever you do, whatever the authorities do, and they are, I believe, doing their best with very limited means, it is all only a miserable patch on a great ill. Thousands, physically unfit, are placed in conditions of life which they have not strength to endure. In front of them is blank ruin… If only the English people would try to exercise a little imagination – picture the whole miserable scene. Entire villages rooted up and dumped in a strange, bare place.’Emily Hobhouse — 1901
Scandal
The policy proved to be counter-productive. It aroused widespread criticism at home and abroad because of the fatalities. Emily Hobhouse was instrumental in raising public awareness of the camps. She also organised a relief effort to aid the victims.
Her campaign forced an embarrassed government to act. Milner’s civilian authorities took over the camps’ administration from the Army and conditions slowly improved.
The policy was also militarily flawed. By relieving the Boer 'bitter enders' of responsibility for their families, it allowed them to concentrate on fighting. Later on, Lord Kitchener reversed this policy and encouraged his men to leave Boer families to be cared for by the enemy. This hampered Boer mobility and forced many to give up the struggle.
Peace
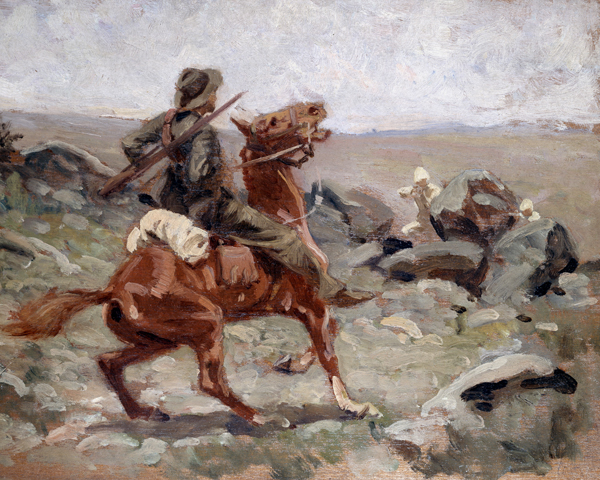
While regular troops swept the countryside in a ‘scorched earth’ policy, mounted infantry units tracked down the remaining mobile Boer guerrillas, engaging in small skirmishes and ambushes.
Eventually, these policies forced the Boers to seek terms. On 31 May 1902, the Treaty of Vereeniging was signed and the Boers accepted British sovereignty but with limited self-government. The Boer republics were fully integrated into the Union of South Africa in 1910.

28 February 1901
Kitchener and Louis Botha meet at Middelburg to discuss peace
15 September 1901
Boer leaders captured in arms to be banished
21 September 1901
Property of Boers still fighting to be sold
25 January 1902
Dutch government offers to mediate
7 March 1902
Battle of Tweebosch
12 April 1902
Boer peace delegates meet Kitchener at Pretoria
31 May 1902
Treaty of Vereeniging signed
First modern war
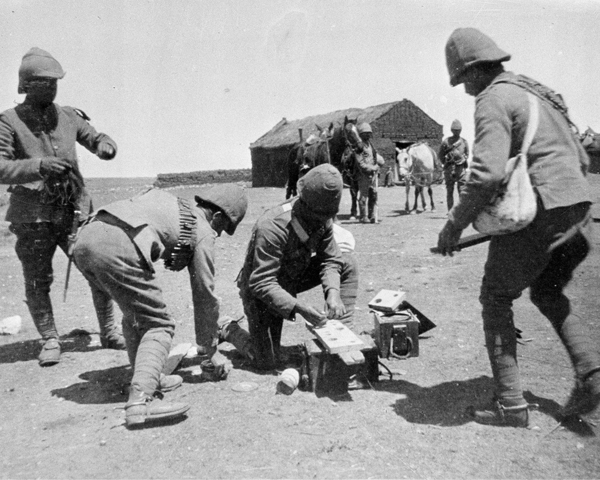
The British Army used a variety of technological innovations during the war. Although some had been used in previous campaigns, it was the scale of their employment in South Africa which was exceptional.
The distances involved in South Africa led to the extensive use of the electric telegraph and field telephone.

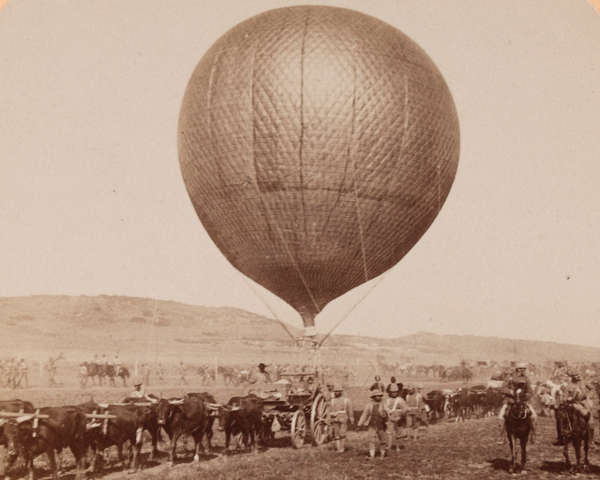
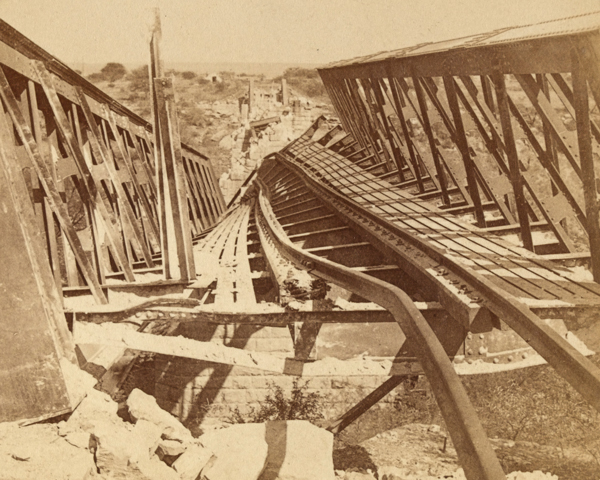
Balloons and trains
Hydrogen-filled balloons were used for observation and directing artillery. Railways played an important part in the campaign and were frequently attacked by the Boers.
To counter this threat, armoured trains regularly patrolled the main routes. Winston Churchill, then a war-correspondent, was travelling on board one such train when it was ambushed by Boer commandos.
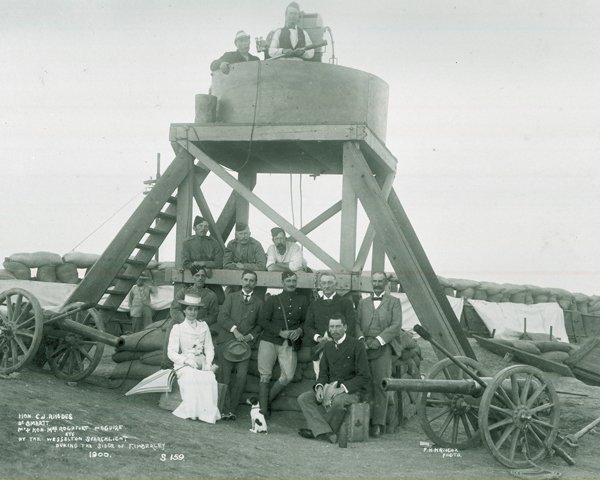
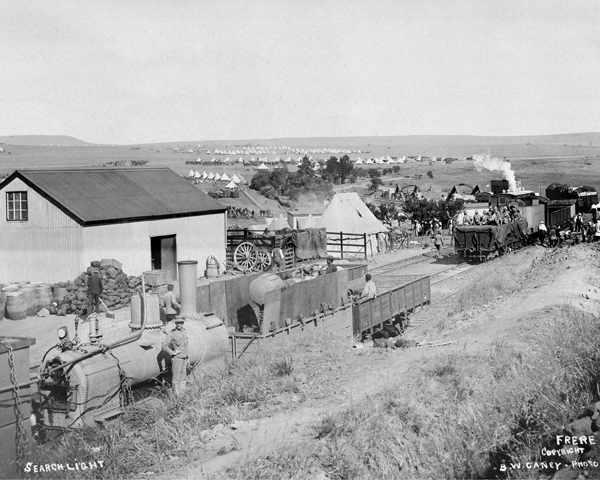
Searchlights, powered by mobile generators, were used to light up the railway and facilitate track repairs at night.

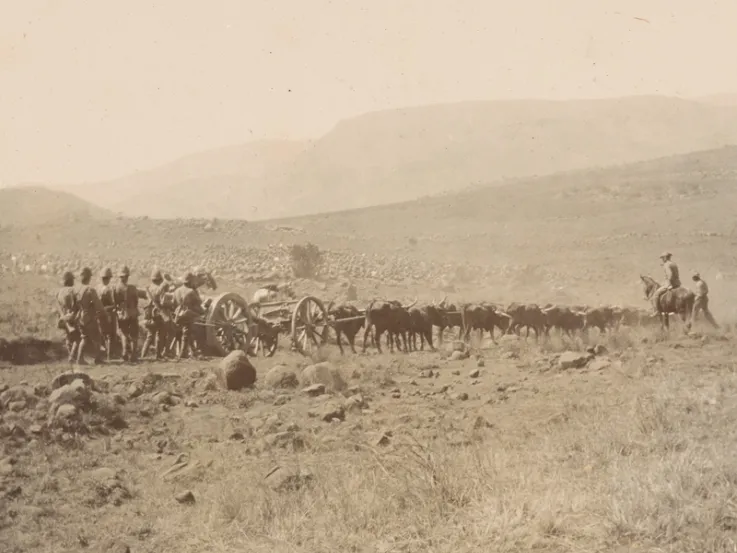
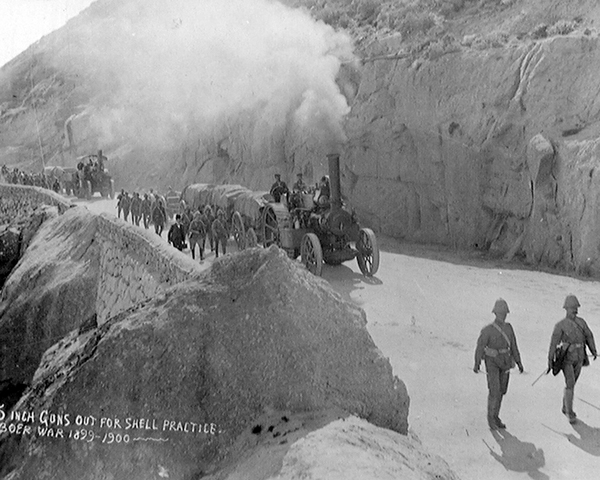
Engines and horses
Steam traction engines were used to move heavy loads along roads and across countryside, thereby helping to conserve draught animals, which had only a short life expectancy in South Africa. A similar fate awaited the majority of horses used by the mounted troops.
These animals were all too frequently put to work unacclimatised, ill-fed and ill-cared for. During the course of the war, some 350,000 horses and 50,000 mules perished.

Destruction
The war not only involved large numbers of men, animals and machines operating over an enormous area, it also resulted in physical destruction on a massive scale.
The farm burnings, railway sabotage and devastation in the countryside created difficulties in maintaining food supplies, particularly for the British Army who could not live off the land like their enemy.
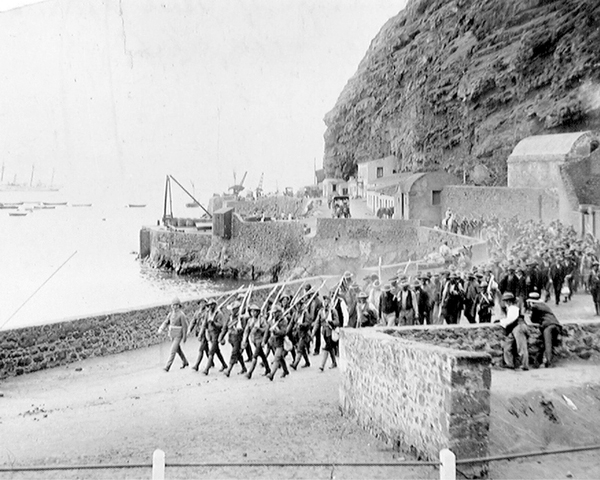
Prisoners
While the Boers were unable to hold their British captives for any length of time, the British developed a network of camps for Boer prisoners in South Africa, Bermuda, Ceylon (now Sri Lanka), India, and St Helena.
Cost
The war mobilised the resources of the British Empire and cost the British government £210 million (over £25 billion today). It resulted in more than 120,000 British and Imperial casualties, including 22,000 dead. Two thirds of the deaths were caused by disease and inadequate medical provision.

Imperial lesson
The writer Rudyard Kipling remarked of the war, 'We have had an imperial lesson.' But the British Army learned from its defeats at the hands of the Boers.
Reforms in tactics, equipment and administration were introduced in the years after the conflict. These changes meant that when the Army marched to war in 1914, it was the best equipped and trained force ever to leave British shores.