Uprising
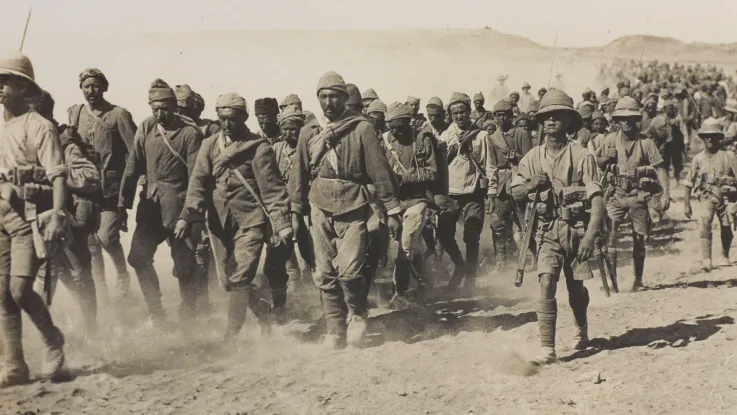
On 19 November 1915, around 5,000 Senussi tribesmen rose up in revolt against the authorities in Italian-controlled Libya and British-controlled Egypt. They were encouraged by the Ottoman Turks, who provided them with arms and military advisors.
As fellow Muslims, the Senussi were open to Ottoman influence. But the revolt was mainly motivated by staunchly anti-colonial sentiment.
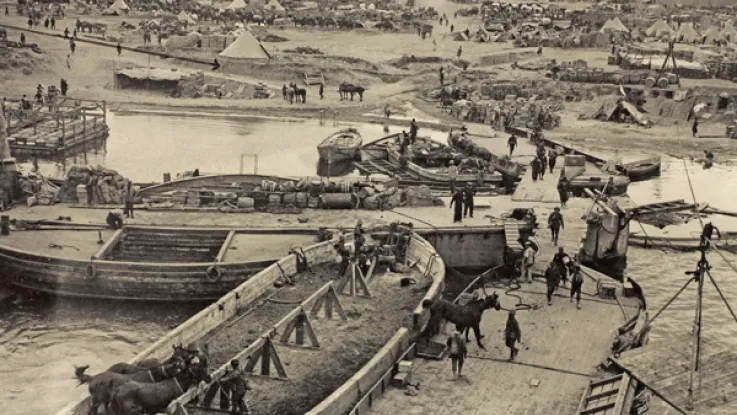
The rebel tribesmen sought to capture the Mediterranean coastal towns of Sollum, Mersa Matruh and Da’aba. Other groups occupied oases to the south, from where they launched raids into British-held territory.
Western Frontier Force
At this time, most troops from the Egypt garrison were already engaged in the fighting at Gallipoli. The Western Frontier Force (WFF), formed to meet the Senussi threat, was made up from the few troops left behind.
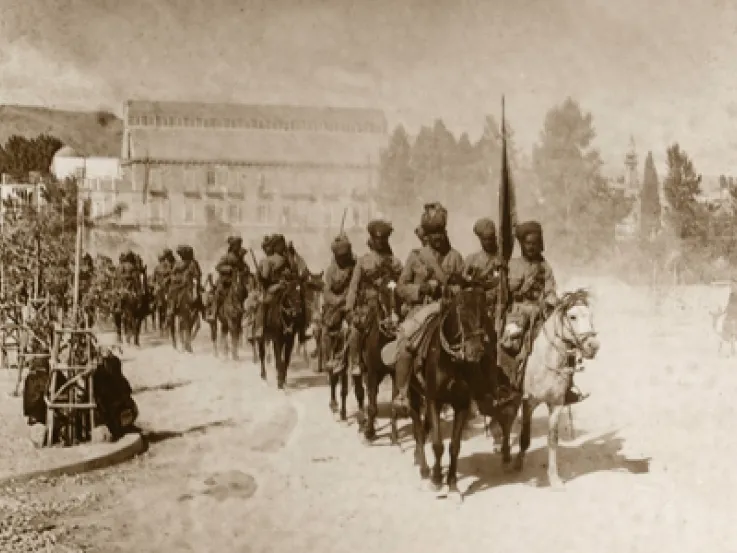
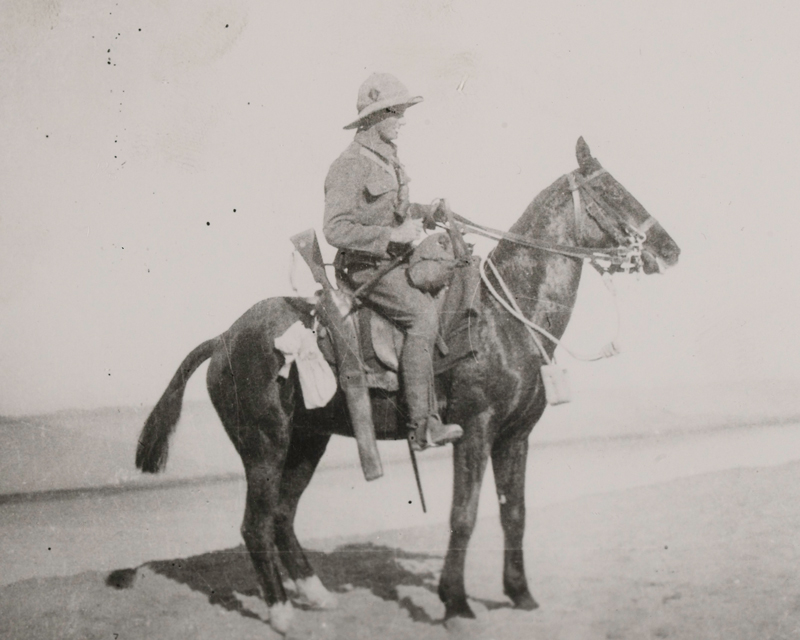
Major-General Alexander Wallace’s force consisted of the 1st Composite Mounted Brigade and one infantry brigade, supported by a battery of horse artillery.
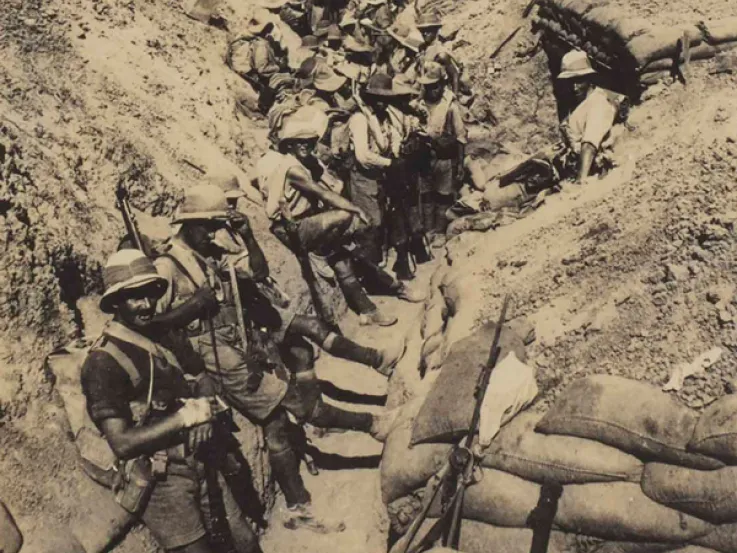
The WFF engaged the Senussi in several inconclusive battles - including Wadi Senba (11-13 December 1915) and Wadi Majid (25 December 1915) - in what was a highly mobile form of warfare. British columns were regularly ambushed by the Senussi, who proved themselves to be skilled desert fighters.
‘We ride off to the west of Matruh, the Australian Light Horse riding round in a big circling movement to the east driving the Senussi towards us. We creep along in the dark, all unknown country, and waiting for the sun to shoot up. Immediately after sunrise ‘A’ Squadron are in action to our right. We pull off the road and the guns go into action in the open, firing over the Sikhs who had got into position during the night about a mile in front of us. Soon after, a British gunboat cruising off the coast joins in, shelling the ravines and wadis. It was all a fine setting for our baptism of fire, more like the Boer War fighting, plenty of rifle fire, and everybody in the open… We keep working round their flanks like a horseshoe, with our artillery and infantry in the curved part. Darkness fell about 5 o’clock and saved them today from a decisive smashing, but they will not again worry Matruh as they retreat towards Shamash leaving about 400 dead. Our casualties are reported about 250.’Diary of Private William Bowyer, 1/1st Buckinghamshire Yeomanry (Royal Bucks Hussars) — 25 December 1915

Battle at Halazin
Bad weather delayed further operations until January 1916, when a column from the 1st Mounted Brigade engaged the Senussi at Halazin, some 25 miles (40km) south of their base at Matruh. Their camp was captured along with large amounts of valuable stores and equipment.
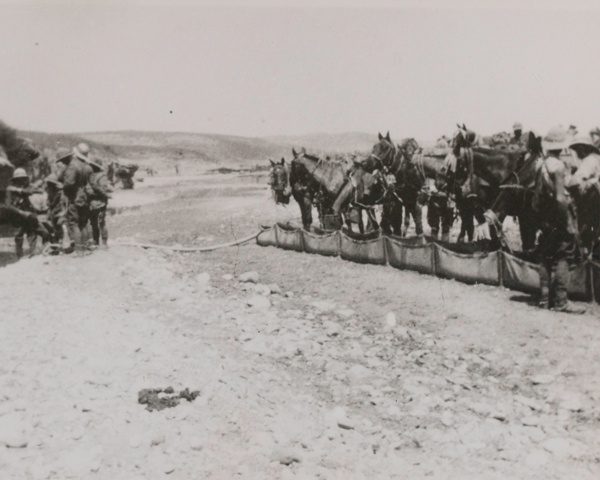
But the battle was indecisive and the Senussi were able to withdraw in fairly good order. The soft ground and a lack of water for their horses meant that the cavalry could not pursue them. This prompted the introduction of camels to the desert force.

‘I should say that today the Senussi put up their best fight, as, very fleet of foot, and supported by a few trained Turks, they were continually trying to outflank us. We race out to the left flank, quite exhilarating, though several come purlers through bullets and also boggy ground. Soon we dismount for action and fighting becomes becomes pretty hot, we lying firing until the enemy are about 400 yards [365m] away, when we race for our horses and away, while the artillery opens on the Senussi in the open. Our wounded, poor fellows, have a rough ride, there being a limber full of them with broken limbs, and all lying on top of each other. We form up again to cover the artillery but the Senussi counter-attack clears away and late in the afternoon we are left masters of the field, but far from our transport with the rations and necessities for the wounded. Our loss, about 270. Senussi’s unknown… Owing to lack of water, food and ammunition, we are compelled to go back rather than forward… taking our dead and wounded with us. We get soaked through just as we start, but this proves a blessing in disguise, as following the tracks of the artillery, we are able to drink the water collected in the ruts, and also even water our horses.’Diary of Private William Bowyer, 1/1st Buckinghamshire Yeomanry (Royal Bucks Hussars) — 23 January 1916
Hot and dry
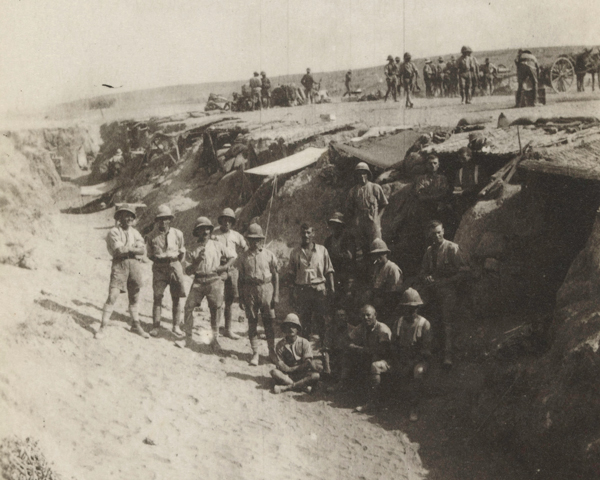
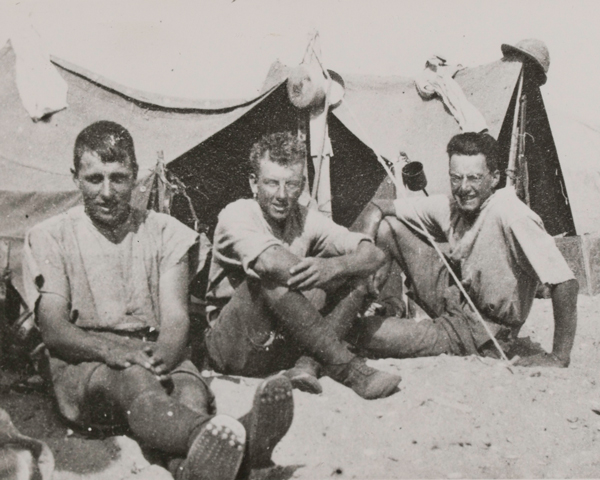
The Western Desert campaign was fought in a harsh climate. At times, the temperature exceeded 40C, so troops would sleep in the day and travel at night.
The British columns suffered from water shortages. Similarly, many Senussi had to surrender to avoid starvation and disease caused by British patrols isolating them in small oases.
Victory secured
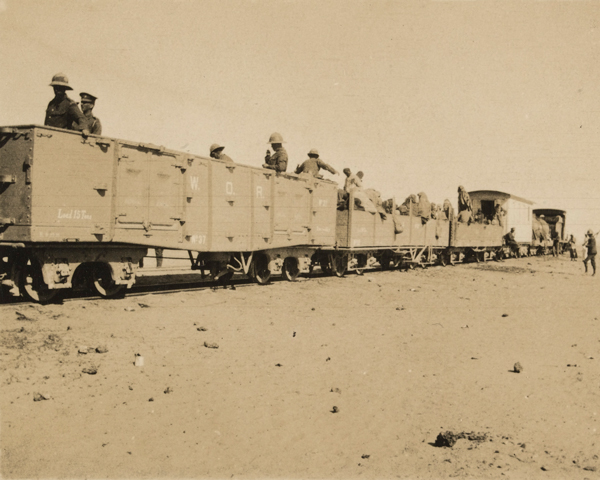
Following the Allied withdrawal from Gallipoli, more troops arrived in Egypt to reinforce the campaign. It culminated on 26 February 1916 at Agagia, near Sidi Barrani, where the main bulk of the Senussi were finally defeated by a Western Frontier Force that now included camel-mounted troops and light armoured cars.
The British pushed the Senussi defenders back and The Queen’s Own Dorset Yeomanry launched a devastating cavalry charge into their rearguard. Hundreds of Senussi were killed or taken prisoner, and large amounts of supplies were captured. This victory secured the Mediterranean coast.
In the interior, the fighting around oases like Bahariya and Farafra rumbled on until the rebels were defeated by an armoured car column at Siwa in February 1917. Peace terms were then agreed and the Western Desert remained quiet for the duration of the war.

Impact
Although a relatively minor threat, the Senussi uprising diverted resources away from the Suez Canal. Luckily for the British, an Ottoman attack there in January-February 1915 was launched before the revolt had begun. Had these events coincided, the Senussi would have been far more dangerous to the British position in Egypt.