Fighting for the crown
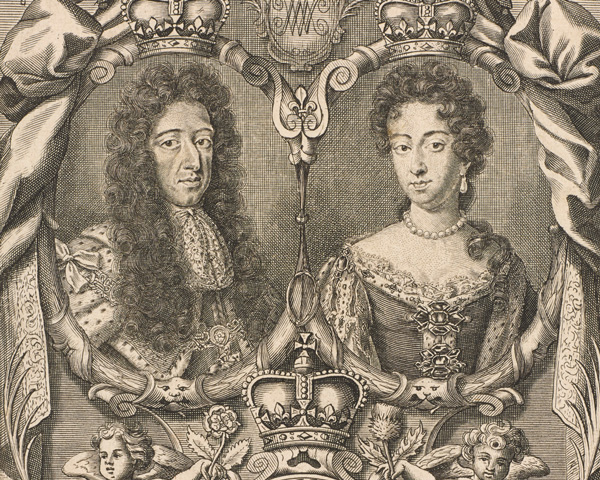
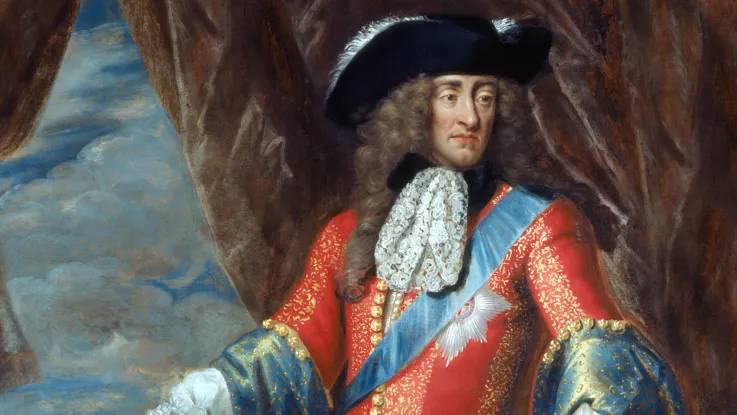
The origins of the Battle of the Boyne lay within the struggle for the crown triggered by the ‘Glorious Revolution’ of 1688. Set against a long backdrop of political and religious turmoil in England, these events saw the Catholic King James II deposed by the Protestant Stadtholder (national leader) of the Dutch United Provinces, William of Orange, who established himself on the English throne as King William III.
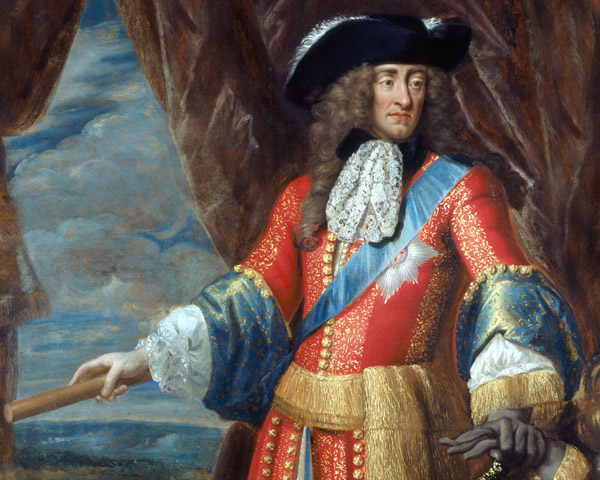
James fled to France, but resolved to take up the struggle again in Ireland, where he enjoyed strong backing from the majority Catholic population. His supporters were known as Jacobites, a name derived from 'Jacobus', the Latinised form of 'James'.
Wider dimensions
But Ireland was to prove a bitter battleground. After a century of colonisation by English and Scottish Protestants – a process known as plantation – Ireland was deeply divided. The conflict here would also take on the character of a sectarian and ethnic civil war between native Irish Catholics and Protestant settlers of English or Scottish descent.
Furthermore, James was a key ally of the mighty French king Louis XIV, William's long-time foe. This connection drew the battle for Ireland into a wider, European struggle. Known to history as the Nine Years War, this conflict saw William leading a multi-national coalition, the ‘Grand Alliance’, to curb Louis’s power and expansionist ambitions.
For both William and Louis, Ireland was a sideshow – a distraction from the focal point of the conflict in the Low Countries and western Germany. However, William saw more clearly than Louis the importance of winning in Ireland. Victory here would secure his succession and ensure that the resources of England would remain with the Grand Alliance, an outcome which would tip the European balance of power in his favour.
Opening moves
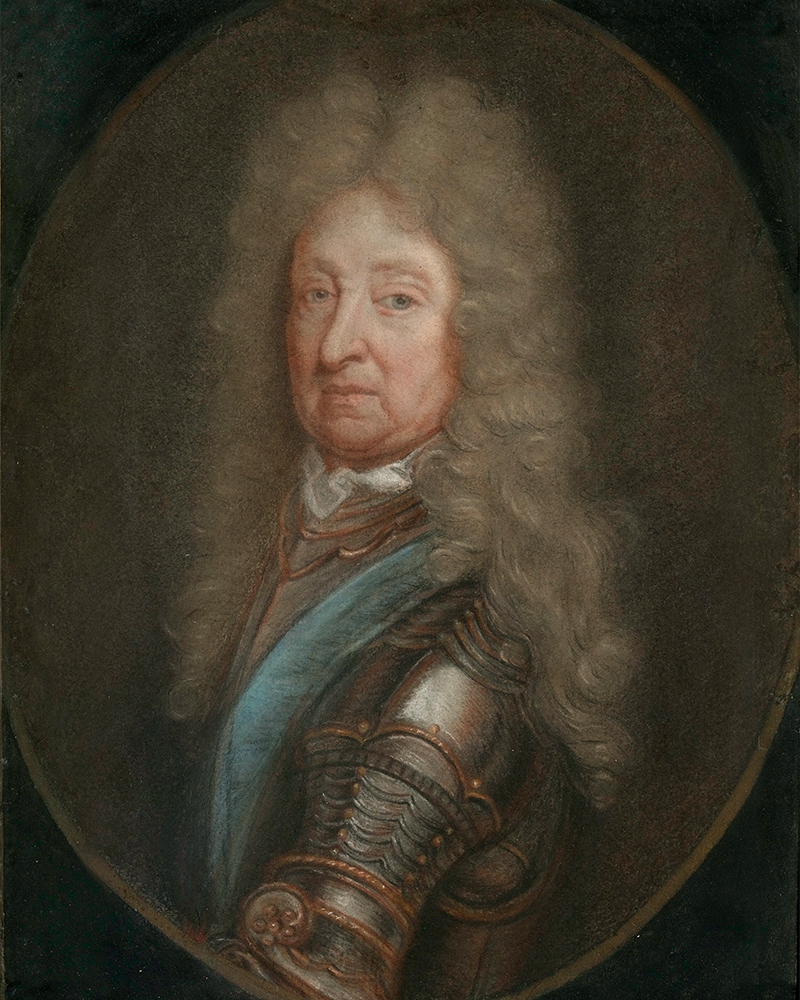
The war in Ireland began with James’s arrival in March 1689. Awaiting him was a large force of Catholic Irish raised by James’s principal commander in Ireland, Richard Talbot, 1st Earl of Tyrconnell.
They quickly secured control over much of the country including the capital, Dublin. Only in the Protestant-dominated northern towns of Londonderry (Derry) and Enniskillen was there effective resistance to James's takeover.
In August 1689, a Williamite army landed in Ireland to wrest back control. Commanded by Frederick, Duke of Schomberg, this force of 20,000 proved highly ineffectual, succeeding only in getting bogged down in camp at Dundalk, where many troops died from disease.
It was not until June the following year, when William himself arrived with an army of veteran Continental troops, that his campaign to reconquer Ireland could begin in earnest. After landing in Carrickfergus near Belfast, William marched south towards Dublin, joining up with Schomberg and marshalling other loyalist Protestant forces as he advanced.
Jacobite strategy
Fearing the superiority of William’s army, James’s French advisors recommended that they should burn Dublin, withdraw to the west and try to hold the line of the River Shannon. However, such a strategy entailed ceding the wealthiest part of the country and would throw the Jacobites entirely onto the defensive.
Determined to fight, James disregarded this advice. Instead, he marched north to contest William’s advance along the River Boyne.
International coalition
William’s army was a truly multi-national force, comprising some 37,000 men. At its core were his Dutch and Danish professionals, around 13,000 hardy and experienced troops. William also had large contingents of Huguenots (French Protestants) and Germans, with the remaining half of his army consisting of English, Scottish and Irish regiments.
While William’s army included many inexperienced units, it was a highly effective fighting force overall, being well trained and equipped, and highly motivated.

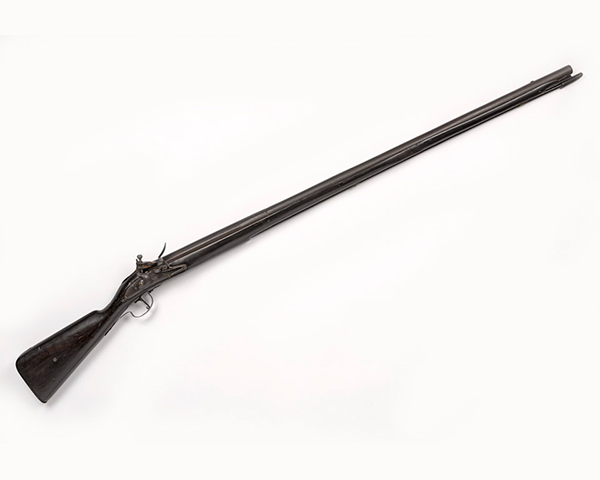
Matchlock musket, c1645
A new era of warfare
The conflict in Ireland marked a watershed in the conduct of war. New weapons and tactics were pioneered by the forces of King William, which would become the standard for European armies in the coming century.
Many of William’s men were equipped with the latest flintlock muskets. These were a significant improvement on the earlier matchlock muskets. Being simpler to use, safer and more reliable, they enabled a greater rate of fire.
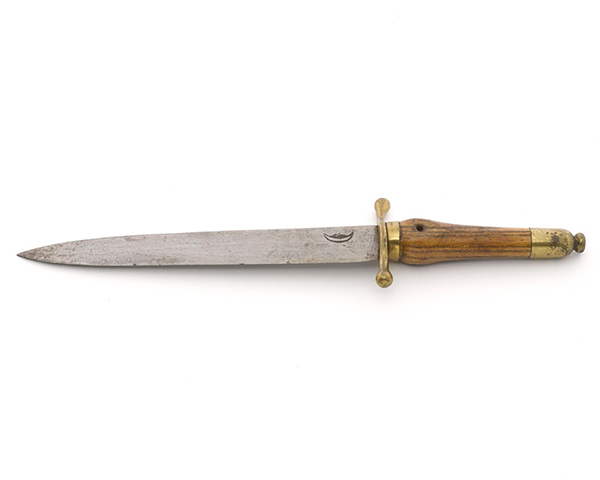
The bayonet was also becoming widespread. This weapon allowed the infantryman, for the first time, to combine the roles of musketeer and pikeman. This increased both the infantry’s firepower and their protection against cavalry.
William’s Dutch units were also pioneering new platoon fire tactics, which enabled them to maintain a continuous barrage of musket fire against the enemy.
Jacobite weakness
The Jacobite force, by contrast, was deficient in many ways. Numbering around 23,000 men, it was significantly smaller than William’s army. It contained some quality units, including a sizeable contingent of French professionals. But most were poorly trained and ill-equipped.
Many of its soldiers lacked firearms; the great majority of those who didn't only had the inferior matchlock. The remainder were equipped with pikes or agricultural implements, like scythes.
The Jacobites were also considerably inferior in artillery and suffered from a general shortage of gunpowder. This disparity in firepower, compared to the Williamites, would prove to be decisive.
Only in cavalry did the Jacobites enjoy an advantage. Many of their units were drawn from the Irish Catholic gentry. These skilled and highly motivated horsemen were to make a telling contribution during the battle.
Poor leadership
The Jacobites’ disadvantages could, perhaps, have been mitigated by good generalship. But here, again, they were to be found wanting. James and Tyrconnell both had plenty of experience of war, but neither had commanded large forces in the field. More seriously, while James had shown great courage in earlier conflicts, he now exhibited a propensity to vacillate or panic.
This was partially offset by the fact that neither William nor Schomberg were ranked among the great commanders of the age. However, they were highly experienced in handling large armies. Crucially, they also exhibited a far greater resolve than their opponents, and this was to give them the edge in the coming contest.
Battle plans
James’s decision to fight on the Boyne was a poor one. Fordable in many places, any defensive position here was highly vulnerable to flanking manoeuvres. This difficulty was exacerbated by the fact that the focal point of the battle was likely to be the most fordable point at Oldbridge, which lay within an exposed loop in the river. James was acutely aware of this and fear of being trapped was to dominate his conduct of the battle.
His initial deployment was to Donore Hill, a few miles to the west of Drogheda. From here, his forces could contest the Oldbridge crossing, but also pull back if required. However, James’s eye was also drawn to the west, where the threat of encirclement was greatest. As the battle opened, he had already deployed a small force to cover that flank and was preparing to reinforce it substantially.
William did not take full advantage of the flanking opportunities presented by the Boyne position. Fearful of losing command cohesion, or of being defeated piecemeal, he dismissed an ambitious scheme suggested by Schomberg to send a large force on a wide envelopment manoeuvre to the west.
Instead, he formulated a more restricted three-pronged offensive, whereby a central thrust over the ford at Oldbridge would be supported by attacks to the east, downstream at Mill Ford, and to the west, upstream near Rosnaree. This approach would enable William to mount a powerful assault on James’s position, but reduced his chances of encircling and destroying his enemy completely.
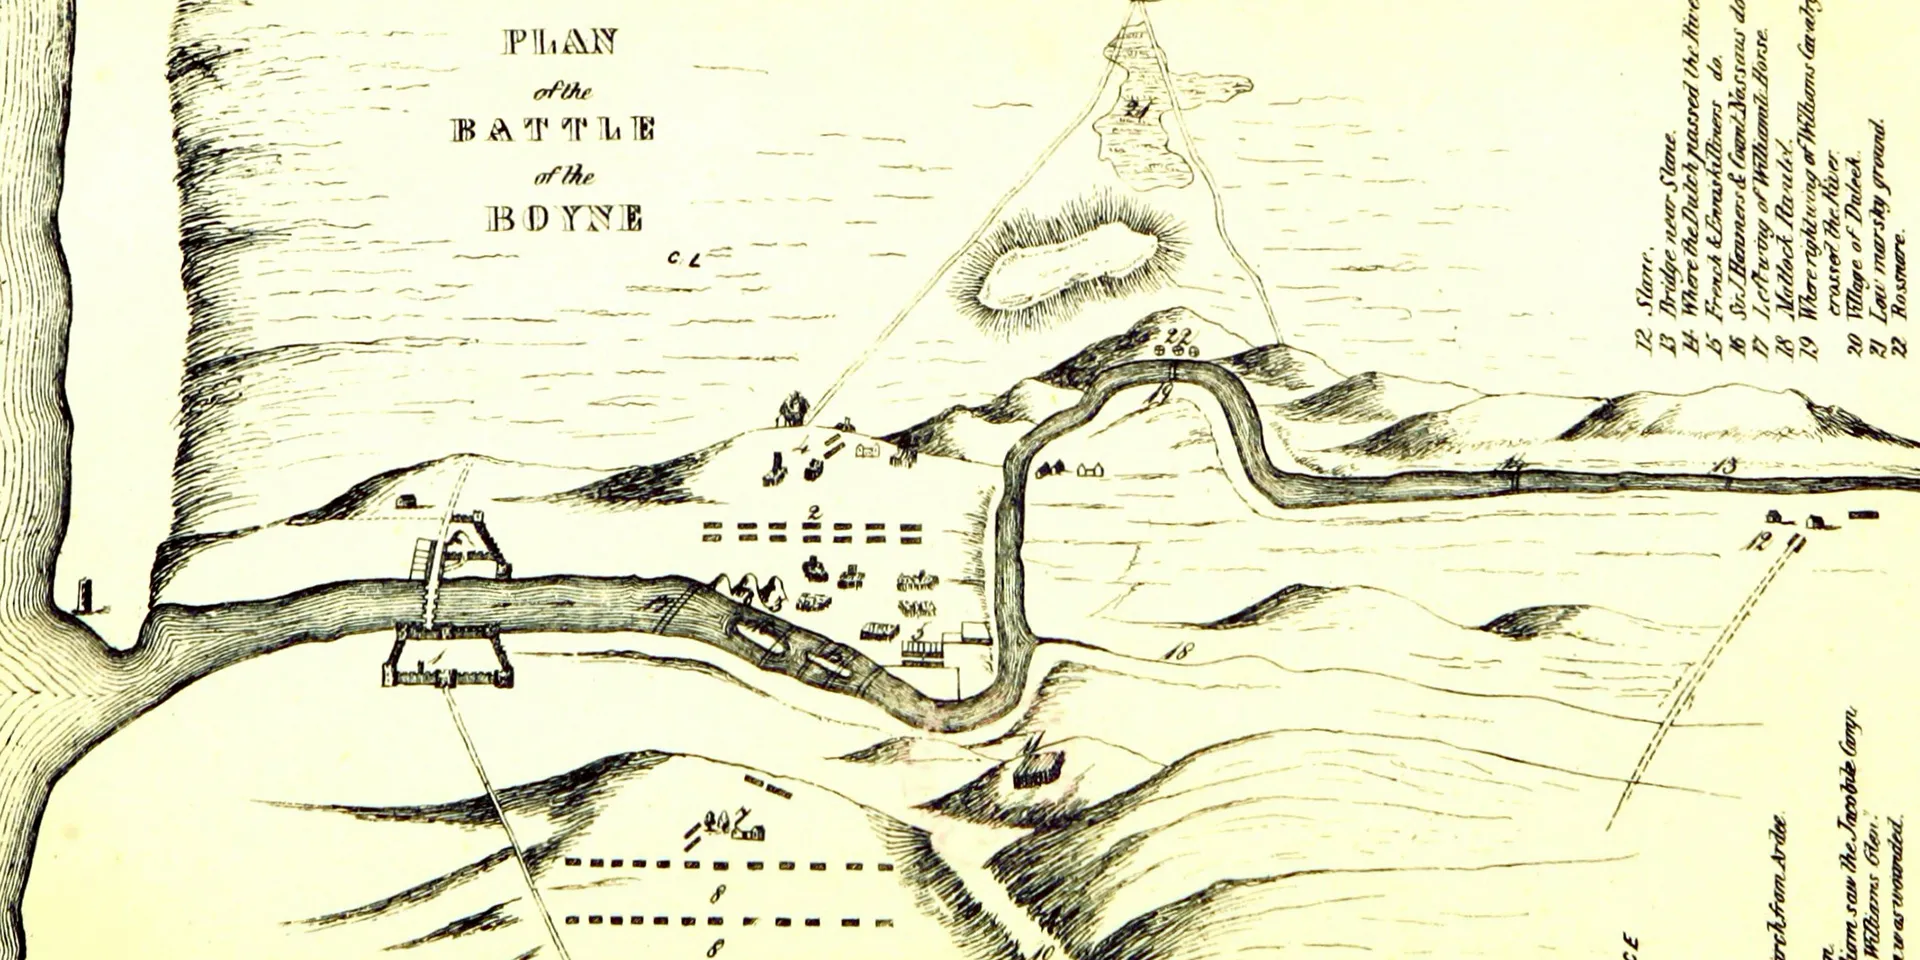
Plan of the Battle of the Boyne (Public domain via Wikimedia Commons)
A near miss
All of William’s plans could have come to nought, however, when he was almost killed by a Jacobite cannon ball on the eve of the battle. The ball struck him on the shoulder while he was out surveying the field, probably during a picnic – a foolhardy act so close to the enemy.
The wound was a nasty one, but seemingly left the king unfazed. Indeed, he was quick to present himself to his troops to quell rumours of his untimely demise. This was to be the first of many close calls for William.
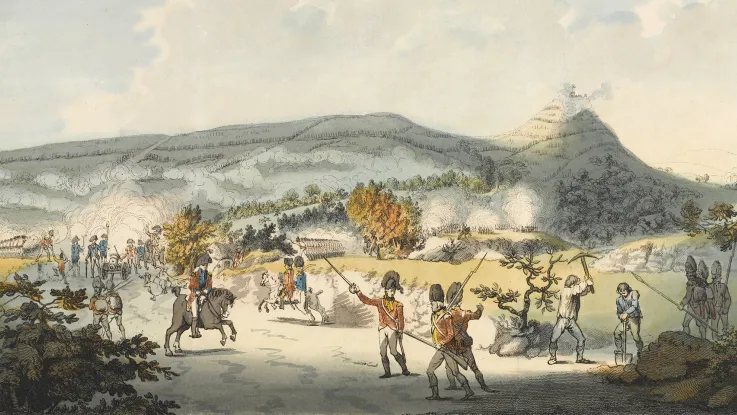
Rosnaree
Early the next morning, William’s opening move was to dispatch his flanking force to Rosnaree. The crossing was contested vigorously, though unsuccessfully, by James’s small flank guard.
When news of this difficulty reached William, he over-reacted, sending around a third of his men as reinforcements. The appearance of this force confirmed James’s fears of encirclement from the west. Panicking, he now led the bulk of his army, including his elite French units, to confront this threat.
Yet James’s concerns were, to a degree, misplaced. In fact, he enjoyed a considerable natural defence against William’s more limited flanking attack. Both commanders had failed to reconnoitre the ground and were unaware of a deep and marshy ravine at Roughgrange that blocked the Williamites’ line of advance.
The showdown on this flank proved to be an abortive standoff. Unable to engage, both forces would play no further part in the battle. Yet the neutralisation of so large a detachment was to prove a more serious problem for James, who had now fatally compromised his ability to contest William’s attacks elsewhere.
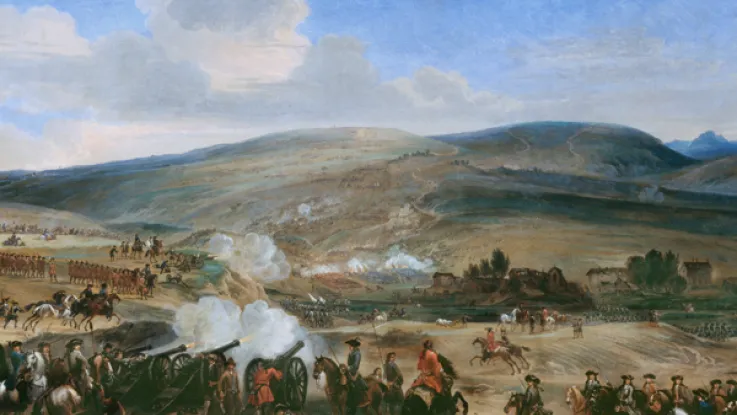
Oldbridge
The main assault at Oldbridge began with a heavy bombardment of the Jacobite positions by William’s artillery. This was then followed at around 10 o’clock with an attack by his elite Dutch ‘Blue Guards’ across the river. Here, they faced the remaining Jacobite infantry who had formed a series of defensive positions in the village of Oldbridge and the surrounding hedgerows.
Weakened and demoralised by the bombardment, the poorly armed Jacobites contested the crossing with only a ragged and ineffectual musket fire. The Dutch were able to cross unhindered, form up on the other bank, and drive the Jacobites off with musket fire and bayonet charges. The Jacobite infantry made sporadic attempts to counter-attack, but these were also ineffective against the highly disciplined Guards.
Supported by the arrival of other Williamite infantry, the Dutch began to consolidate a strong defensive position. This crucial phase of the battle ended in a resounding success for William’s forces.
‘Our Irish never experienced fire before and that took them by surprise... I led them three times to the attack. The truth is that the enemy was stronger and their fire power heavier.’Alexander Boisseleau, Jacobite infantry commander at Oldbridge — 1690

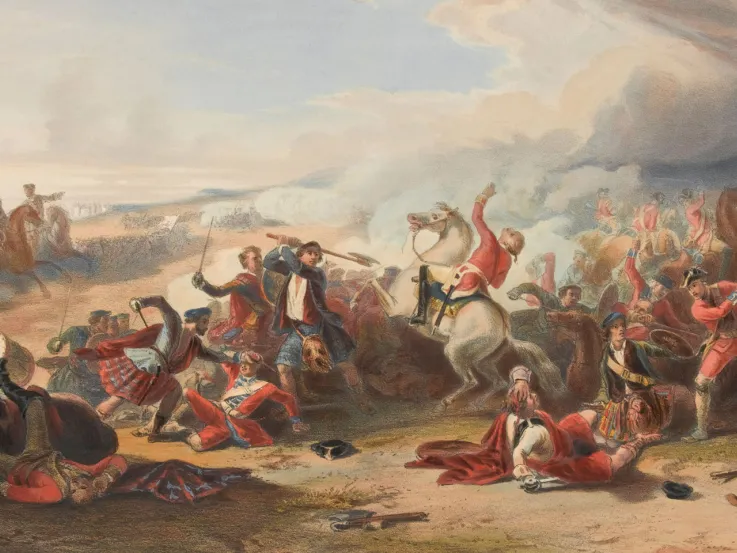
Cavalry counter-attack
The Jacobites now unleashed their cavalry in an attempt to dislodge their opponents and drive them back across the river. The cavalry charged repeatedly with great courage and resolve. However, the disciplined fire and bayonets of the Dutch Guards enabled them to hold fast and beat off the attacks with minimal casualties.
The Jacobites did enjoy success elsewhere. A Huguenot regiment was shattered by one charge and the Duke of Schomberg was killed as he attempted to cross the river and rally them. Yet their bravery was insufficient to turn the tide and their hopes receded as William’s Danish forces arrived downstream, further consolidating the Williamite bridgehead.
‘Let’s go men, there are your persecutors.’Last words of Frederick, Duke of Schomberg, as he attempted to rally the broken Huguenots — 1690
Mill Ford and Donore Hill
The Jacobites’ fate was sealed by the final prong of the attack, a cavalry assault at Mill Ford undertaken at around noon. Seeing that the decisive phase of the battle was at hand, William himself accompanied this force.
While unopposed, the crossing here was deeper and more treacherous than elsewhere. William’s horse got bogged down and he had to be helped across by one of his men. The Williamite forces then began their final attack against the hard-pressed Jacobites.
Despite their difficulties, the Jacobite cavalry succeeded in fighting an effective rear guard around Donore Hill and Platin Castle. Their efforts were aided by the confusion of battle in which the Williamite forces perpetrated many ‘friendly fire’ incidents, a problem created by the diverse composition of their army.
William himself was nearly killed by one of his own men, who approached him with his pistol cocked. The king was quick to alert the man of his mistake, saying: ‘What, are you angry with your friends?’
Jacobite retreat
Despite some moments of panic, the Jacobites were able to withdraw in good order and escaped envelopment by William’s army. They headed towards Duleek where they crossed the River Nanny and escaped to the south.
During this final phase, William suffered yet another close shave. A Jacobite gunner fired a parting shot which struck his boot, grazing his leg. In gratitude for the assistance rendered following this injury, William gave a bloodstained lace ruffle, that lined the top of the boot, to one of his officers, Lieutenant Claudius Beaty of the Inniskilling Horse.
An indecisive clash
Casualties on both sides had been light. William’s forces lost only around 800 men, killed and wounded, and the Jacobites perhaps twice that number. James's troops had been badly mauled, but they had evaded encirclement and the main body of the army was able to withdraw intact.
In this sense, the Battle of the Boyne was indecisive. The war in Ireland would continue for another a year before a crushing defeat at Aughrim on 12 July 1691 rendered the Jacobite position hopeless.
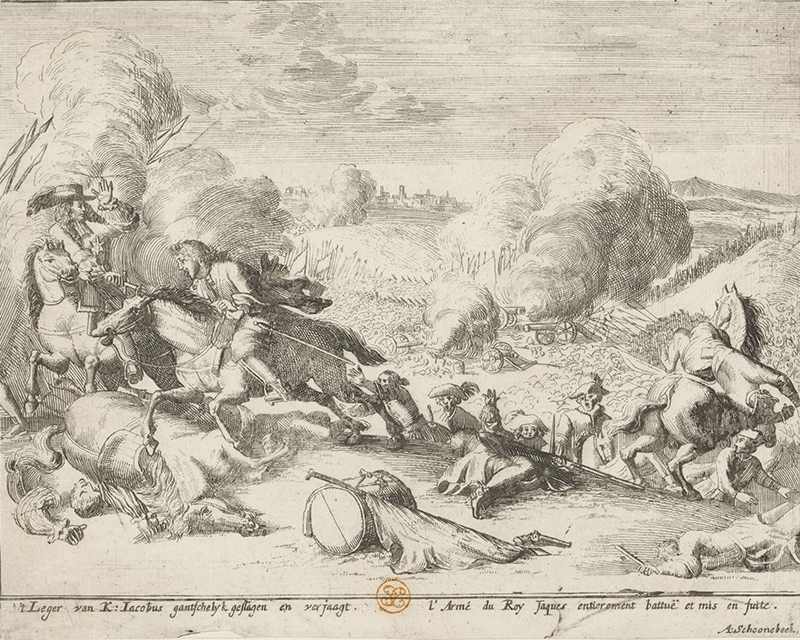
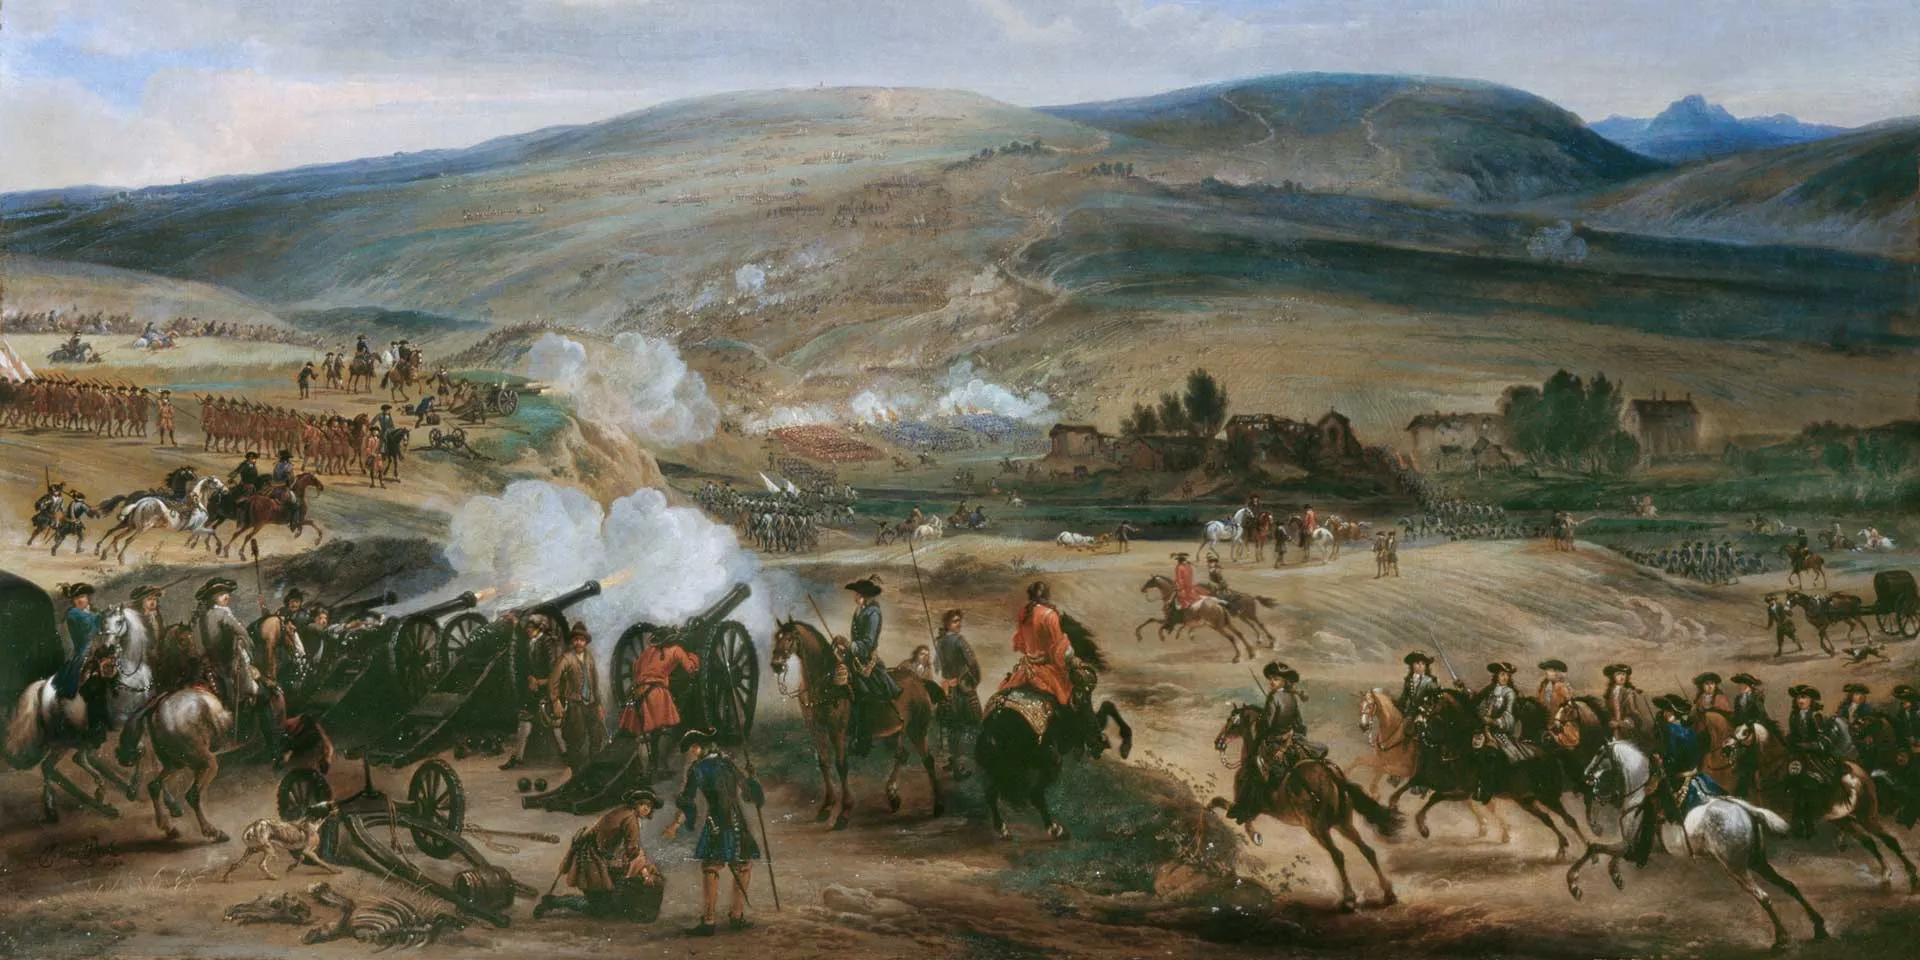
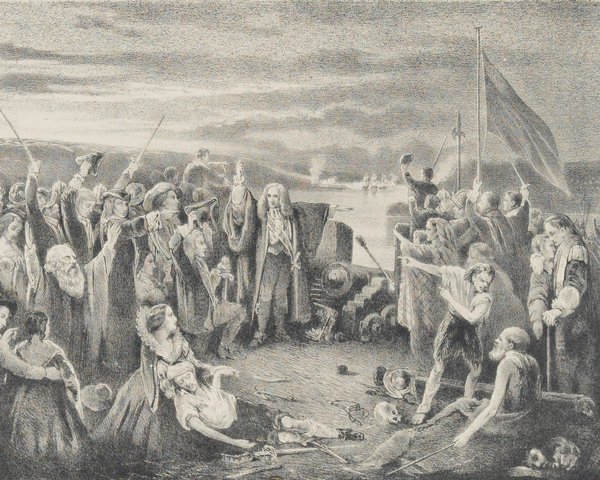
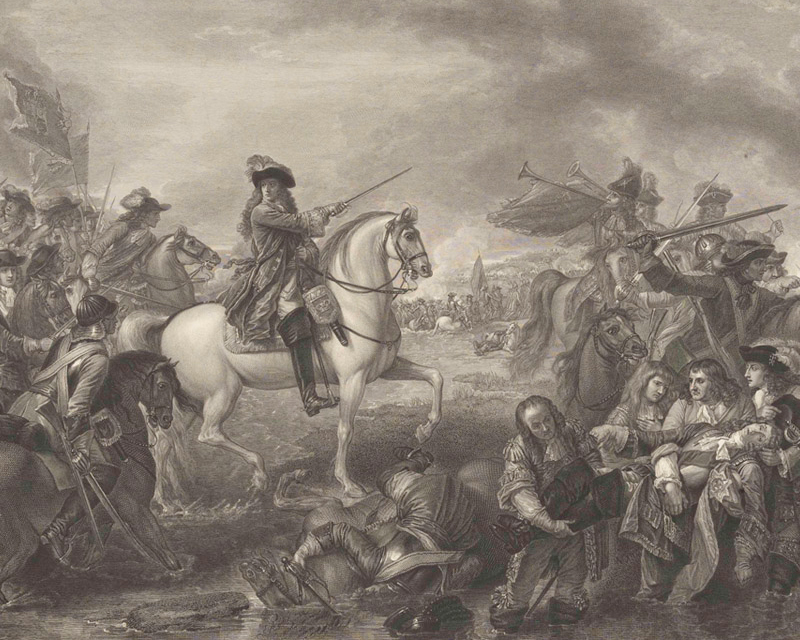
The army of King James entirely beaten and fled, 1690
A turning point in history
Beyond the narrow military view, the Battle of the Boyne was a turning point with far-reaching consequences. Both William’s survival and the victory itself were vital for preserving the Grand Alliance against Louis XIV.
More significantly, and to the fury of his followers, James lost his nerve and fled the country, never to return. In doing so, he threw away his greatest opportunity to regain his crown. William was able to consolidate his tenuous position on the throne, and so secure England’s burgeoning resources for the struggle against Louis.
A long legacy
Along with the total defeat of the Jacobite forces at Aughrim, the Boyne was instrumental in securing the ascendency of Anglican Protestantism in Ireland.
In the centuries that have now passed, the event has taken on a great historical and cultural significance for many Protestants north and south of the Irish border. It is of particular importance to members of the Orange Order, an organisation established in 1795 to defend Protestantism in Ireland, and whose name is derived from William of Orange.
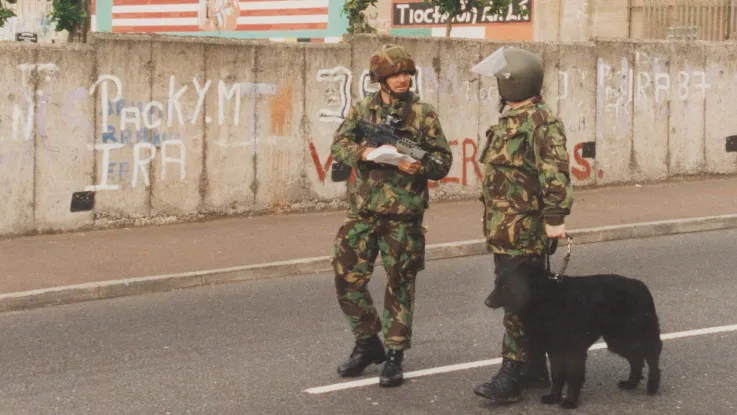
Protestant commemorations of the battle, predominantly in Northern Ireland, have long been a source of antagonism for many within the Catholic nationalist community. A particular flash point is the Orange Order’s annual ‘marching season’, which culminates on 12 July. These marches are viewed as provocative and triumphalist by many nationalists. In this way, the Battle of the Boyne continues to stir up divisions on the island of Ireland today.
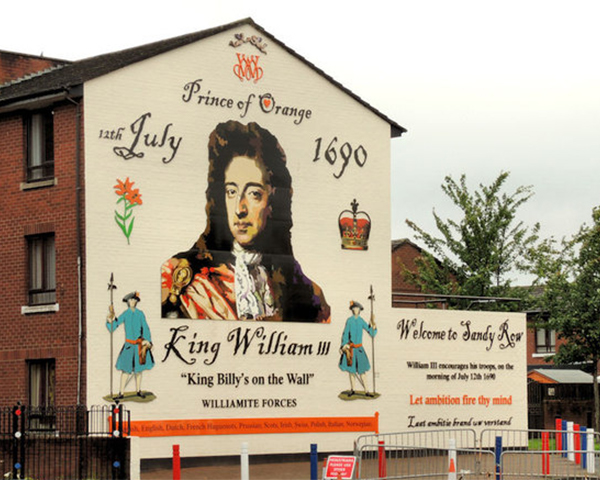
A mural in Belfast depicting King William III, 2012 (Albert Bridge, CC BY-SA 2.0 via Wikimedia Commons)

Orangemen parade in Bangor, 12 July 2010 (Ross, CC BY-SA 2.0 via Wikimedia Commons)
Explore further
Nine Years War
Irish Rebellion of 1798
Luck and superstition
Jacobite Risings