Forcing the straits
The ongoing deadlock on the Western Front led the Allies to formulate plans to attack Turkey, an ally of the Central Powers. If the Turkish capital of Constantinople (now Istanbul) was attacked via the Dardanelles Straits, it might relieve the pressure on Britain’s ally Russia. It could also open a supply route to Russia through the Black Sea and at best knock Turkey out of the war altogether.
Plans were made for a naval expedition to seize the Dardanelles in February and March 1915. Given their strategic importance, the straits were well defended by minefields and fortifications. There were also many Turkish gun emplacements on the Gallipoli peninsula to the north and the Asian coast to the south.
When the naval attacks failed to destroy these defences, it became clear that troops would have to seize the peninsula and destroy the guns and minefields. Only then could the Royal Navy force the straits and push on to Constantinople.
However, the naval operation had alerted the Ottomans to the danger of an attack in the region. Any Allied landing had now lost the crucial element of surprise.
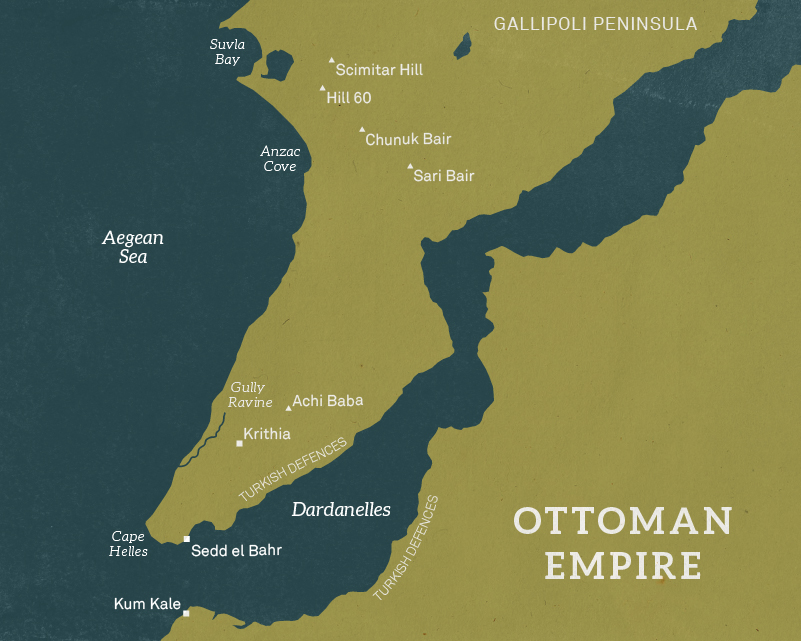
Map of the Gallipoli peninsula, 1915
The force
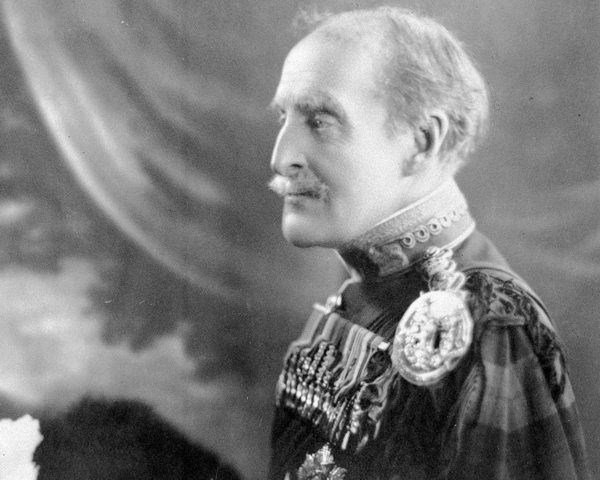
General Sir Ian Hamilton was tasked with leading a hastily planned invasion that underestimated the Ottoman defences. He lacked specialised landing craft and had to lead a disparate body of troops, few of whom were trained for this type of warfare.
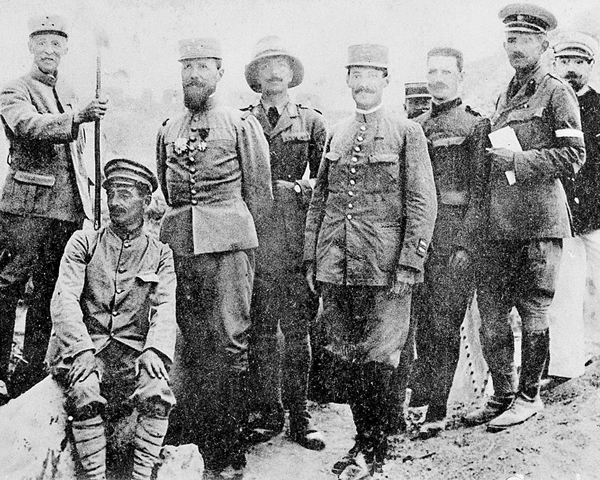
His force consisted of the British 29th Division, the Royal Naval Division, the French Oriental Expeditionary Corps, 29th Indian Brigade and the Australian and New Zealand Army Corps (Anzac), whose exploits became a legend in their home countries.
Landings
Early on 25 April 1915, while the French made a diversionary attack at Kum Kale on the Asian shore, the 29th Division landed on the tip of the peninsula at Cape Helles. It aimed to capture Krithia and the nearby high ground at Achi Baba, and then push northwards to the forts overlooking the Dardanelles.
A second amphibious landing was made by the Anzacs at Gaba Tepe (later renamed Anzac Cove) to the north. This force was to advance to the heights at Sari Bair and, once in control of them, move across the peninsula to cut off the southern half and prevent Ottoman reinforcements arriving.
Cape Helles
The 29th Division landed on five beaches at Helles. Y Beach was relatively undefended and the troops advanced to within a third of a mile (500m) of Krithia. But it was evacuated the following day when Ottoman reinforcements arrived.
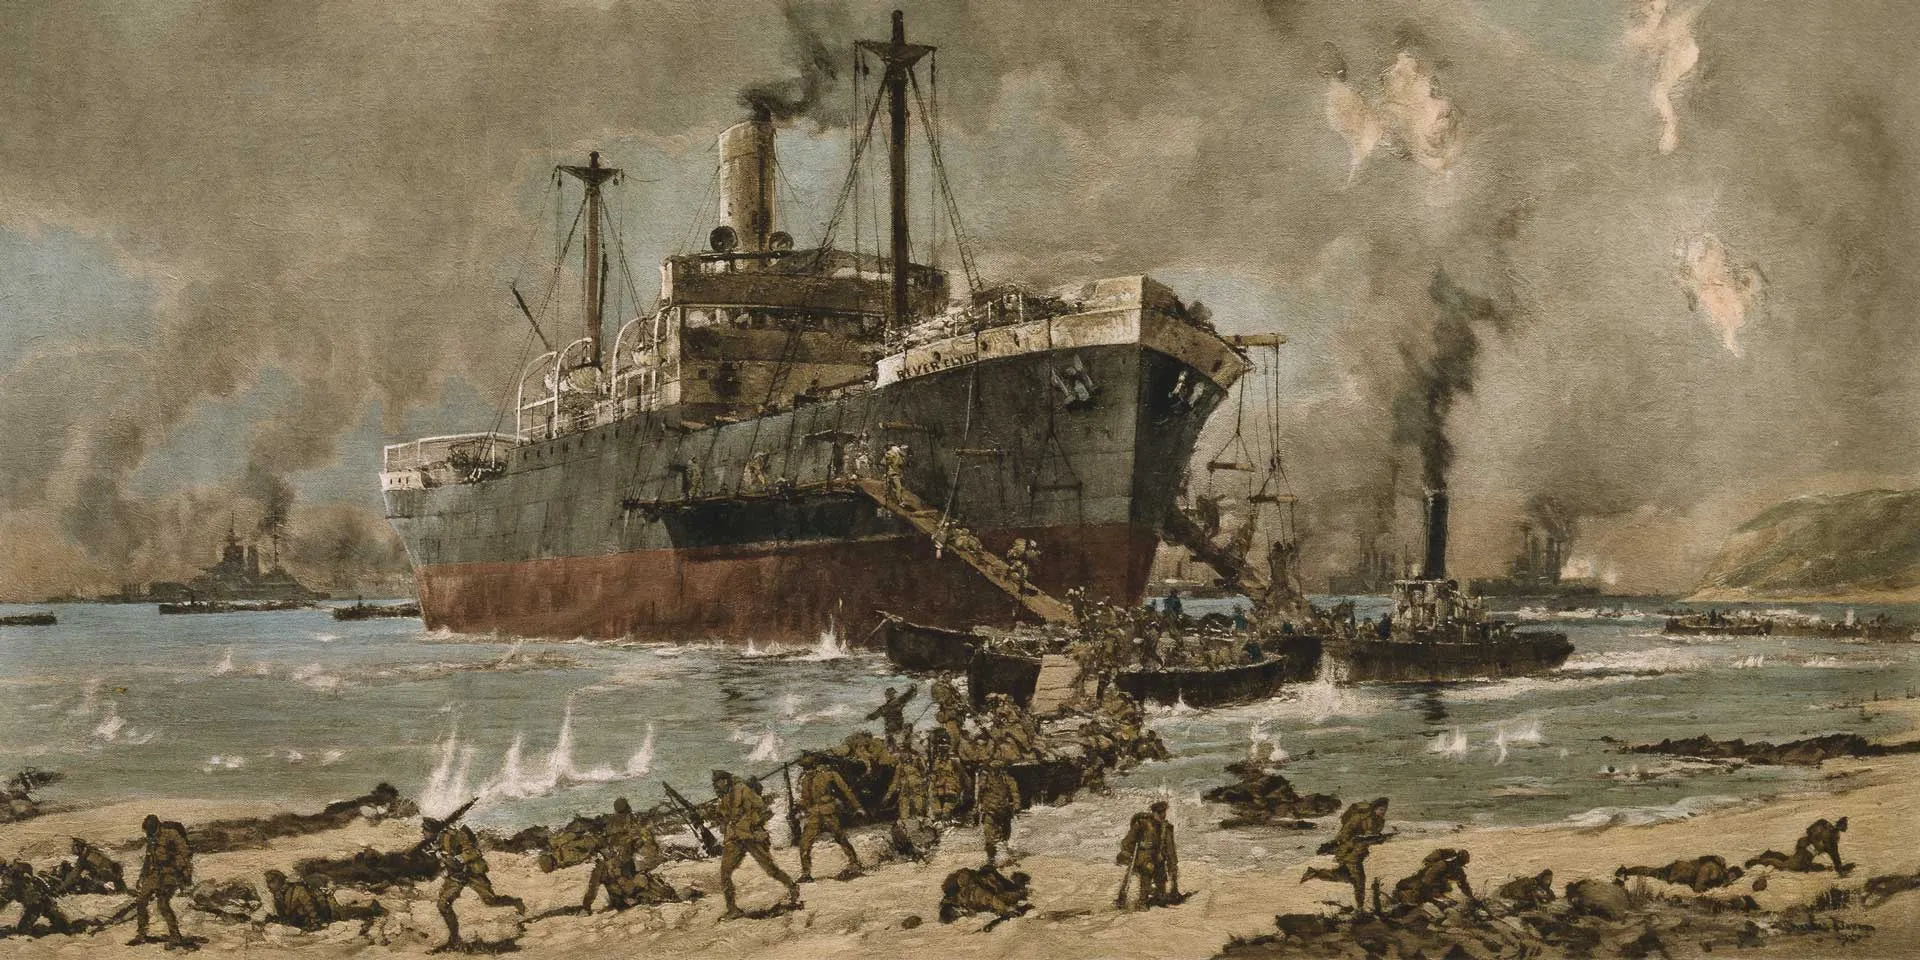
At W and V Beaches, the British faced well-defended positions obstructed with barbed wire, and suffered appalling casualties. At V Beach men disembarked from ports cut in the sides of the troopship SS ‘River Clyde’, but faced heavy machine-gun fire from Sedd-el-Bahr fortress. Out of the first wave of 200 men, only 21 made it ashore.
The Turks tried desperately to drive the British off the beaches, but were unable to do so. Crucially, the Gurkhas took the high ground of Sari Bair above the landing beaches. The fighting at W Beach was so furious that the Lancashire Fusiliers won an unprecedented ‘six VCs [Victoria Crosses] before breakfast’.
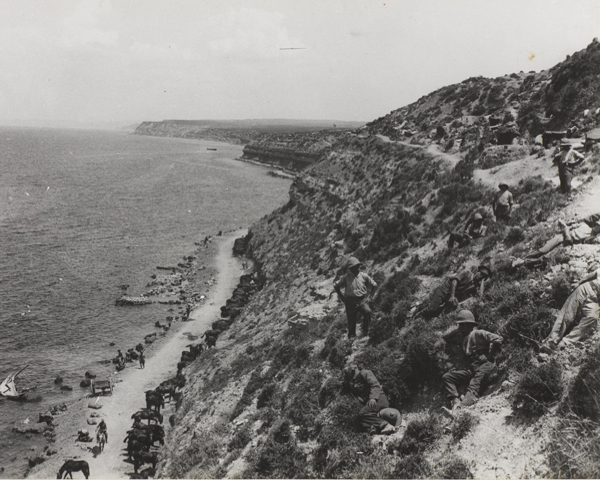
Anzac
At Anzac, although the Turkish defences were less organised, the landing vessels drifted to the north of their intended position, forcing the men to go ashore at the base of steep cliffs. The Australians, on cresting the ridge after an up-hill scramble, found Ottoman reinforcements arriving: they made for the heights of Chunuk Bair and Hill 971.
The Ottoman commander Colonel Mustafa Kemal (later called Atatürk) realised the Anzac landing was not a feint and in fact presented a huge risk to the defence of the peninsula. He personally led the 57th Regiment in a counter-attack. Kemal’s quick thinking pinned down the invaders directly above Anzac Cove and surrounded them.
Battles for Krithia
Hamilton was determined to extend the Allied position in the south with attacks directed from Helles towards Krithia and the nearby hill of Achi Baba. The troops would then link up with the soldiers at Anzac Cove.
Once Krithia was in Allied hands, Hamilton intended to continue to push northwards, removing Turkish defenders from the heights defending the straits. Three successive operations were launched upon Krithia between 28 April and 4 June 1915. All failed to break the Turkish defences and the campaign stalled.
August offensive
After receiving additional reinforcements, Hamilton launched a new offensive on 6 August. It took the form of a diversionary action at Helles, a drive from Anzac Cove towards Sari Bair and a landing of new divisions at Suvla Bay. This latter force was to link up with the troops at Anzac and then advance across the peninsula.
Although the landing caught the Turks by surprise, Lieutenant-General Sir Frederick Stopford's men moved inland too slowly and the enemy was able to occupy the heights overlooking their position. Despite local successes at places like Lone Pine, the wider offensive had lost momentum by 10 August due to tough Turkish resistance and indecisive Allied command.
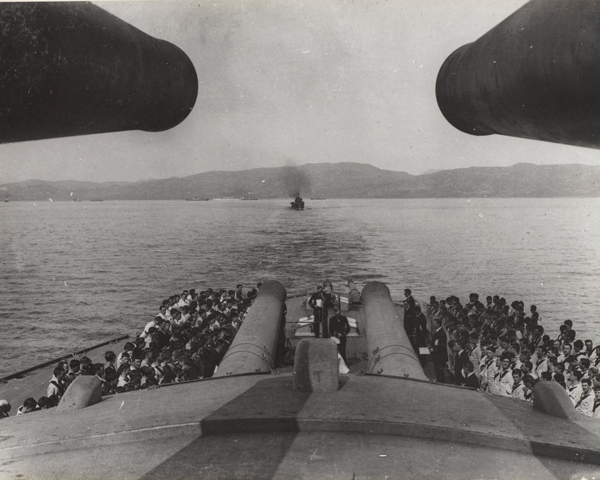
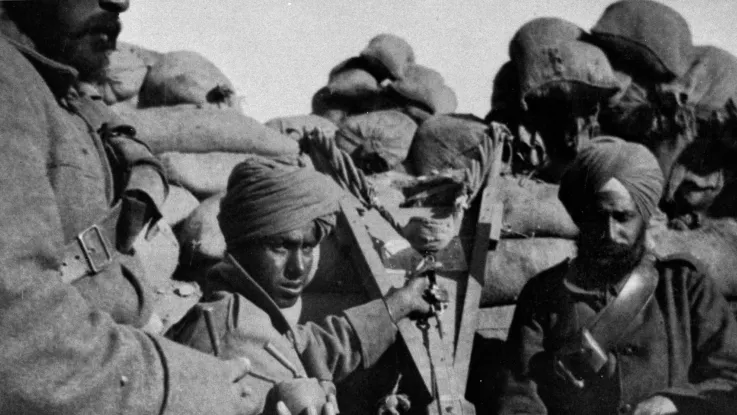
‘At 4am the guns opened the bombardment and the trenches all round opened independent fire. The noise was deafening and the effect was simply awful. For a full half hour the terrific bombardment went on, and then the Colonials advanced to the attack. They took the plateau with great gallantry… Several hospital ships came in this morning and wounded men were taken down towards the landing stage at Anzac... The Australians are admired by all, and have shown the most splendid dash and courage but the stream of dead and wounded continued throughout the afternoon. From my position I could see the Cornwall assisting with her guns from the sea… The fighting went on all day, not a second being free from rifle and big gun fire… Some of the Indian Mule Corps passing down with shells and rations came to the notice of the people on Gaba Tepe... and shot after shot of shrapnel burst near the train killing and wounding several of the mules and their native drivers.’Lieutenant-Colonel Henry Jourdain describing the fighting at Lone Pine in his diary — 7 August 1915

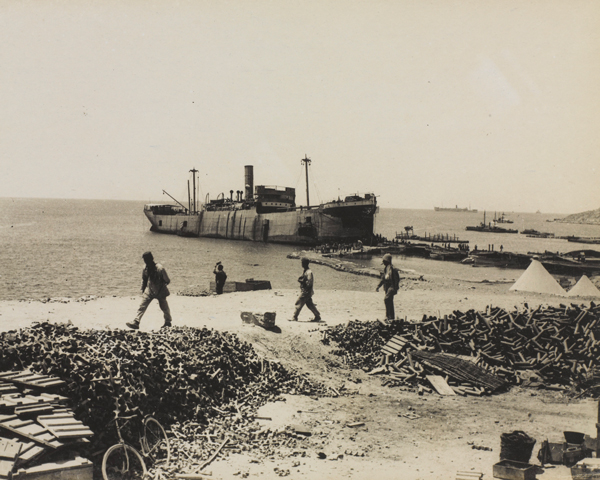
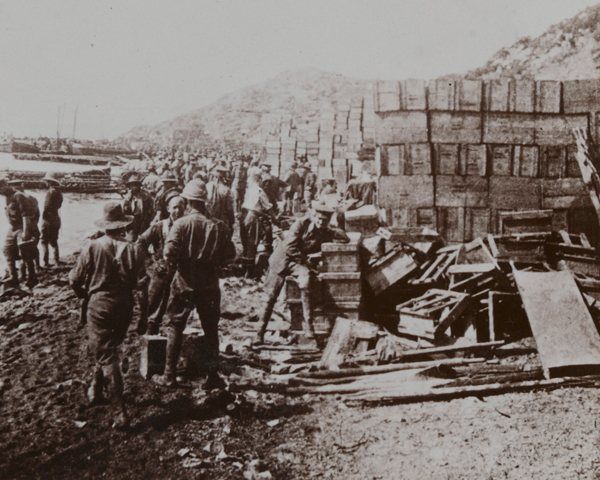
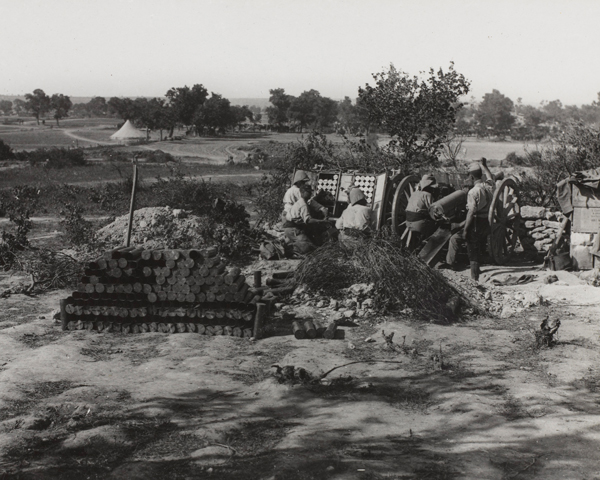
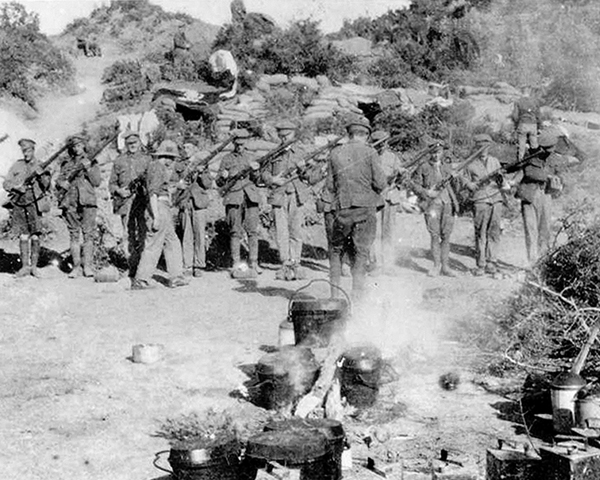
92nd Battery of 117th Brigade, Royal Field Artillery, at Cape Helles, 1915
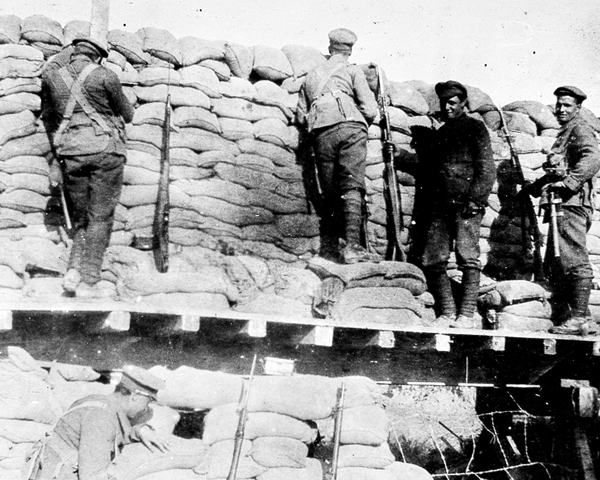
Trapped
In late August, another attempt was made to break out of Suvla and link up with Anzac Cove. But the Battles of Scimitar Hill and Hill 60 both failed and Hamilton's troops were forced to dig in. The Allies remained trapped around the three beachheads at Helles, Anzac and Suvla Bay.
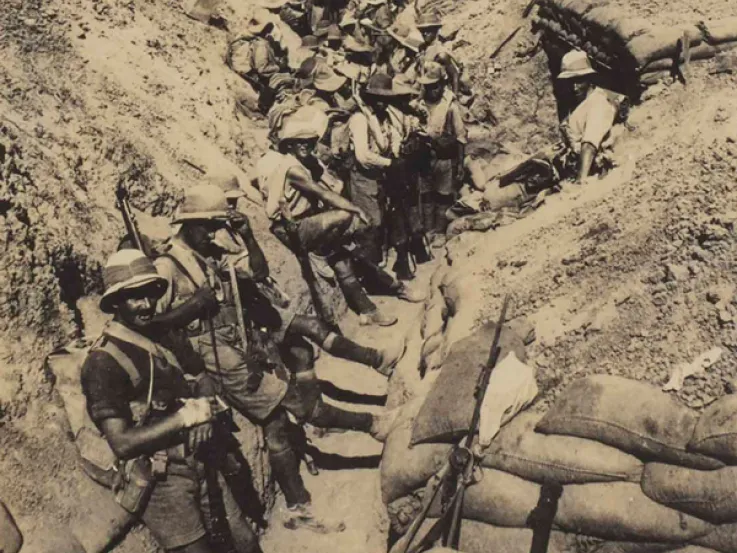
Each of these was overlooked by high ground commanded by strong Ottoman forces and was under constant artillery and sniper fire. The soldiers lived and fought in appalling conditions. Casualties from heat and disease overwhelmed the inadequate medical facilities.

'Water and mud in trenches is plentiful and it is cold and damp at night. The bodies in long grass in front of trench smell horribly. Flies in millions. Got the squirts a little this morning… we shall soon have a good crop of disease. The Turks get the jumps nearly every night and set up a tremendous rifle and machine gun fire. Their snipers have shot one or two chaps through loopholes. Went off grub after mid-day and felt pretty sick… throughout the day we improved trench and tried to rest but the heat and flies coupled with the lack of floor room made this impossible. At 5pm I paraded sick and the Doctor gave me some tablets… I had to be relieved from guard in the afternoon because I felt so rotten… spewed and had violent squirts again... The Turks made a big attack on left flank but were repelled… Had a frightfully restless night with fearful stomach pains’.Diary description of conditions at Suvla by Trooper Leonard Bullwinkle — 1-3 August 1915
Withdrawal
With winter looming and still little prospect of a breakthrough, talk of a withdrawal was raised in London. Hamilton resisted, fearing the loss of both his own and British prestige. He was dismissed and replaced by Lieutenant-General Sir Charles Monro.
In October 1915, Bulgaria joined the Central Powers and Allied troops deployed to Salonika, creating a competing front for reinforcements. In November, it was decided to withdraw the Allied army from Gallipoli. This was completed with minimal losses by 9 January 1916. The evacuation was one of the best-organised elements of the whole campaign.
Aftermath
The Allies suffered over 220,000 casualties out of a force of nearly 500,000. From their point of view, the campaign was a disaster.
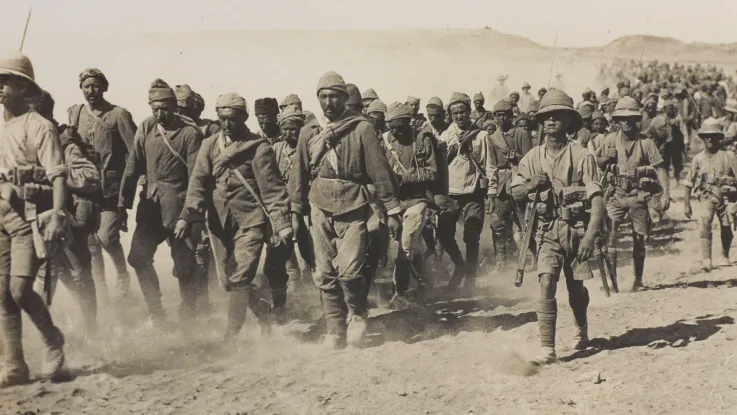
The Turks suffered almost as many casualties, but their victory at Gallipoli rejuvenated the Ottoman war effort. Further success followed at Kut in Mesopotamia (1916) and there was a renewed deployment into Sinai.
Most of the withdrawn Allied troops re-grouped in Egypt where they provided much-needed reinforcements for the Sinai and Palestine campaign.
Explore further
Mesopotamia campaign
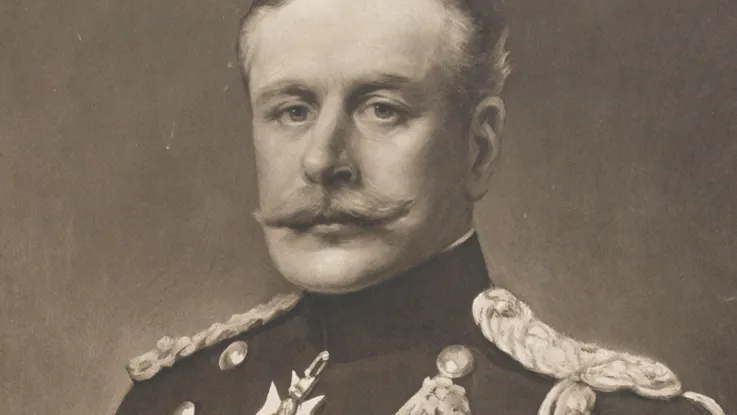
Douglas Haig: The chief
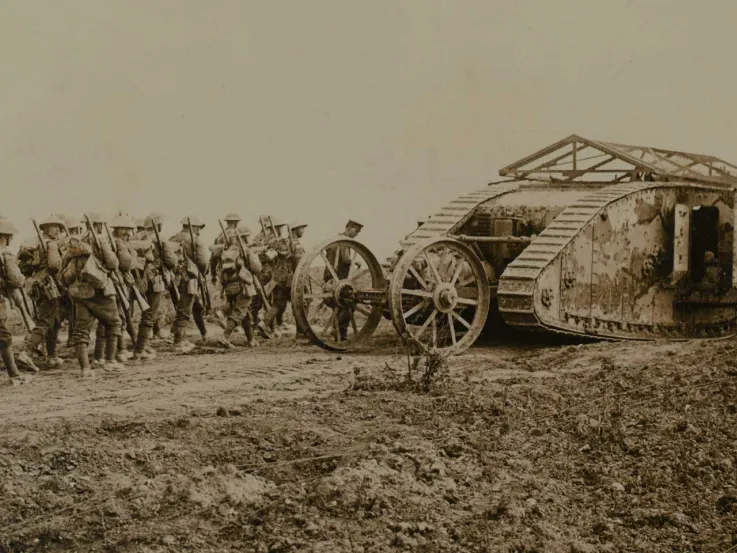
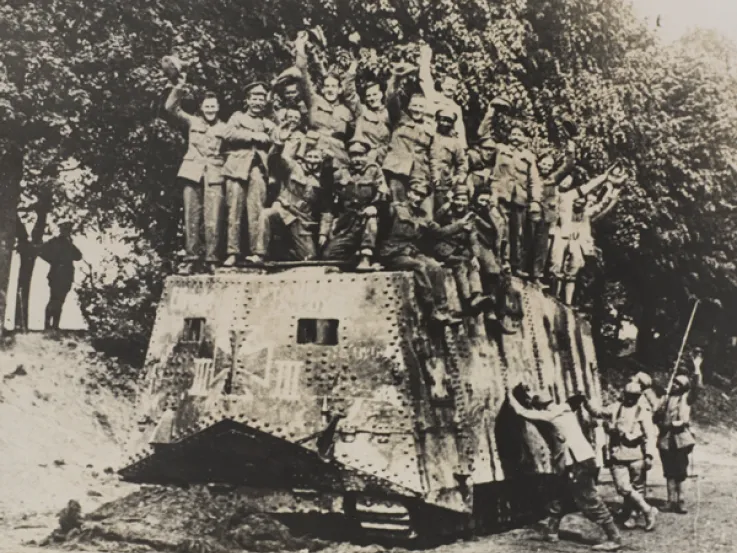
Attack of the tanks