Advance from Basra
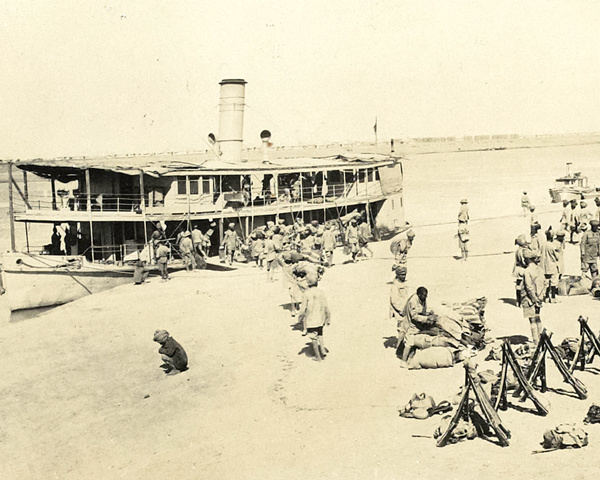
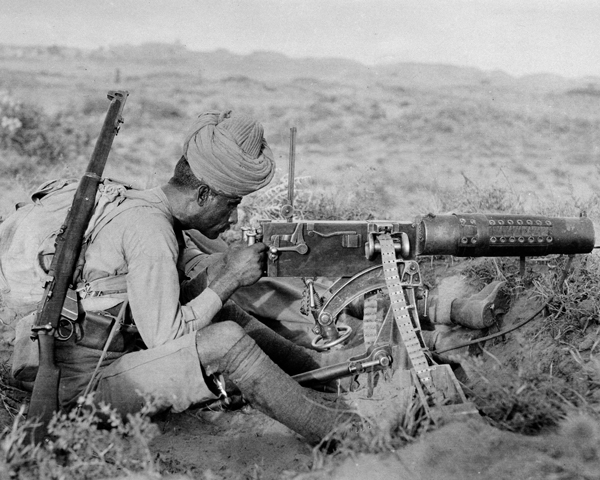
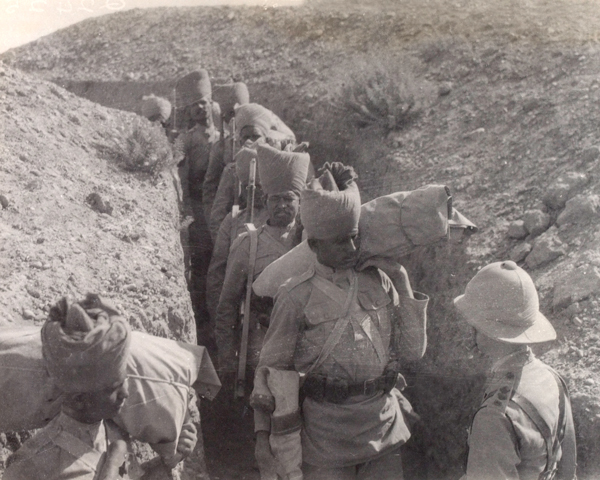
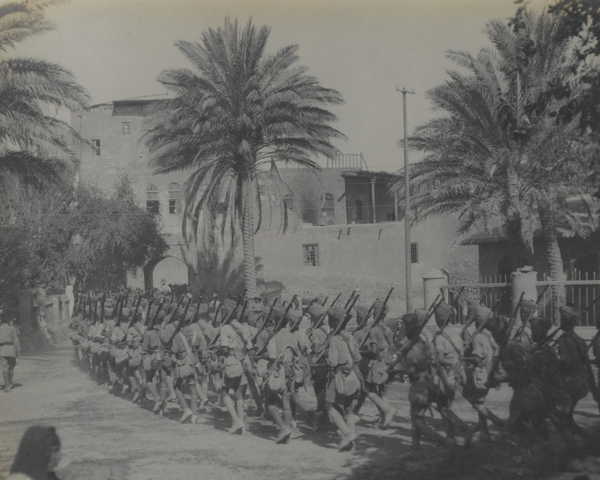
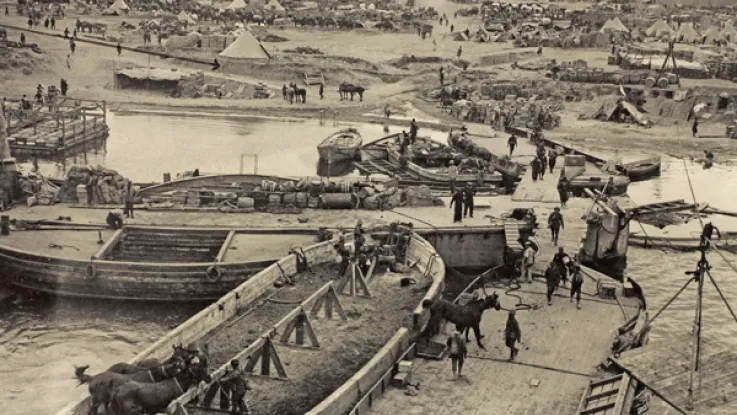
Following Turkey’s decision to enter the war on Germany’s side, Britain sent troops to protect its oil supplies in the Ottoman province of Mesopotamia. In November 1914, an Indian division occupied the port of Basra.
When a second division arrived, the British commander, General Sir John Nixon, advanced deeper into Mesopotamia. Britain believed a successful campaign here would help rally the Arabs against the Turks.
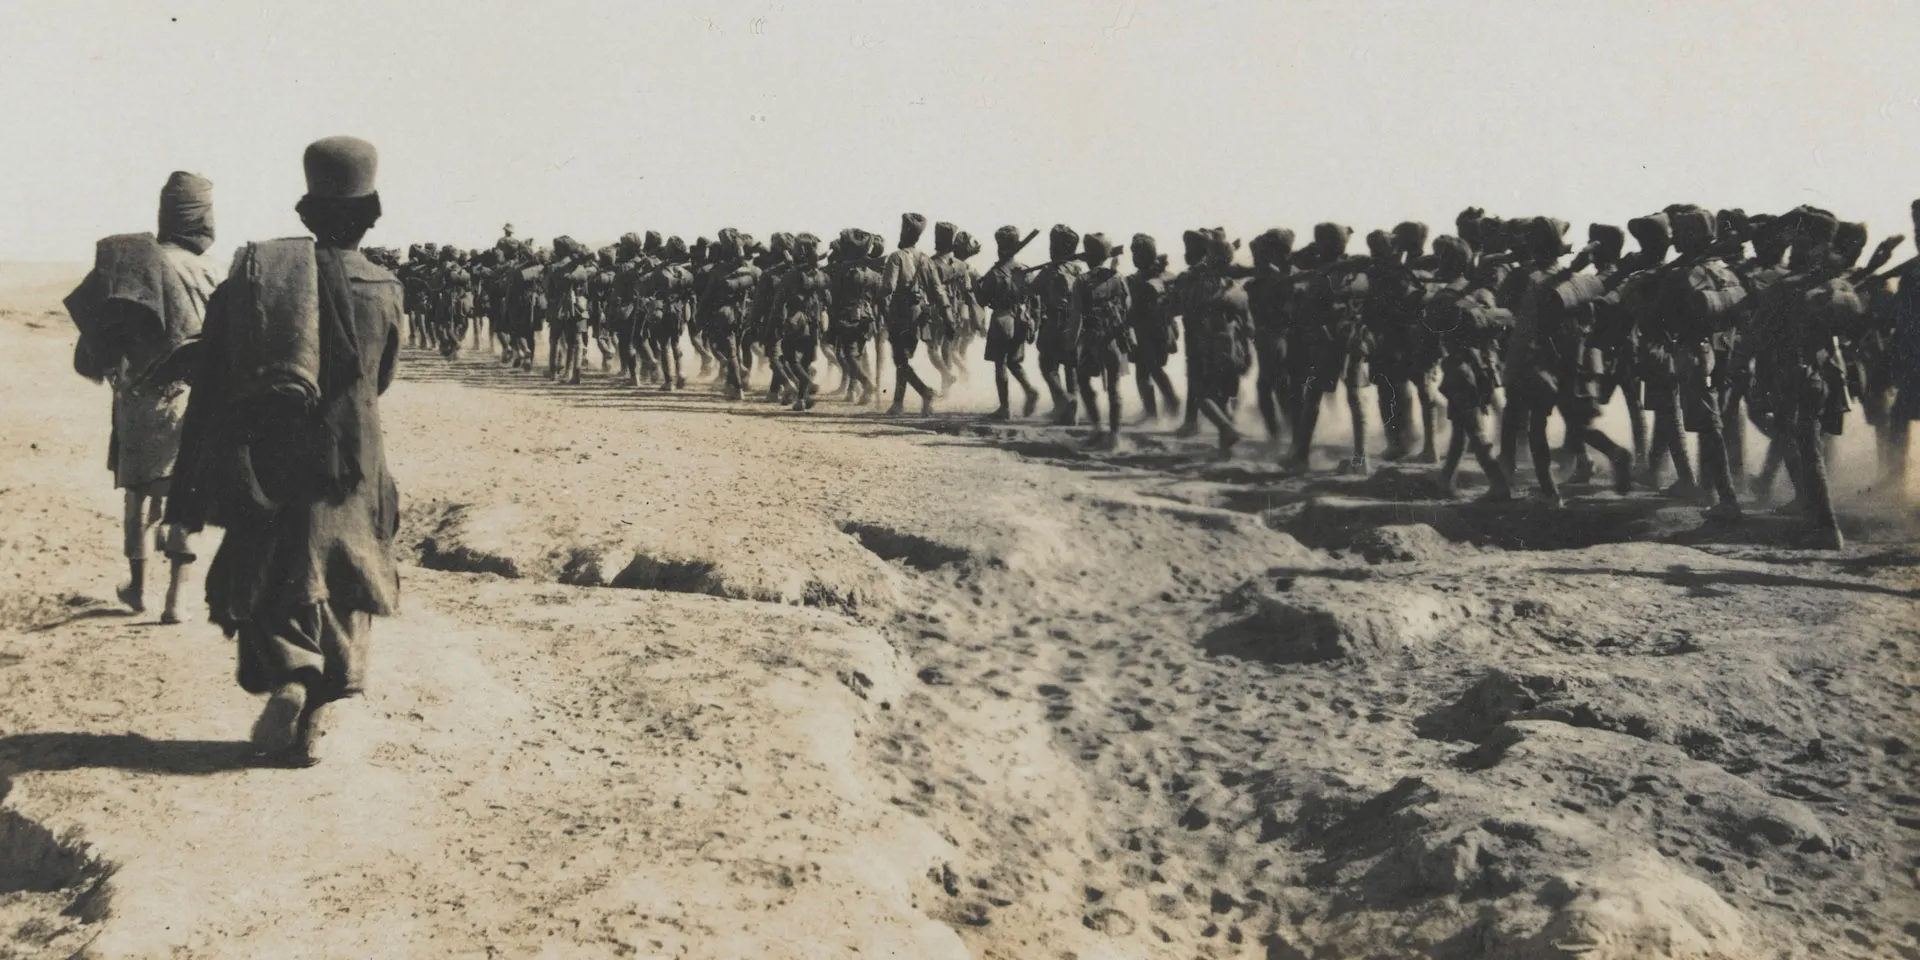
One division moved up the River Euphrates to Nasiriyah. The other - the 6th (Poona) Indian Division, under the command of Major-General Charles Townshend - advanced 140km (87 miles) along the River Tigris to Amara, capturing it on 4 June 1915.
On to Kut
From Amara, Townshend was ordered to push on; first to Kut, and then to Baghdad, the provincial capital, some 400km (250 miles) away. His division entered Kut on 28 September 1915, having inflicted heavy losses on the Turks. By mid-November, it was only 40km (25 miles) from Baghdad.
But a single division was not strong enough for such an operation. Sickness and a lack of artillery, ammunition and supplies had seriously weakened Townshend's force. Even if he had been able to capture Baghdad, he did not have the necessary reserves or logistical support to retain it.
Blocked
On 21-23 November 1915, Townshend was blocked by the Turks at Ctesiphon. Suffering heavy losses, he decided to retreat back to Kut.
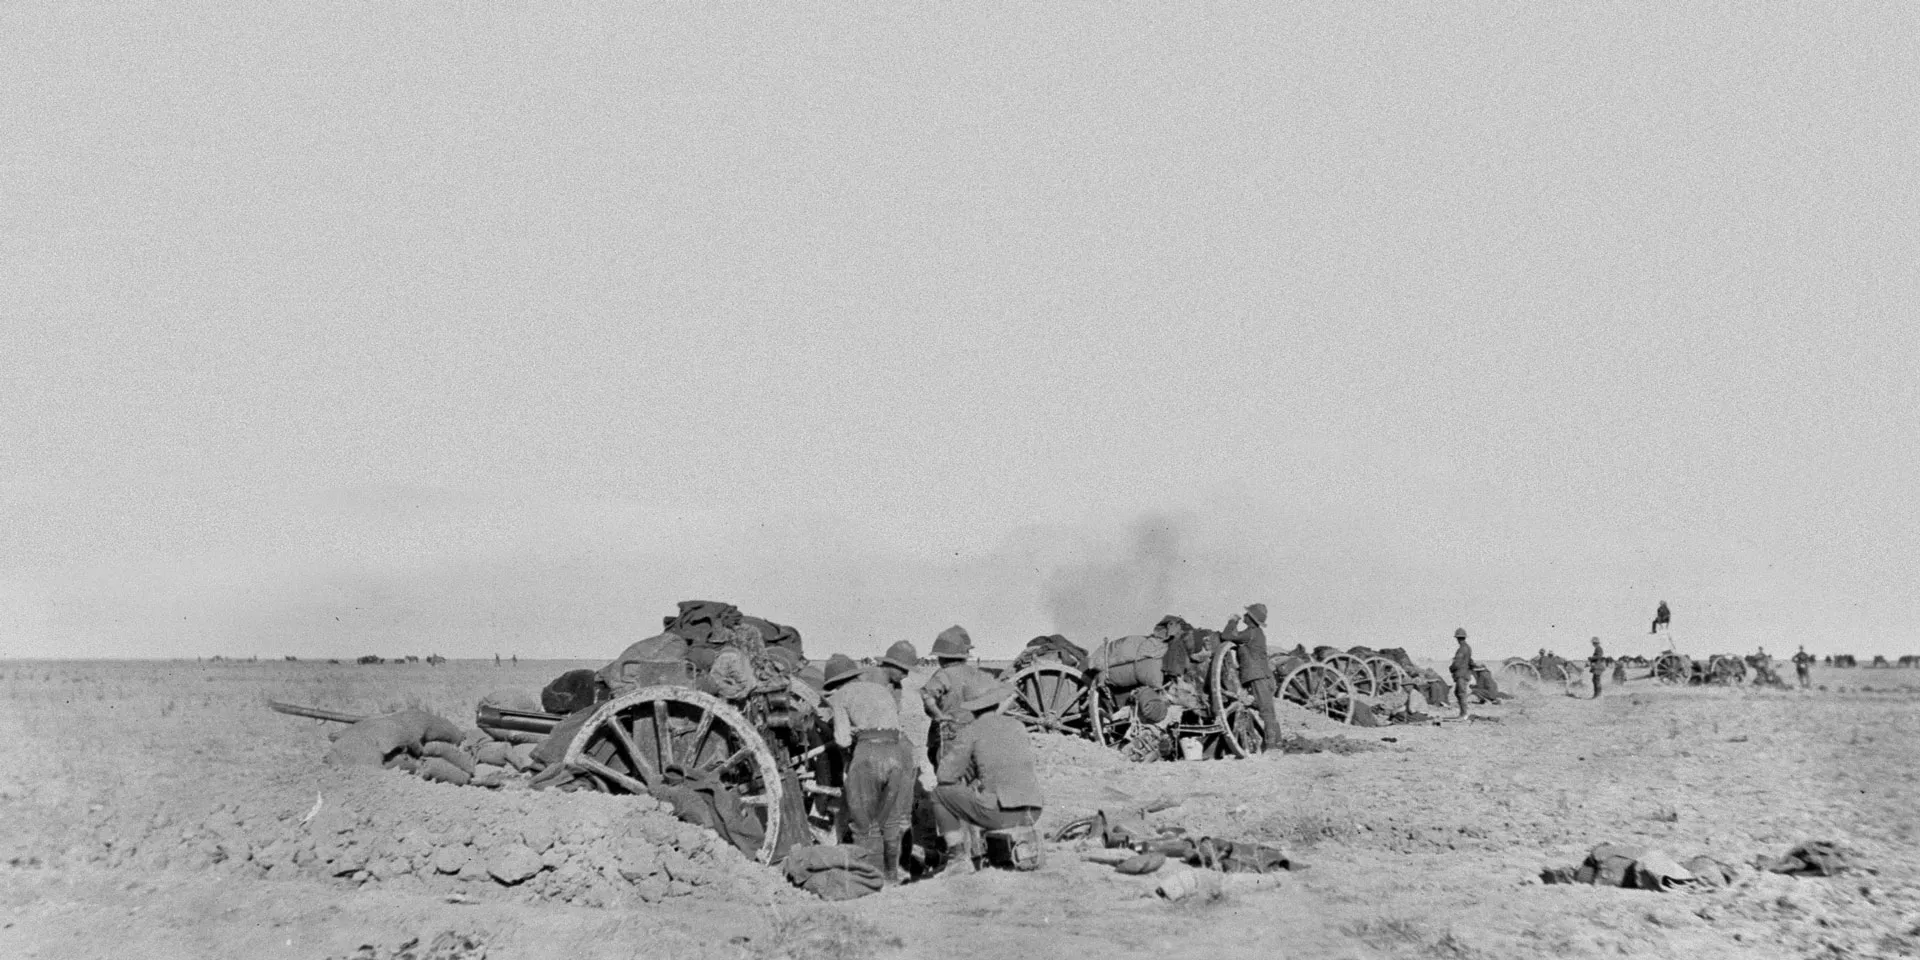
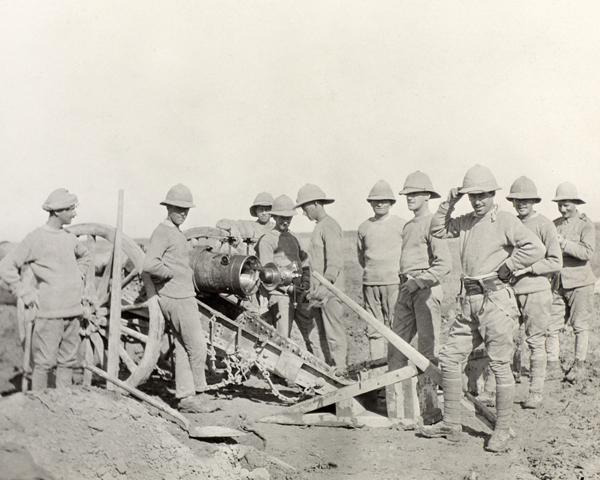
‘After several hours' fighting the enemy's chief position was carried and occupied by our troops, and we then turned our attention to their left flank, where our people were not getting on well at all, and were in fact retiring. It was about 3 o'clock in the afternoon that the Turks counter-attacked so strongly. We found afterwards that they had been re-inforced with about 5,000 fresh troops. The 82nd Battery and ourselves were sent forward to try and stop it. I think we managed to do so, for a time anyhow, but it was a very warm time. They then attacked from another quarter and drove our infantry in and we had to limber up and get out as quickly as we could under a most beastly hot fire.’Account of the Battle of Ctesiphon by Lieutenant Henry Gallup, Royal Field Artillery — 24 November 1915
Siege of Kut
On 7 December 1915, the Turks surrounded Townshend’s 10,000 troops and 3,500 camp followers. For the next few weeks, they launched attacks against the Kut defences. Along with the regular shelling, this took a steady toll on the garrison, which only had food and supplies to last two and a half months. The defenders slowly starved.
‘I can't tell you how beastly it is to make your breakfast off a plate of indifferent horse or mule: no tea and dinner, instead roast or minced horse and the balance of your piece of bread… I simply long for a piece of chocolate or a tinned apple pudding… It is extraordinary how the idea of food absolutely obsesses one when you can’t get any… Our aeroplanes were working harder than ever dropping sacks of grain, parcels of chocolate, anything to enable us to carry on for a few extra days… People were getting weaker [and] there was a deal of sickness, especially among the Indians who had of course brought a great deal of it on themselves by refusing to eat horseflesh until the last few days; one seldom went into the town without seeing several deaders being brought forth on stretchers for burial from one of the hospitals.’Diary of Lieutenant Henry Gallup — 20 April 1916
Shaik Saad
In early January, two Indian divisions, known as the Tigris Corps, were despatched under the command of Lieutenant-General Sir Fenton Aylmer to relieve Townshend’s beleaguered forces.
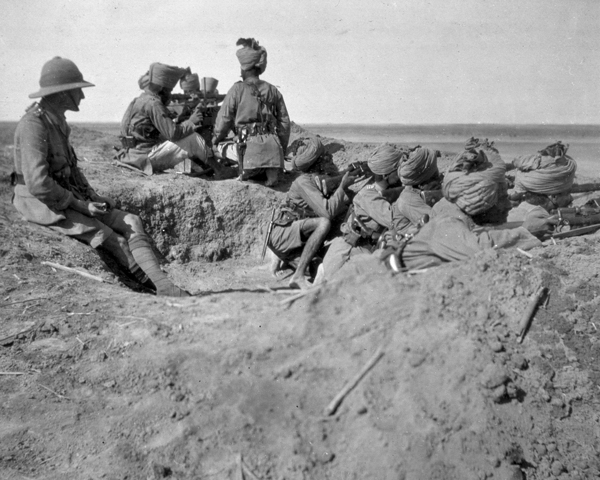
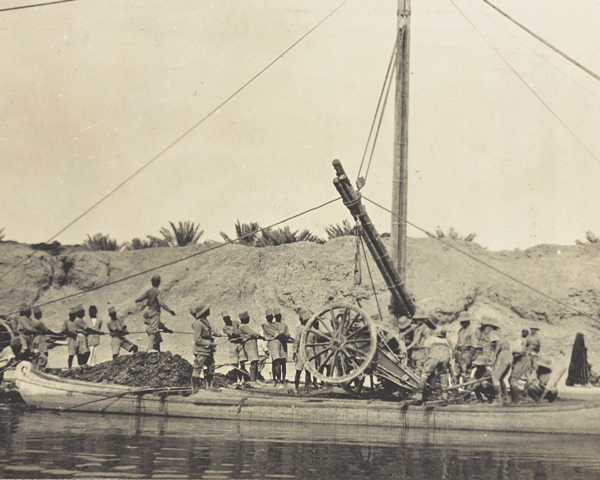
Tigris Corps’s 19,000 troops fought their first major action at Shaik Saad, where 22,000 Turks had set up defences astride the River Tigris. Major-General Sir George Younghusband’s 7th Division attacked on both sides of the river – the 35th Brigade on the left bank, the 28th on the right – with a flotilla of gunboats and supply vessels in support.
The assault began at dawn on 6 January 1916. Lacking any elevated ground, effective aerial reconnaissance, or enough cavalry, the attacking troops had to feel their way through mist to discover where enemy positions started or ended. Trying to manage the battle on both sides of the river, Younghusband was unable to control his forces properly. His attack failed with heavy losses on both banks.
‘The mist that had been concealing our presence from the enemy began to rise and shortly afterwards the battle commenced with a single boom from one of our guns on the other side of the river… In our position we were able to get a splendid view of the day’s fighting. For the first half of the day most of the firing was on the other side of the river from both artillery and infantry. The rattle of rifle fire intensified as the action developed and was punctuated by the regular, heavy boom of the cannon. Far away in the distance our shrapnel and shells were bursting in the air, forming snow white clouds. Suddenly a long drawn out rushing sound is heard terminating in a hollow “clop”, immediately followed by about 1,000 square yards of ground being churned up as with a flail. This is our first shrapnel shell… For the next three hours the enemy steadily plastered us with shrapnel… I turned round and saw a shell fall in the middle of one of our support platoons. Arms and legs and fragments of men were tossed aloft in a swirl of yellow and brown and when the dust had blown away nothing of the platoon remained. The companies advancing behind us were decimated by shell fire.’Account of the Battle of Shaik Saad in the diary of Private William Jay, 1/5th Battalion The Buffs — 6-7 January 1916
Attack renewed
Aylmer arrived with reinforcements, so another attack was launched the next day. But this too was beaten off. Attacking again during the night of 8-9 January, the British were then surprised to discover the Turkish trenches unoccupied. In fact, the Turks had withdrawn overnight, perhaps overestimating British strength.
Aylmer pushed on and rapidly reached Hanna, about 16km (10 miles) from Kut. However, he was unable to break through during the Battle of the Wadi and the Battle of Hanna between 13 and 21 January 1916.
Further attacks by the relief force in March and April all failed with heavy losses. In attempting to rescue the men at Kut, the relieving force suffered around 23,000 casualties.
Surrender
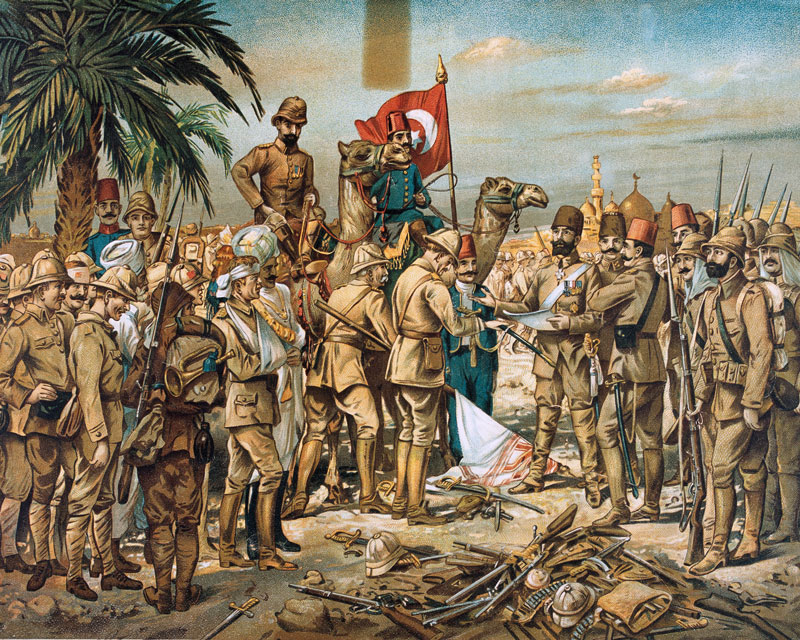
By the end of April 1916, the Kut garrison was starving and sickness was rife. With no prospect of relief, Townshend was ordered to begin negotiations with the Turks. At the same time, the garrison started to destroy its ammunition and equipment.
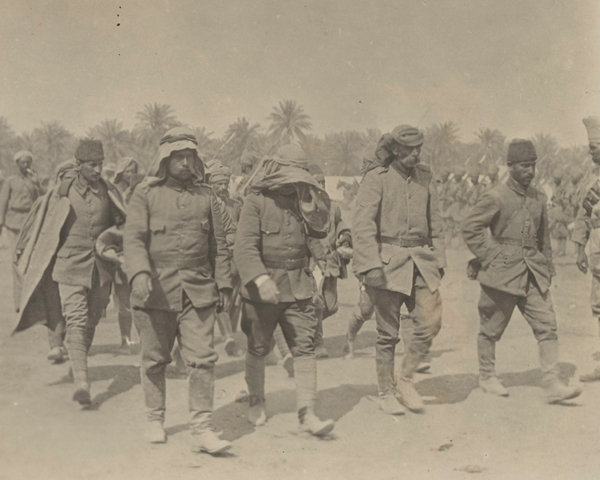
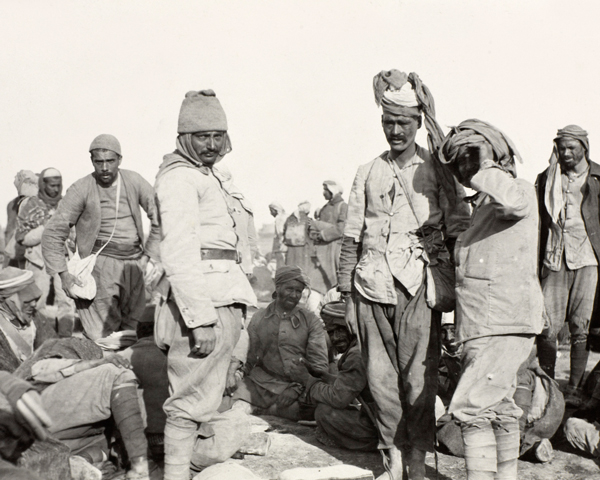
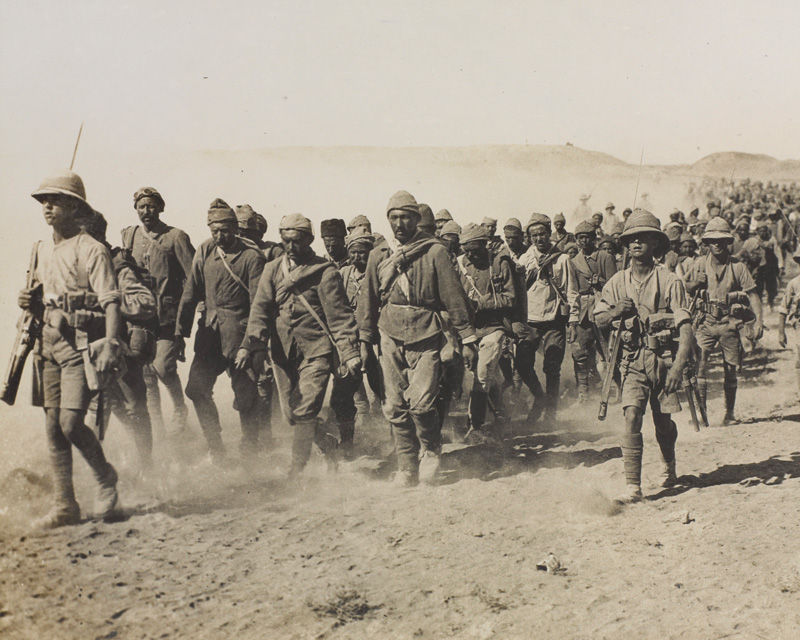
On 29 April, the garrison surrendered and 13,000 men marched into captivity. A third were to die from disease, malnutrition and cruel treatment. The episode was one of the British Empire’s worst defeats of the war.
Tigris Corps retreated to Basra, where the British spent the remainder of the year rebuilding their forces.
Medical failings
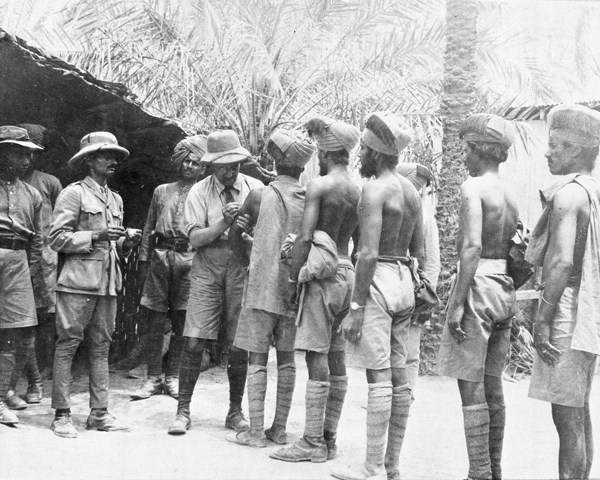
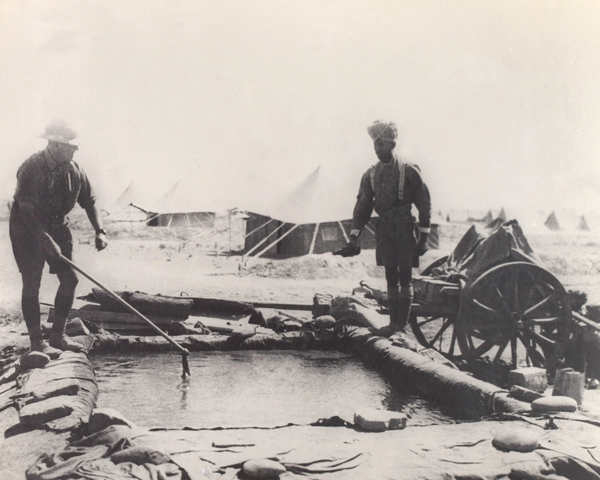
The extreme heat in Mesopotamia - alongside poor medical facilities, lack of clean water, flies, mosquitoes and vermin - led to appalling levels of sickness and death from disease. Despite the best efforts of medical staff, thousands of soldiers died, especially in the early part of the campaign.
For example, medical arrangements for the Kut relief forces were completely inadequate, made worse by rain and mud. Provision had been made to handle 250 casualties. By 9 January 1916, there were 4,000 in Tigris Corps. Many wounded had to wait 10 days before they were assessed at field ambulances and sent to hospitals at Basra.
‘At Amara we heard tales of the bad medical arrangements but it wasn’t till we got to Sheikh Saad that it really came to our notice. On landing there the place was ankle deep in mud. The OC [Officer Commanding] told us that he had 1000 Indian sick and wounded and only one IMS [Indian Medical Service] man who was down with dysentery to look after them. There were no dressings or medicine and most of the wounded… had not had their 1st Field Dressing removed… all agreed that the state of affairs was disgraceful. The fellows on shore were very despondent and said the boats going down stream were awful – when you went on board the stench nearly knocked you down.’Diary of Brigade Major Thomas Catty, 69th Punjabis — 18 January 1916
New command
The British Government now took over control of the campaign from the Indian General Staff. In July 1916, it placed Lieutenant General Sir Frederick Maude in charge. Unlike his predecessors, Maude was a methodical leader whose force was boosted by increased artillery and improved logistical, medical and transport support.
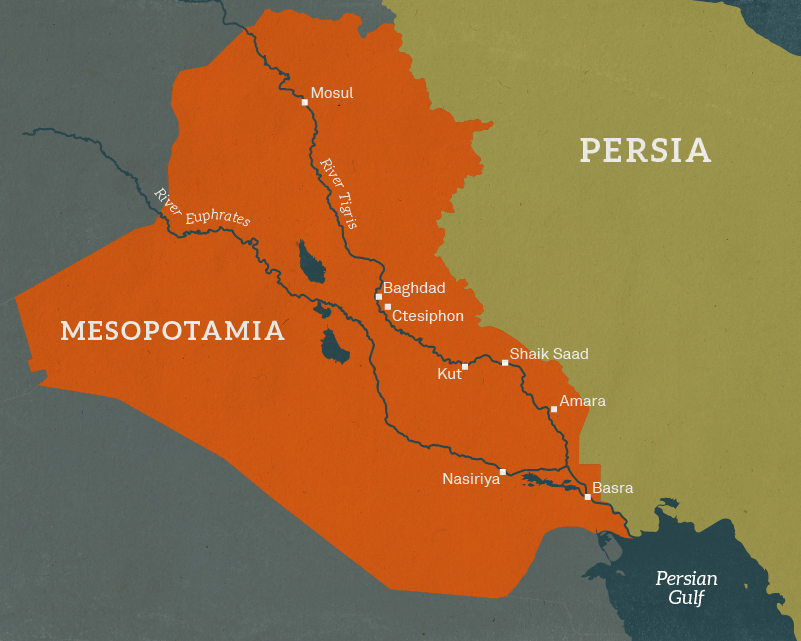
Map of Mesopotamia, 1916
Slow progress
On 13 December 1916, Maude began a second advance up both banks of the Tigris with an Anglo-Indian force of 150,000 men.
At first, he made slow progress. An attack on the Khadairi Bend, a fortified river loop, which started in early January 1917, was held up. But by early February, British troops had begun to close in on Kut.
They secured the river bank to the south of Kut. But the advance on the north bank of the Tigris was delayed downriver at Sanniyat.
Shumran Bend
Maude decided to cross the river at the Shumran Bend, upstream of Kut, to cut off Turkish communications with Baghdad and besiege the town. In turn, this would force the enemy to abandon Sanniyat, and allow the force on the north bank to continue its advance.
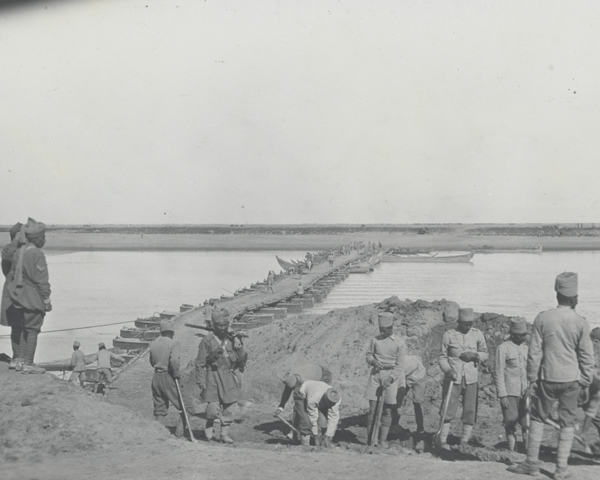
The amphibious attack at Shumran began on 23 February 1917. It was spearheaded by 37th Indian Brigade. They overcame the defenders and pushed them back far enough to allow construction of a pontoon bridge to move men and supplies across the river. By nightfall, two divisions were across the river and pushing on to Kut.
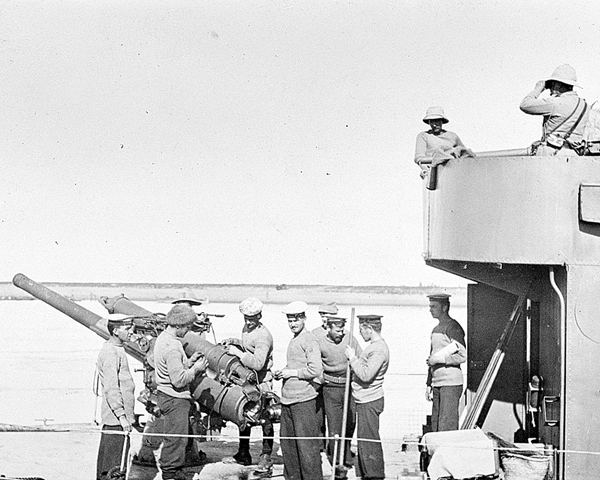
A diversionary attack downstream at Sanniyat also managed to break through, increasing the pressure on the Ottoman defenders. They abandoned Kut the following day and began retreating towards Baghdad, pursued by Royal Navy gun boats.
On to Baghdad
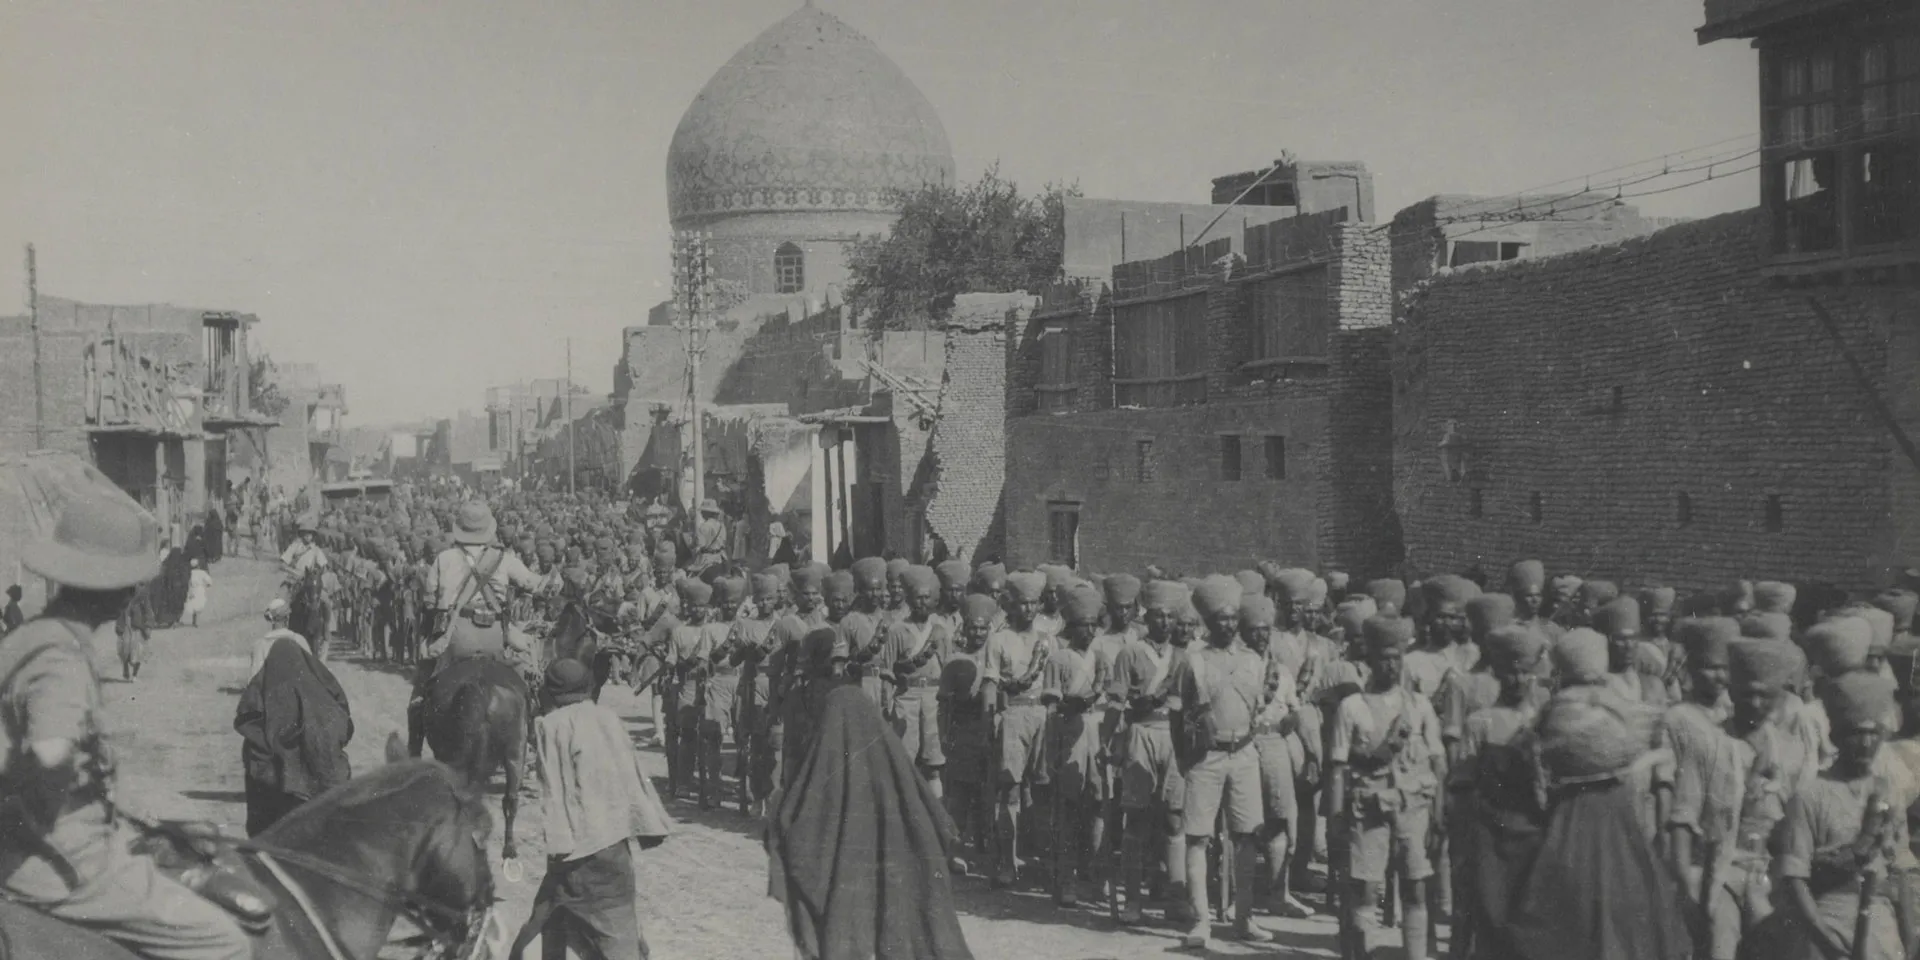
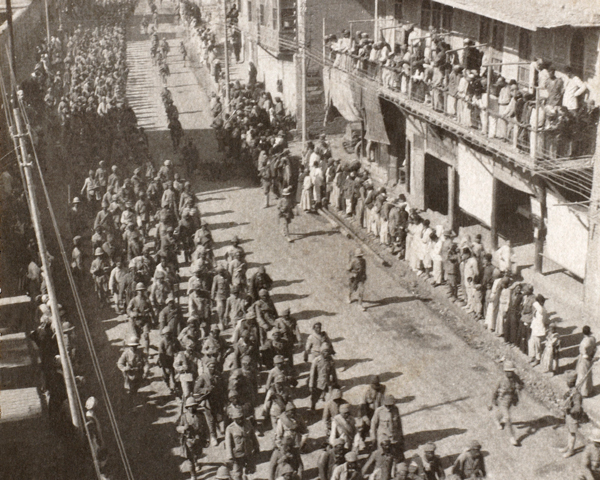
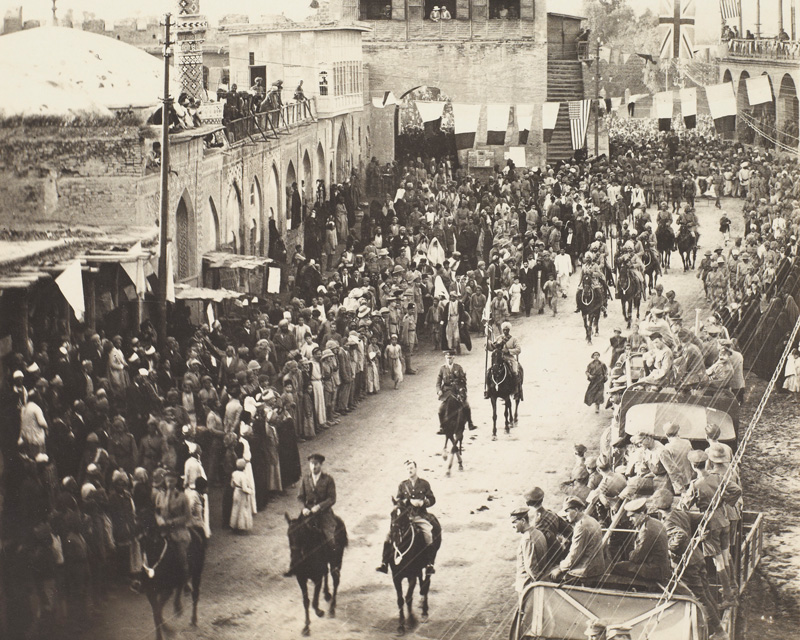
On 4 March 1917, Maude reached the defences on the Diyala River, just south of Baghdad. Here, he deployed his men so skillfully that the Turks were forced to abandon their lines without a major fight. On 11 March, British forces marched into the city.
The Turks withdrew north and established their headquarters at Mosul. The British resumed their offensive in late February 1918, but this petered out in April after they had to divert troops to Palestine to support the operations there.
Armistice
As armistice negotiations began, the British attempted to strengthen their bargaining position by renewing their advance. They defeated the Turkish 6th Army at the Battle of Sharqat (23-30 October 1918) a week before the signing of the Armistice of Mudros, which ended the war.
Although the armistice said both sides were supposed to retain their current positions, the British pushed on to secure oil-rich Mosul on 14 November 1918.
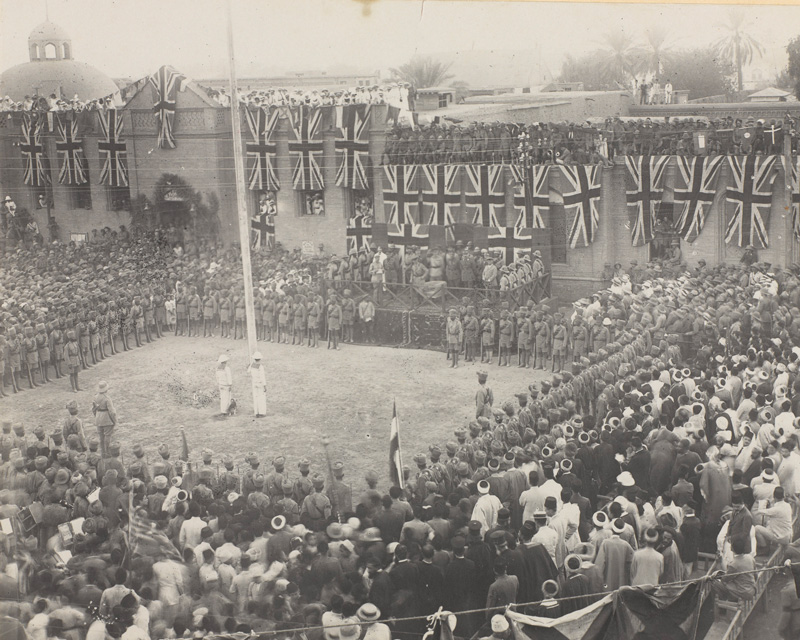
‘Our military operations have as their object the defeat of the enemy, and the driving of him from these territories. In order to complete this task, I am charged with absolute and supreme control of all regions in which British troops operate; but our armies do not come into your cities and lands as conquerors or enemies, but as liberators.’Lieutenant General Sir Frederick Maude’s Baghdad Proclamation — 18 March 1917
Analysis
The campaign had finally been won, but at great cost. With over 200,000 British Empire troops committed against far fewer Turks, the whole deployment was arguably a drain on British resources that could have been used on other fronts.
The British suffered over 85,000 battle casualties in Mesopotamia. Many more men were hospitalised for non-battle causes, like sickness. Nearly 17,000 men died from disease.
Despite Maude’s claims of liberation, the Army remained in the region. The new state of Iraq became a British mandate against the wishes of its inhabitants. In 1920, a major revolt broke out in the country, which the British eventually suppressed.

