The context
The Ottoman Empire secretly joined the Central Powers alliance on 2 August 1914. It hoped to use the war as a means of reasserting control over its former territories in Egypt and the Balkans. On 26 January 1915 it had launched a surprise attack on the Suez Canal.
After successfully defending the canal, British Empire forces went on the offensive, crossing into the Sinai Peninsula. Success there led General Sir Archibald Murray to press the advantage by invading Palestine. However, two attacks on Ottoman-held Gaza in March-April 1917 failed, and Murray was replaced by General Sir Edmund Allenby.
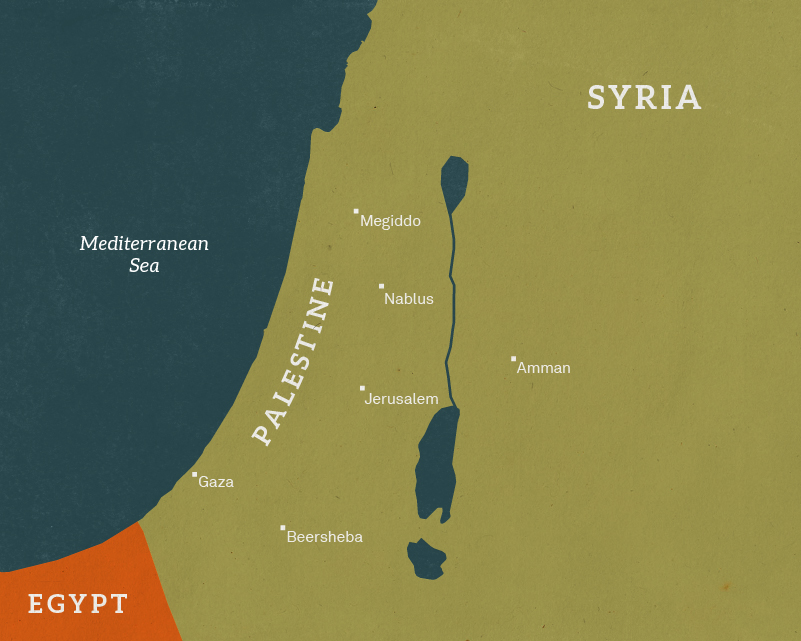
Map of Palestine campaign, 1918
Manoeuvre
Allenby’s experiences commanding mounted units in the Boer War (1899-1902) saw him place his faith in mobile warfare. Rather than risk another failure at Gaza, he planned an extraordinary strategic manoeuvre to encircle Gaza and take Beersheba by driving deep into the desert on a long and arduous ride.
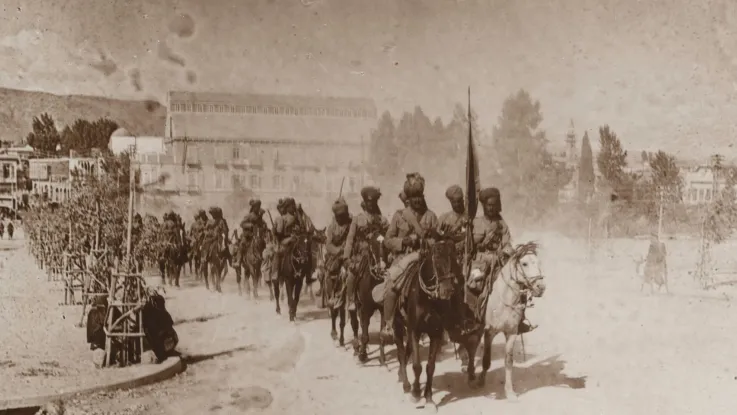
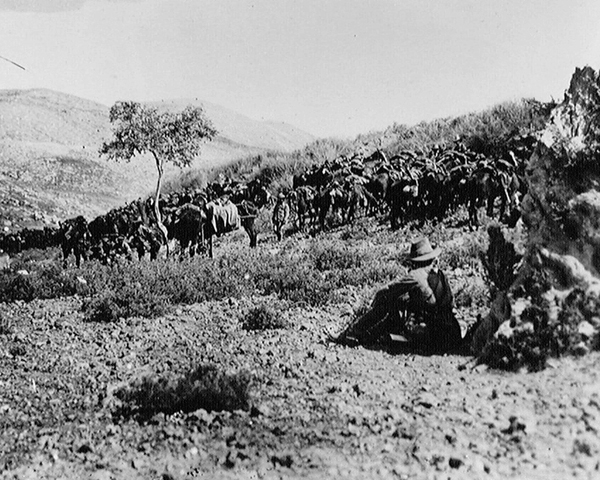
Supported by British infantry and accurate artillery support, a daring charge by the Australian Light Horse at Beersheba stunned the Ottoman defenders. This attack broke the deadlock, led to Gaza's capture and opened the road to Jerusalem.
By the summer of 1918 the Ottoman Army was on the defensive. Forced to retreat northwards through Palestine, they regrouped at Megiddo hoping to counter-attack. However, this left them in a position that favoured Allenby’s own planned offensive.

German-Ottoman forces
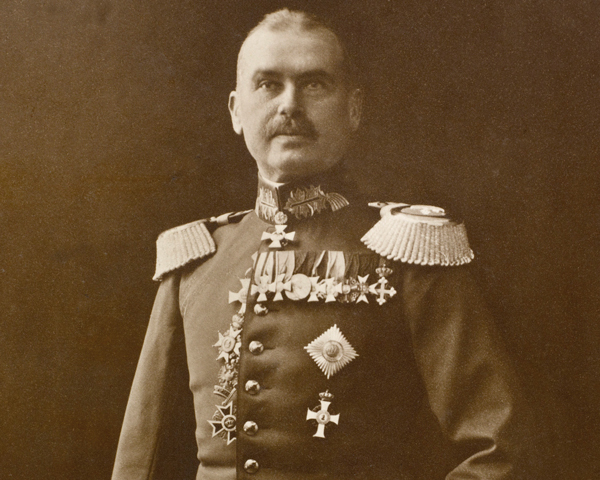
General Otto Liman von Sanders (1855-1929) was the German commander responsible for modernising the Ottoman Army. He led the joint German-Ottoman forces in Mesopotamia. When the Palestine campaign started to go wrong, he was called upon to re-organise Ottoman defences. By then, however, the Entente was in a position of strategic strength.
General Mustafa Kemal (1881-1938, later known as Atatürk) was an astute career soldier, who had been crucial to the Ottoman success at Gallipoli in 1915. For much of 1916-17, he commanded Ottoman defences in the Caucasus to great effect. But by the time he was called to Palestine, the campaign there was already unravelling.
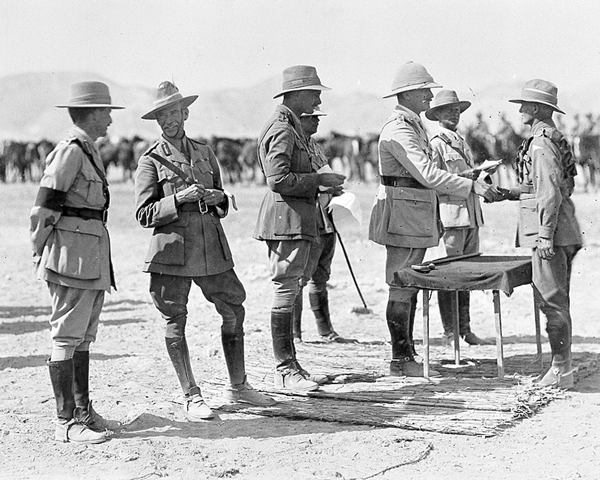
Allied forces
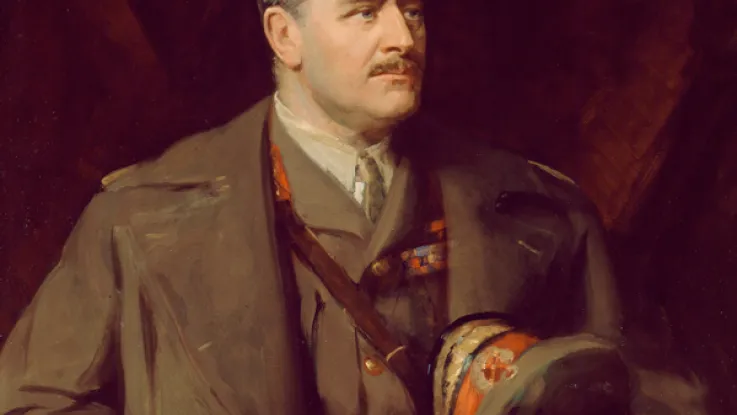
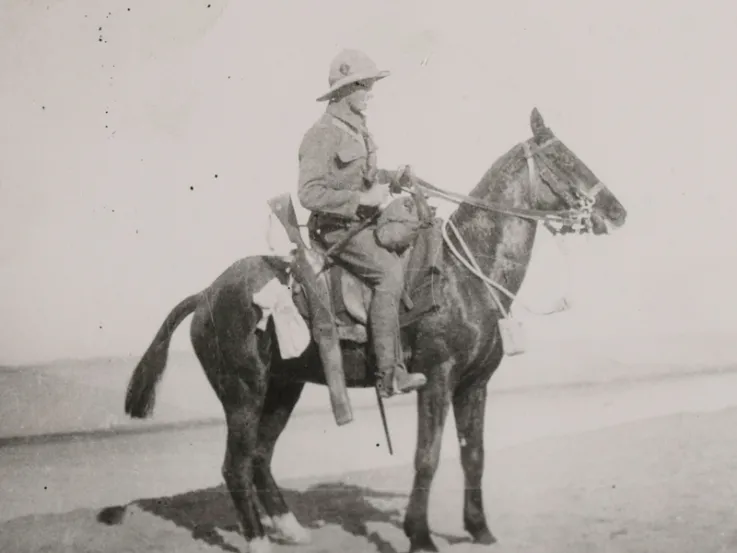
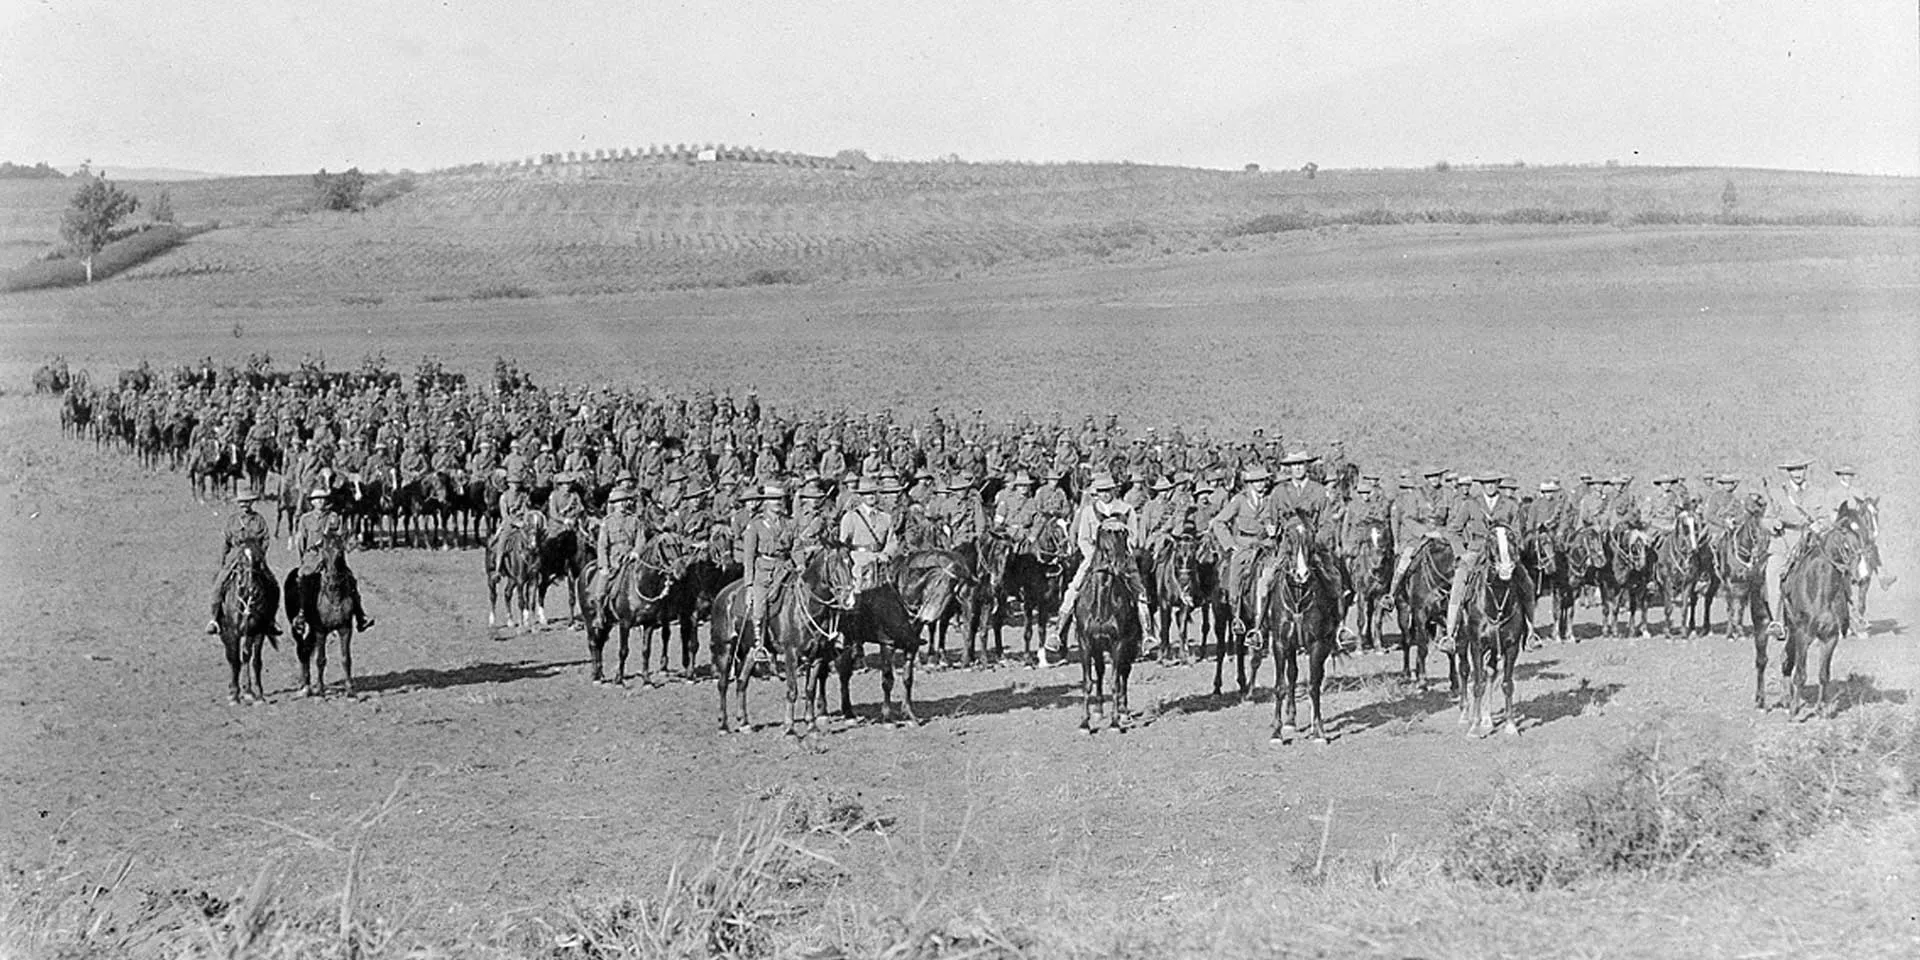
General Edmund Allenby (1861-1936) had learned much about the value of mounted troops and unconventional warfare during his Boer War (1899-1902) service. When he took command of the Egyptian Expeditionary Force he was fortunate to have the highly mobile units of the Desert Mounted Corps (DMC) under his command, which he used to great effect. He was also tactically astute in the deployment of his infantry and artillery.
Lieutenant-General Henry Chauvel (1865-1945) was a charismatic and daring Australian officer. Gaining experience in the Boer War, he later commanded the 1st Light Horse Brigade at Gallipoli with distinction, and then the 1st Australian Division during its evacuation from the peninsula. After commanding the Australian and New Zealand Army Corps (Anzac) Mounted Division during the Sinai campaign, he went on to lead the DMC in Palestine.
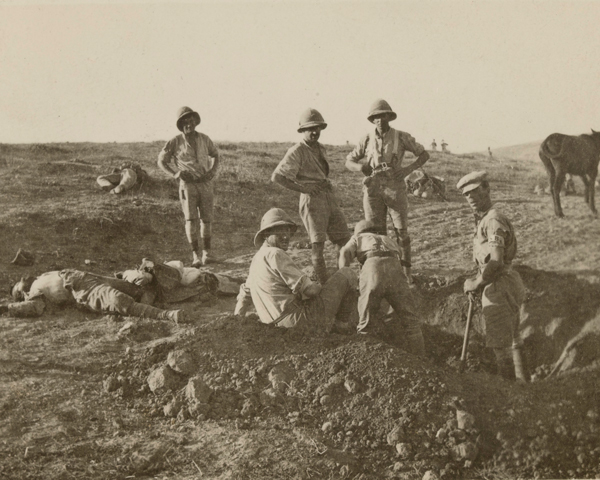
The battle
Allenby skilfully deployed his forces before launching a surprise attack. He sought to trap the Ottoman forces, which were encamped and re-grouping on the plains of Megiddo, and block off any escape routes.
He aimed to launch a co-ordinated attack with cavalry, infantry, artillery, armoured vehicles and aircraft to annihilate them in one fell swoop. As the infantry and artillery closed on their positions, the DMC encircled the enemy, preventing escape.
Sharon
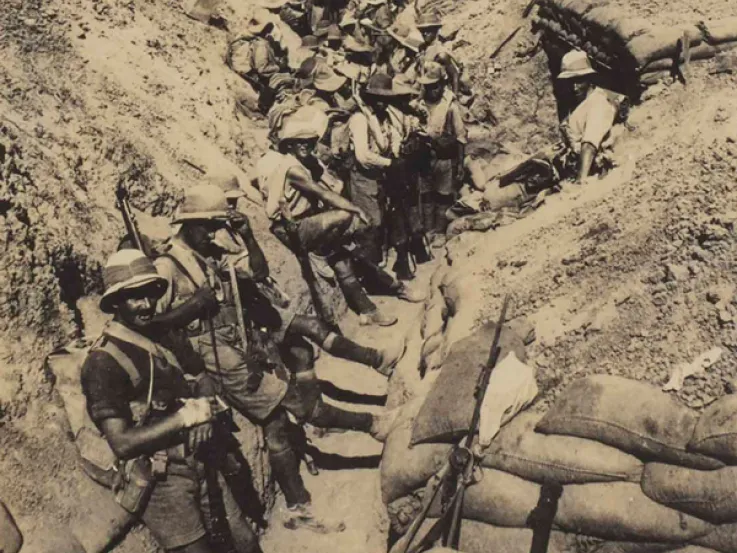
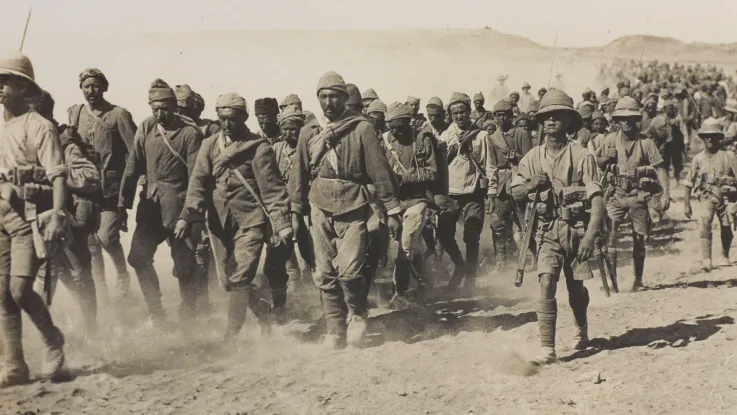
Arab rebels attacked Ottoman lines of communication, while British and Indian divisions battered their armies. At the Battle of Sharon (19 September), accurate and deadly creeping artillery barrages preceded an assault by 21 Corps' infantry who punched holes through the defences.
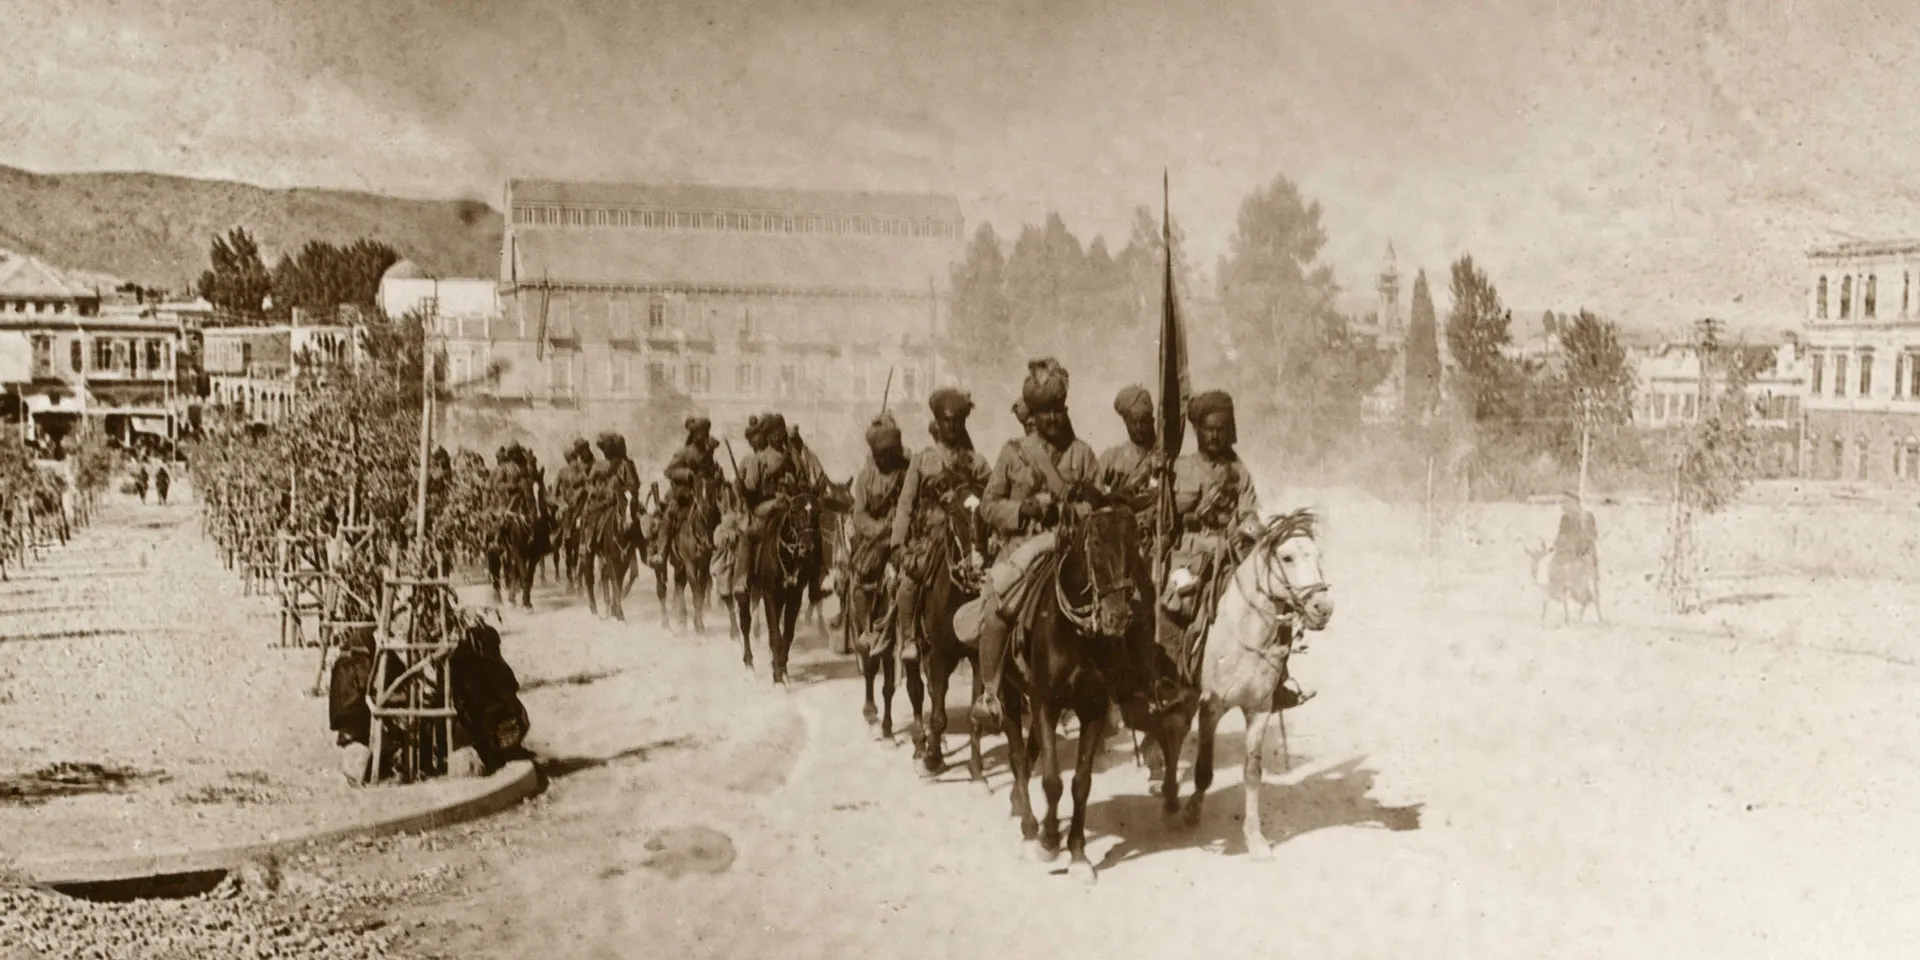
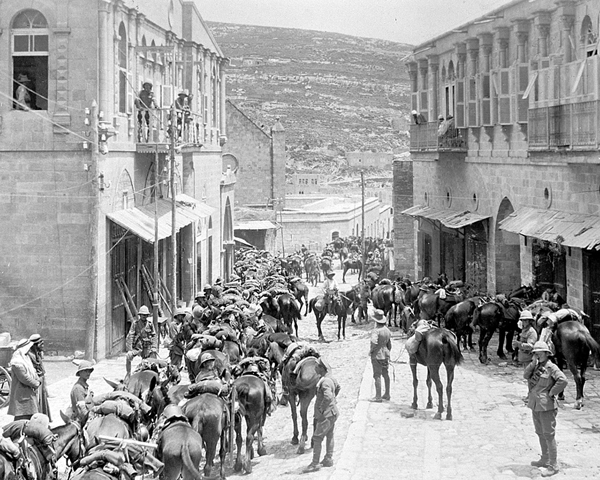
The DMC then poured through into the Ottoman rear. They captured the key strongholds at Afulah, Beisan, and Jenin. Sweeping through the region, they took thousands of prisoners, and also secured Nazareth, Haifa, and Samakh.
Nablus
The desired breakthroughs at Sharon were achieved by nightfall. The Battle of Nablus then began with 20 Corps attacking the Ottoman line in the Judean Hills. A mixed mounted and infantry unit known as Chaytor’s Force captured the Jordan River crossings, while an artillery barrage softened up the Ottoman Eighth Army.
At the same time, the Ottoman Fourth Army came under sustained attack in the Hills of Moab, at Es Salt and Amman. The battles raged throughout the night and into the next day, allowing 21 Corps to begin outflanking the Eighth Army. Meanwhile, the DMC completed their encirclement of the Turks, securing the important defiles of the Carmel Range.
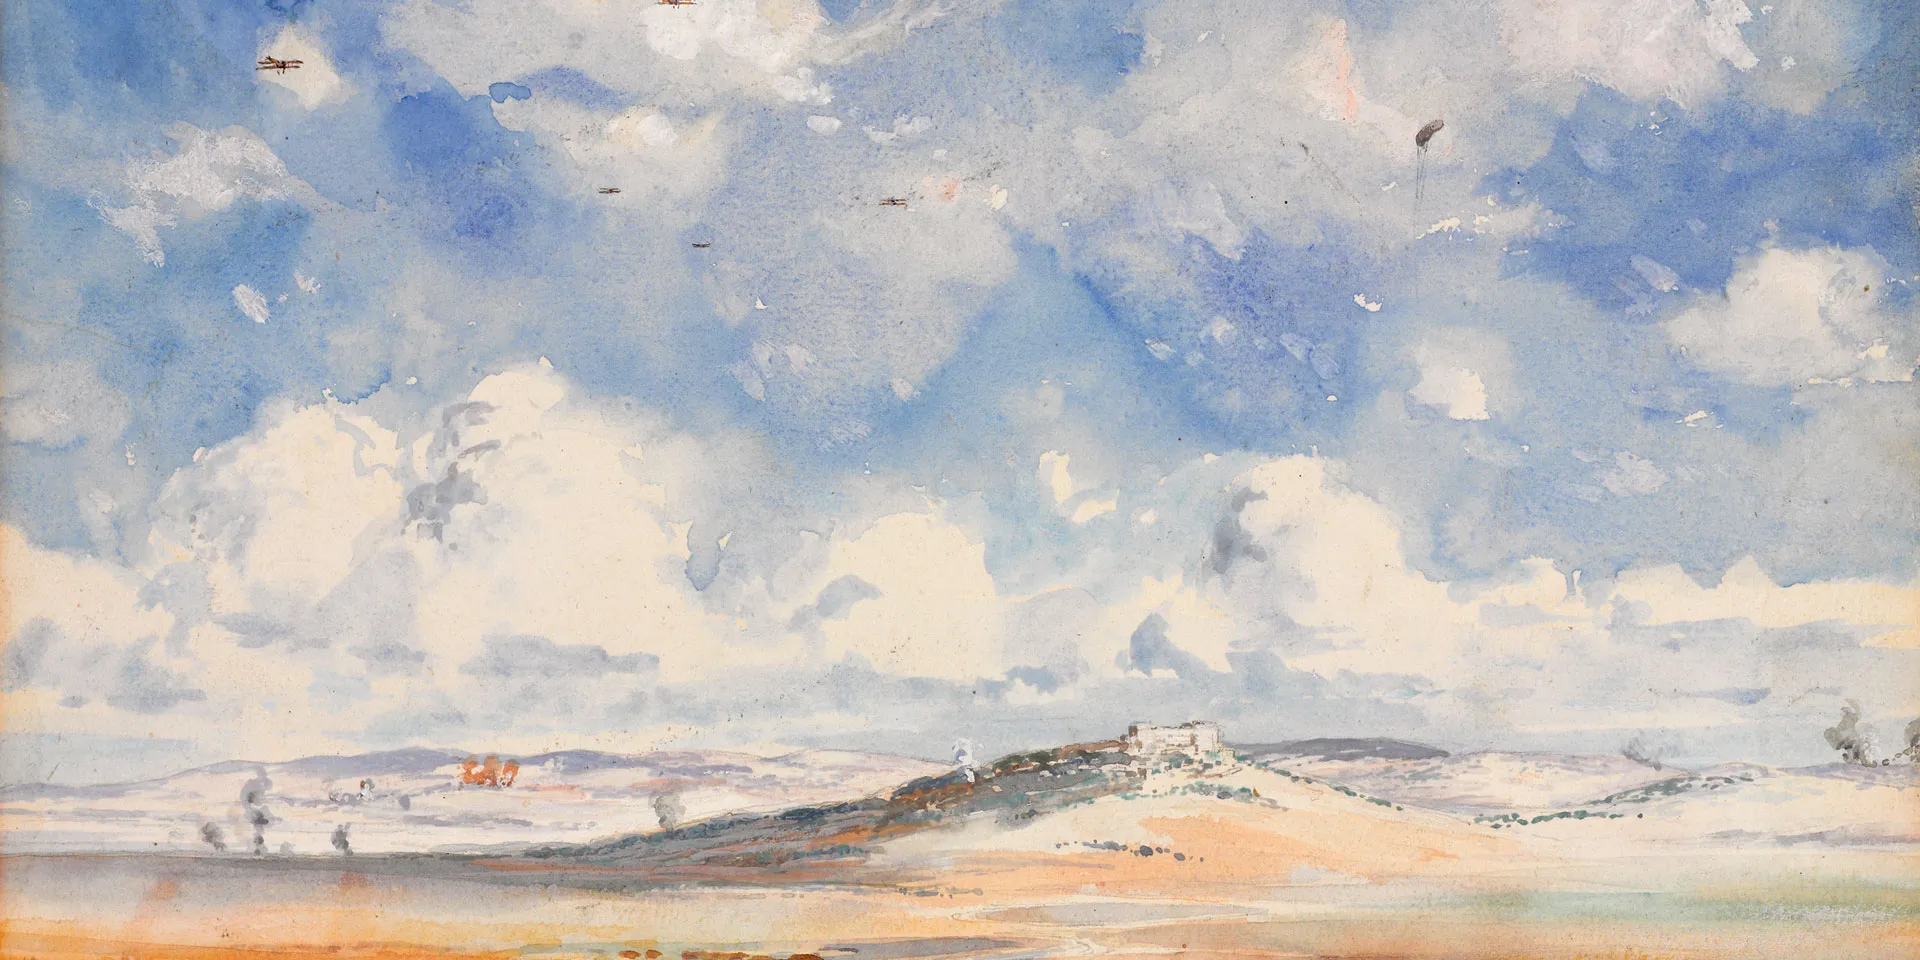
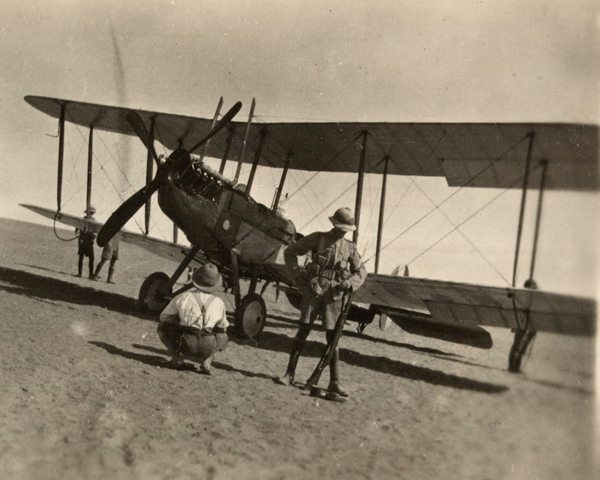
Air attack
The Turkish armies were trapped. Nablus was captured and a devastating aerial bombardment cut off the line of retreat along the Wadi el Fara road. Waves of British and Australian aircraft repeatedly attacked the Ottoman forces. The wreckage of hundreds of vehicles, wagons, guns, and dead or wounded troops lay scattered along a six-mile stretch of road.
By 21 September, Ottoman forces around Nablus were broken, allowing 20 Corps to round up prisoners. Mounted units like the Australian Light Horse then overran the Ottoman troops at Samakh.
Victory
Elements of the Ottoman Fourth Army were deployed away from the destruction at Sharon and Nablus, and still posed a risk. Learning of the losses at those battles, they retreated northwards. Allied aircraft again caused heavy losses on the retreating troops. Chaytor’s Force then took Es Salt and Amman.
As the last desperate elements of the Fourth Army reached Ziza they found their path blocked by the Anzac Mounted Division. Pursued by Arab irregulars embittered by years of occupation, they surrendered en masse to the Anzacs rather than face slaughter at Arab hands. In the entire battle, the Allies had inflicted losses on the Ottomans of over 25,000 killed, wounded or captured, effectively ending their ability to continue the war.
The consequences
The way to Damascus, Beirut and Aleppo now lay open. Ottoman stragglers who had escaped the destruction at Megiddo continued to filter north in the hope of regrouping. What followed was one of the most remarkable military pursuits in history. Chauvel led the DMC northward, covering over 100 miles (160km) in three days and crossing the Golan Heights.
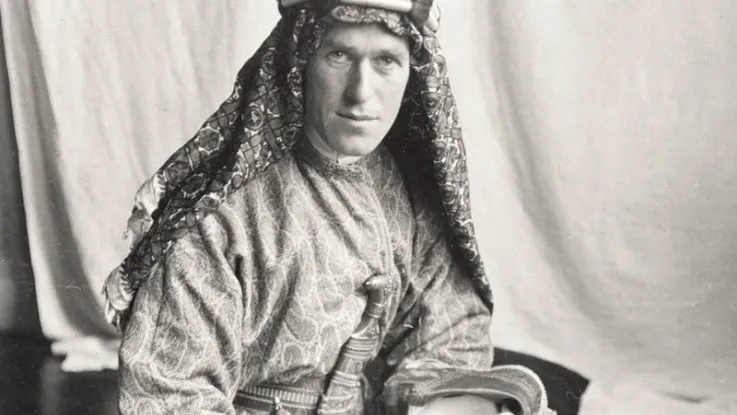
On the morning of 1 October, the most advanced unit, the 3rd Australian Light Horse Brigade, entered Damascus in pursuit of fleeing Ottoman troops. They accepted the city’s formal surrender, much to the annoyance of Lieutenant-Colonel TE Lawrence, who had planned a grand ceremony in support of the Arab insurgents’ claim to self-rule.
Armistice
Meanwhile, the 3rd Indian Division headed to Beirut, and the 7th Indian Division towards Baalbek. Homs was also captured on 16 October. Lawrence’s arrival in Damascus allowed Chauvel to continue his pursuit north, covering a further 185 miles (296km) to Aleppo, which fell on 25 October. Five days later the Turks signed an armistice and the 600-year-old Ottoman Empire was subsequently partitioned.