Invasion
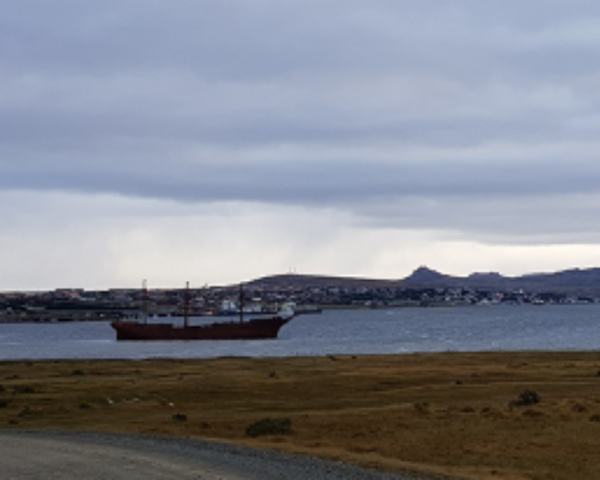
On 2 April 1982, a tiny British overseas territory, located about 300 miles (almost 500km) off the east coast of Argentina, was thrust violently into public consciousness in the UK.
After decades of diplomatic wrangling, the Argentines launched a surprise invasion of the Falkland Islands. Their ruling military junta hoped finally to bring Las Malvinas – as the Islands are known in Argentina – under the control of Buenos Aires.
The invasion provoked a political and media backlash in Britain, which led to a joint force quickly being assembled. On 5 April 1982, the first elements of this force set sail for the South Atlantic to retake the Falklands.
The Task Force was composed of 100 ships. It carried a reinforced 3 Commando Brigade with 2nd and 3rd Battalions, The Parachute Regiment attached, along with other units including a reinforced Troop from The Blues and Royals, under the command of Brigadier Julian Thompson, RM.
Challenges
As well as the enormous distance - the Falklands are some 8,000 miles (almost 13,000km) from the UK - the Army also faced limitations on what forces could be committed.
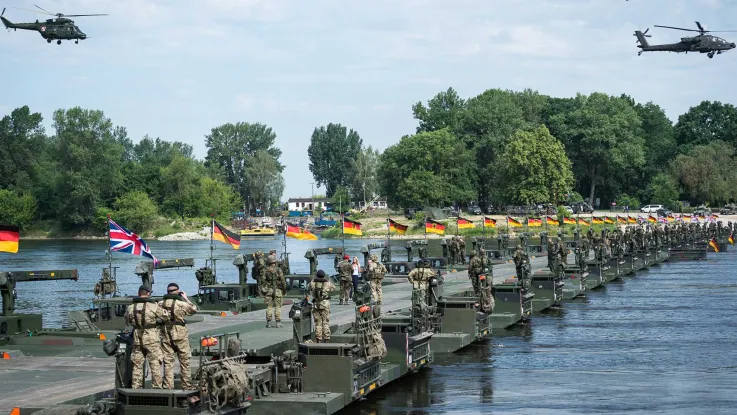
Of the 160,000 soldiers in the regular Army in 1982, 55,000 were in Germany with the British Army of the Rhine, facing down the threat from the Warsaw Pact. Germany dominated the Army’s strategic thinking at the time, influencing doctrine, equipment, and methods of supply and reinforcement.
The predominant theory was that any war would be with the Soviet Bloc, fought on the plains of Northern Europe. Armour would play a major role in this, and any infantry operations would be conducted in conjunction with heavily armoured and mechanised units. The Falklands conflict proved to be very different.
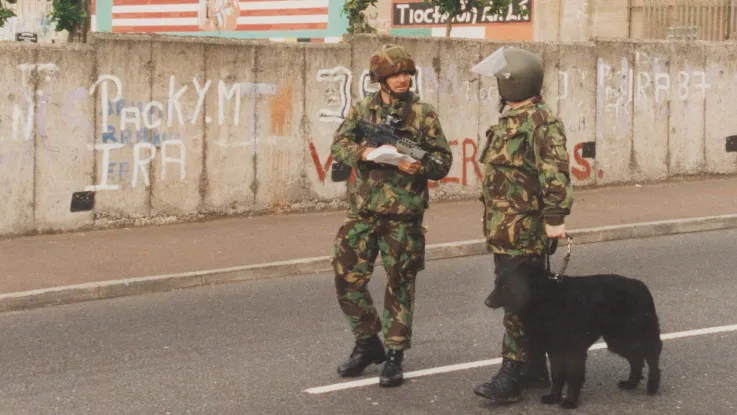
Other garrisons were based in Berlin, Hong Kong, Gibraltar, Belize, Brunei and Cyprus. There were also around 11,000 troops serving in Northern Ireland.
Reinforcements
On 11 April, Admiral Sir John Fieldhouse, the overall commander of the Task Force, agreed that an extra Army brigade should be made available and moved south as soon as possible. Britain did have a mobile infantry force, 1 Infantry Brigade, but this was dedicated to Nato and could not be withdrawn.
The only available force was 5th Infantry Brigade, composed of the Gurkhas and Paras. However, this had been gutted to enhance 3 Commando Brigade. It was, therefore, reinforced with the 2nd Scots Guards and 1st Welsh Guards who joined 1st Battalion 7th Duke of Edinburgh's Own Gurkha Rifles.
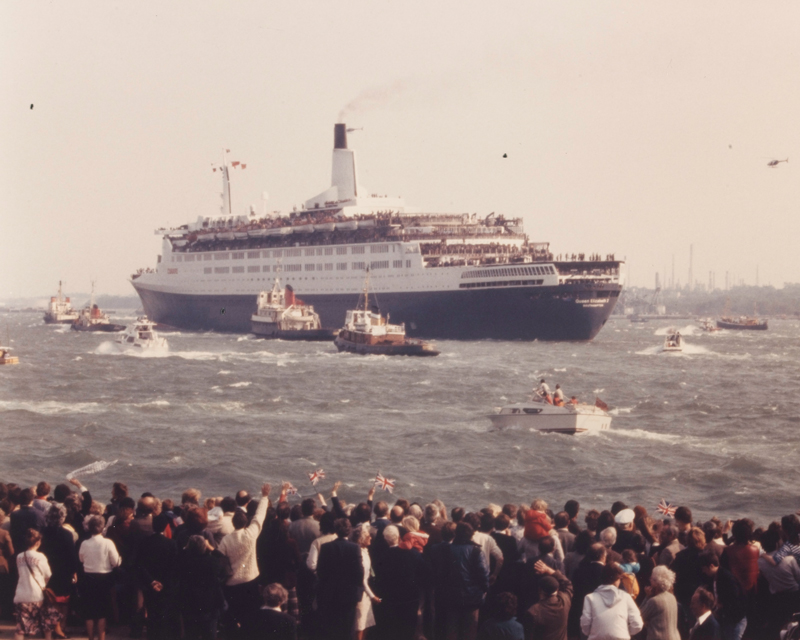
The brigade sailed on 12 May aboard RMS 'Queen Elizabeth 2' cruise liner, which had been requisitioned for the purpose. Major General Jeremy Moore, RM, would take command of the land campaign once this second brigade arrived in theatre.

Special Forces
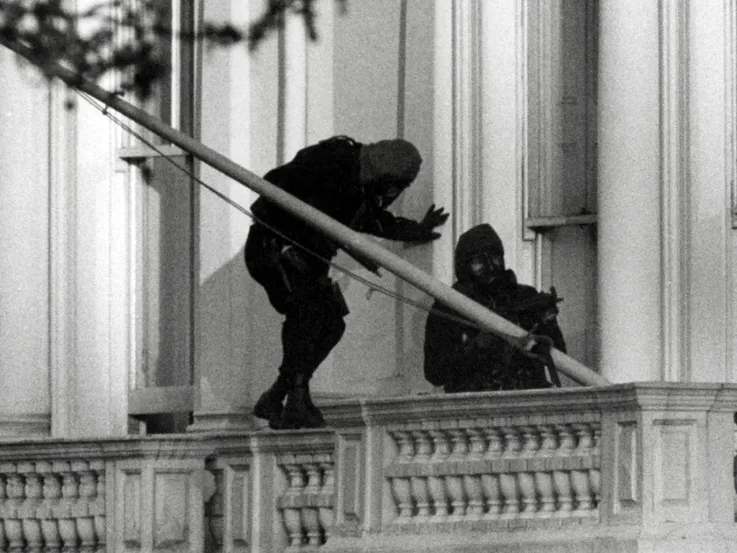
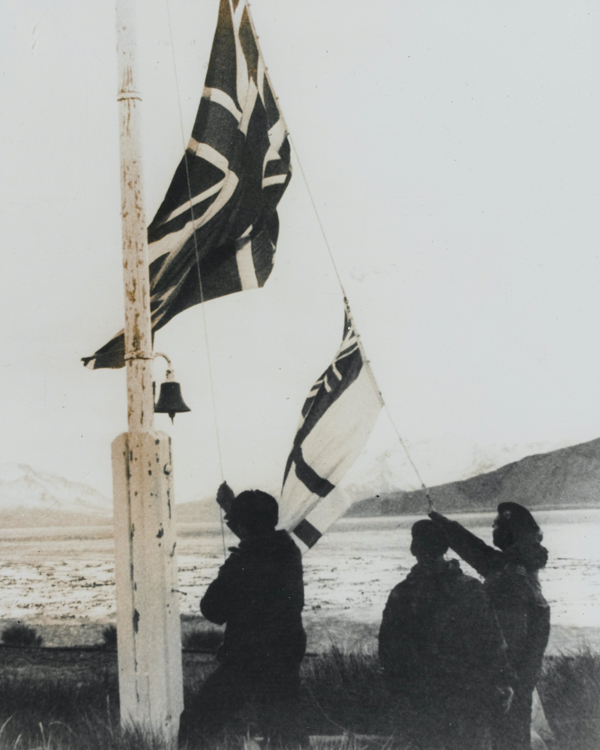
Before 5th Infantry Brigade had left the UK, British Special Forces were already engaged. Between 21 and 25 April, ‘D’ Squadron of 22 Special Air Service (SAS), along with a Special Boat Service (SBS) section and ‘M’ Company of 42 Commando, recaptured the island of South Georgia. At the time, this formed part of the Falkland Islands Dependencies.
The next major task was to begin reconnaissance of Argentine positions and capabilities on the Falklands themselves. Three weeks before the main landings, as soon as the Task Force was within helicopter range, SBS and ‘G’ Squadron SAS were inserted onto the Islands.
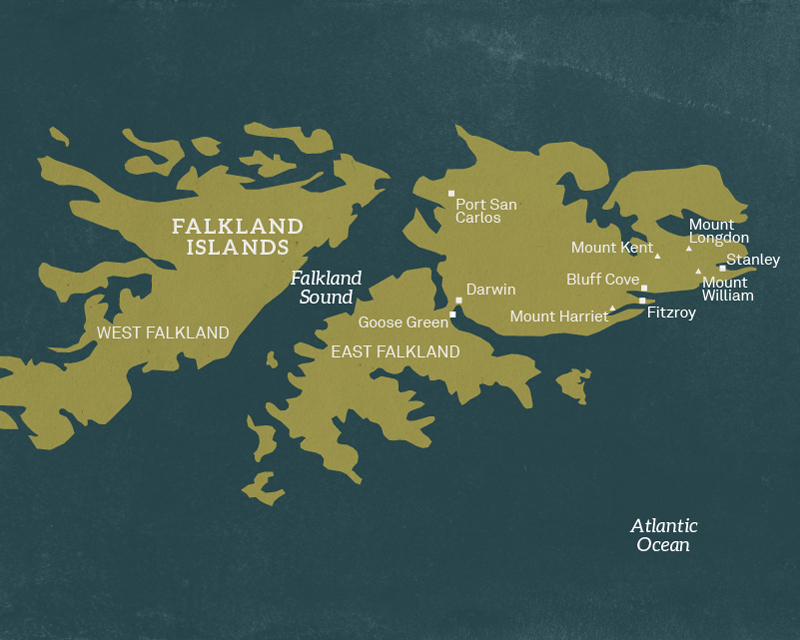
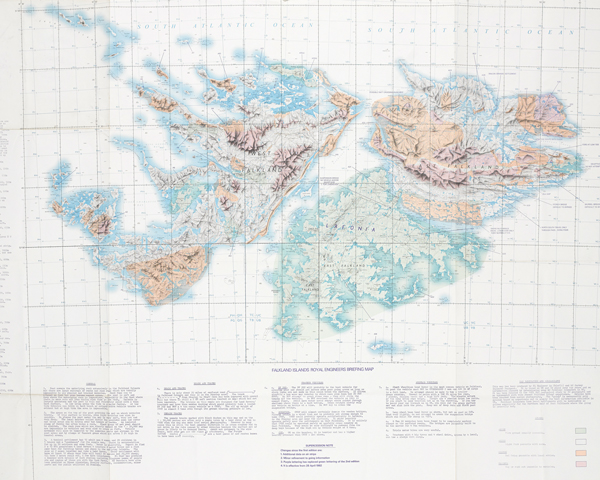
Map of the Falkland Islands
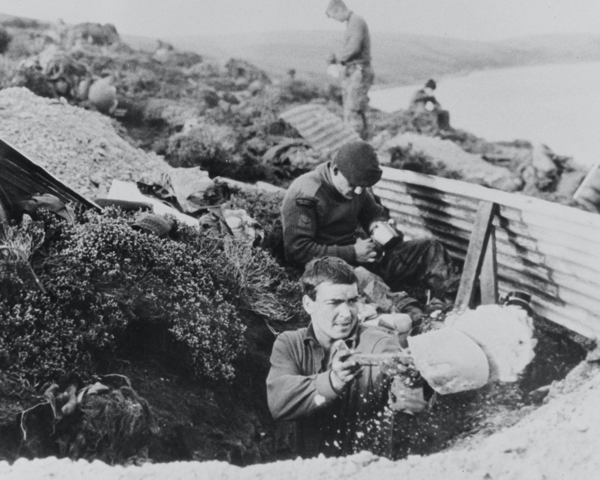
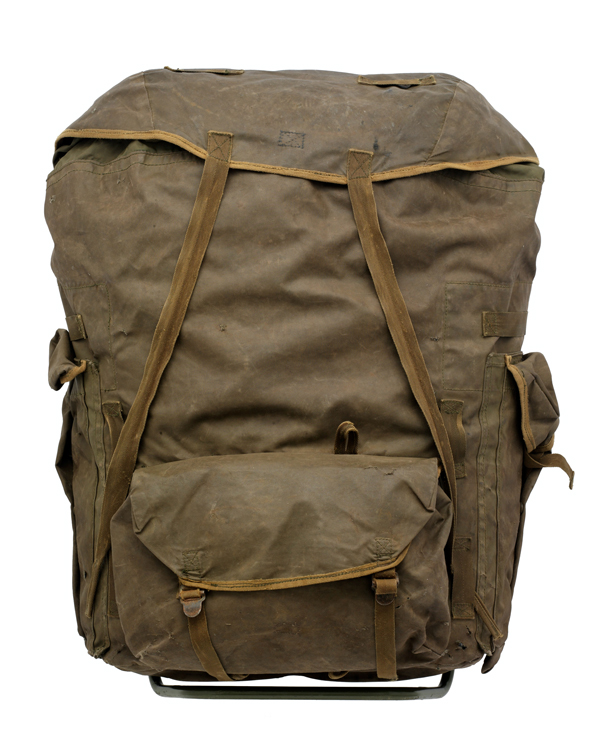
Heavily laden with all the supplies they would need, the four-man patrols of ‘G’ Squadron had to navigate terrain lacking cover. They had to move at night, and sheltered camouflaged throughout the day to avoid detection. It was a question of watching and waiting.
These patrols were able to call in air strikes on Argentine positions. One patrol even managed to conceal itself in the shipwreck 'Lady Elizabeth' in Stanley Harbour, from where they could observe enemy air and ship movements. As the campaign continued, more fighting patrols were conducted.
On the night of 14 May, 45 soldiers of ‘D’ Squadron SAS, with fire support from 148 Battery, 29 Commando Royal Artillery, attacked the Argentine airfield on Pebble Island and destroyed 11 aircraft. SAS soldiers would also later play an important role in countering Argentine efforts to reinforce the heights of Mount Kent before the arrival of the Royal Marines of 42 Commando.
Landing
The units of 3 Commando Brigade, including 2 and 3 Para, were successfully landed on East Falkland in and around San Carlos Water on 21 May. From there, they took up positions defending the beachhead while the British consolidated.
During this period, the Royal Navy continued to take casualties from Argentine air attacks, losing several ships. Political pressure was building in London. Thompson’s original plan had been to advance across the north of East Falkland towards Stanley. Yet with the reports of ships being lost, the Cabinet was eager for a victory to placate domestic criticism.
Moore issued instructions that Thompson should gain moral and physical domination over the enemy. The nearest target of significance to Thompson and the beachhead was the Argentine garrison at Darwin and Goose Green, several miles to the south. This is where the first major land battle of the campaign would be fought.
Goose Green
From a purely military perspective, the reason for attacking these settlements was unclear. There was an airstrip, from which the Argentines could have interfered with operations at San Carlos, and the garrison there could also advance to attack the beachhead. However, there seemed to be little Argentine initiative for such activity.
As such, a hard-hitting raid seemed sensible given the preference for a northern axis of advance and the difficulties in getting adequate gunfire support forward. On 23 May, Lieutenant Colonel Herbert ‘H’ Jones, 2 Para’s commanding officer, was told to prepare his battalion for such an operation.
Poor weather conditions meant the raid was initially called off. But, with Moore and Thompson under pressure from London, a full assault was eventually ordered.
Plan
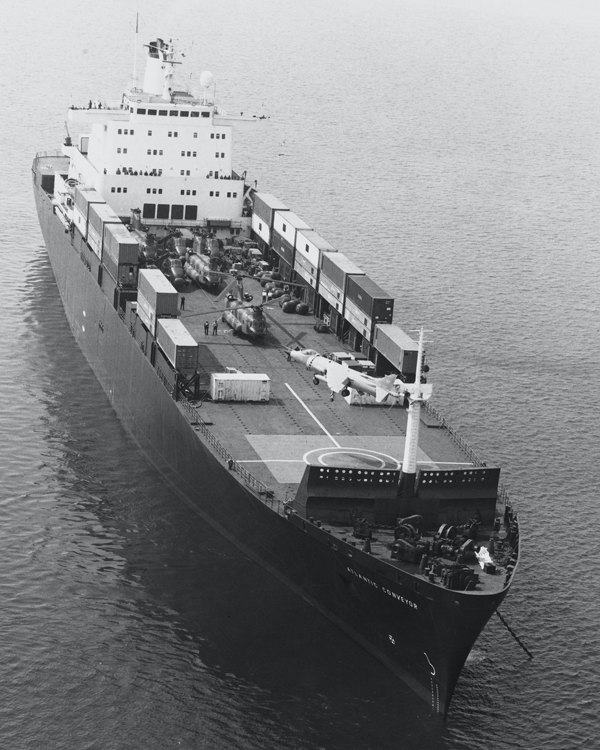
Jones was immediately limited in what choices he had available. A sea-approach and amphibious assault down Brenton Loch was unsuitable owing to the Argentine positions. And, on 25 May, the Task Force had lost all but one of their heavy-lift Chinook helicopters when the SS 'Atlantic Conveyor' had been struck by an Exocet missile.
So it would have to be a night march to the start line with 105mm guns and ammunition moved forward by helicopter; a slow and laborious process.
Jones formulated a six-phase plan, starting silent and then noisy. Fire support was to be provided by the 105mm guns of HMS ‘Arrow’, and Harrier air attack by day, if necessary. But Jones was not given armoured support, as Thompson thought vehicles might bog down between San Carlos and Darwin. The aim was to hit the Argentines hard, so they would break after one direct assault.
VC action
Battle commenced at 2.30am on 28 May. But the silent phase did not last long as the Paratroopers bumped into the Argentine positions in unexpected places.
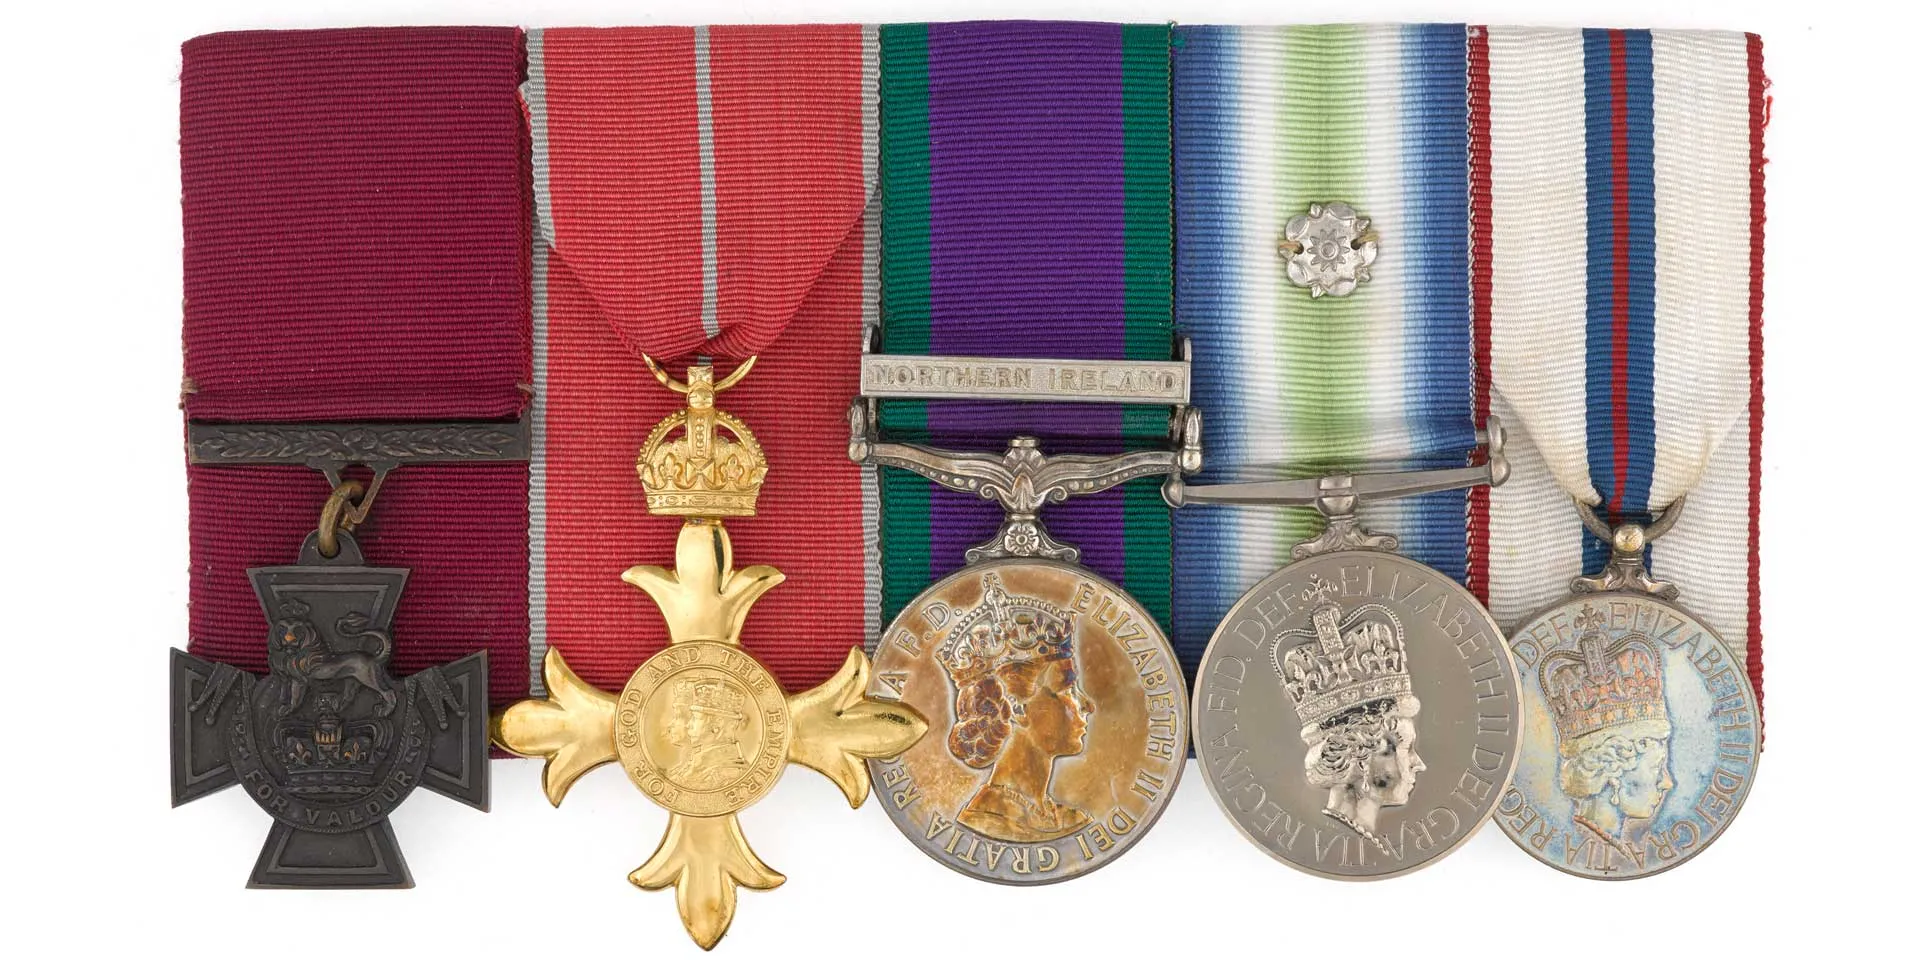
At 3.14am, HMS ‘Arrow’s’ gun ceased fire owing to a fault. The attack stalled at the base of Darwin Hill. Then, at 9.30am, Jones decided to lead the assault on Darwin Hill himself. He was killed attacking a slit trench along with the battalion adjutant, Captain David Wood, and others. Jones was later awarded the Victoria Cross (VC) for his bravery.
The assault continued with ferocious trench-to-trench fighting. The Paras moved down the isthmus, closing on Goose Green village. But it took another day of fighting, with the Paras’ ability to advance limited by a lack of cover and Argentine artillery. By last light, the whole peninsular, less the Goose Green settlement, had been taken. Negotiations with the Argentines produced their surrender the next day.
The British had won a significant victory, though not without cost. Eighteen were killed, more than 60 wounded, and a helicopter was lost attempting casualty evacuation.
Advance on Stanley
On 30 May, Major General Jeremy Moore arrived at San Carlos with Brigadier Tony Wilson and 5th Infantry Brigade, and immediately decided to put 2 Para under Wilson’s control. This left the defence of the San Carlos perimeter in the hands of 40 Commando.
The pressing question was how to advance on and capture Stanley, particularly before the onset of winter. Moore wanted to get on with the job as quickly as possible. But his two brigade commanders differed in their appreciation of the situation.
Thompson advocated the taking of the mountain line outside Stanley, particularly those along the northern flank. Wilson wanted to attack with all forces on a narrow front at Mount Harriet in the south, paving the way for an assault on the inner perimeter.
Mountain line
Moore believed that a narrow front attack would expose his forces to enfilade fire from the unsubdued high ground. He was also aware that the Argentines were focusing on a southern front advance.
He therefore adopted Thompson’s plan, and ordered the capture of the mountain line, but adapted it. 3 Commando Brigade would advance across the north of East Falkland, with 5th Infantry Brigade advancing in the south.
This would keep the Argentines confused as to the actual line of assault, and prevent them reinforcing their positions. The key heights could then be taken in a two-pronged assault. But the logistical challenges of supporting both brigades were considerable.
As 2 Para had been assaulting Darwin and Goose Green, 3 Para had already begun their advance on foot from the bridgehead in San Carlos Water. First, they proceeded to Teal Inlet and from there to Estancia House, in preparation for the final battles for Stanley. But further south, an audacious gamble was about to fail.
Fitzroy and Bluff Cove
As part of the southern axis of advance, 2 Para - relieved at Goose Green by the Gurkhas - moved forward to occupy Swan Inlet House. Finding it free from Argentines, and using the ordinary civilian landline to Fitzroy to check that was clear from Argentines too, they moved forward again, and took up positions around Bluff Cove.
With Wilson’s approval, the southern flank had been pushed forward with great surprise and no loss, but with much risk. The position had to be reinforced, but the rest of 5th Infantry Brigade was still in San Carlos and Ajax Bay.
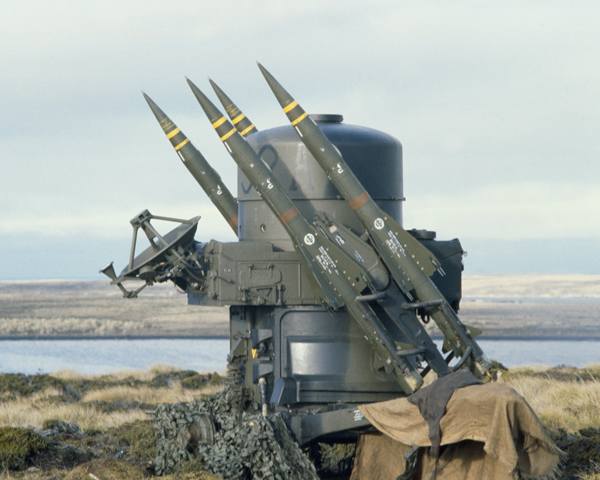
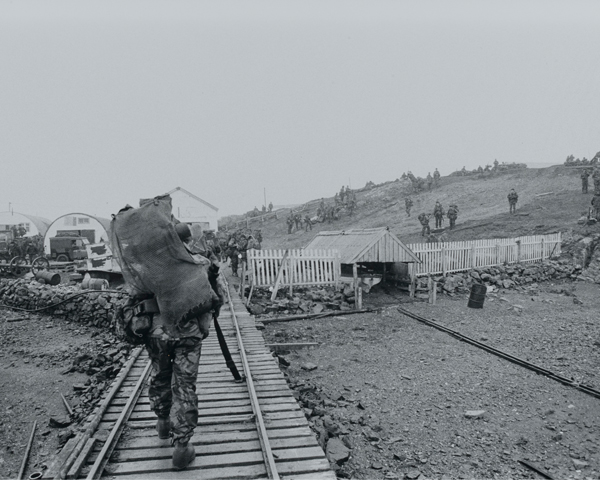
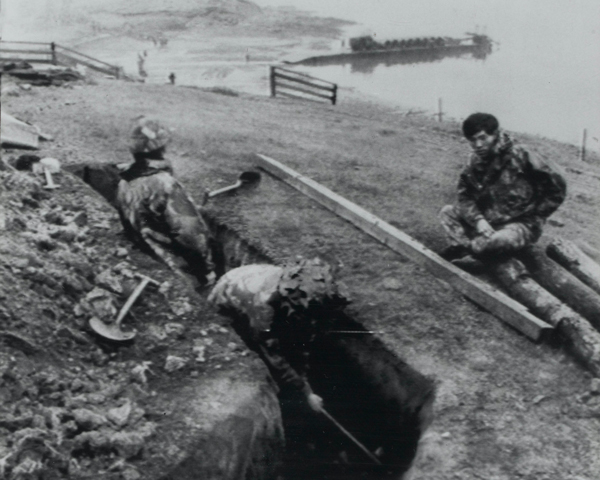
Efforts to bring the Scots Guards and Welsh Guards forward were beset by poor weather and lack of shipping and landing craft. By the morning of 8 June, the Scots Guards were ashore at Bluff Cove, and two Royal Fleet Auxiliary LSLs - RFA 'Sir Tristram' and RFA 'Sir Galahad' - had carried the Welsh Guards, 16 Field Ambulance, elements of T Battery 12 Air Defence Regiment, and vital stores forward to Fitzroy. It was a clear day. The cloud base that had covered the islands and limited Argentine air activity had lifted.
Unloading the ships was a slow and confused process. There was only one helicopter present, occupied for a long time off-loading the Rapier kit, which took 18 lifts. RFA 'Sir Tristram' was eventually off-loaded. Attention then turned to RFA 'Sir Galahad', which still held two companies of Guardsmen and had been at Fitzroy five hours without meaningful activity.
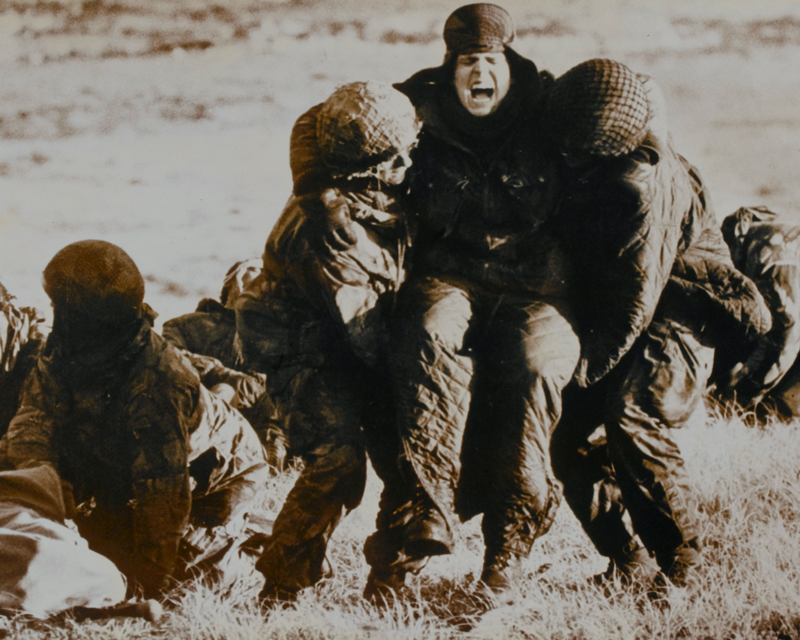
Air attack
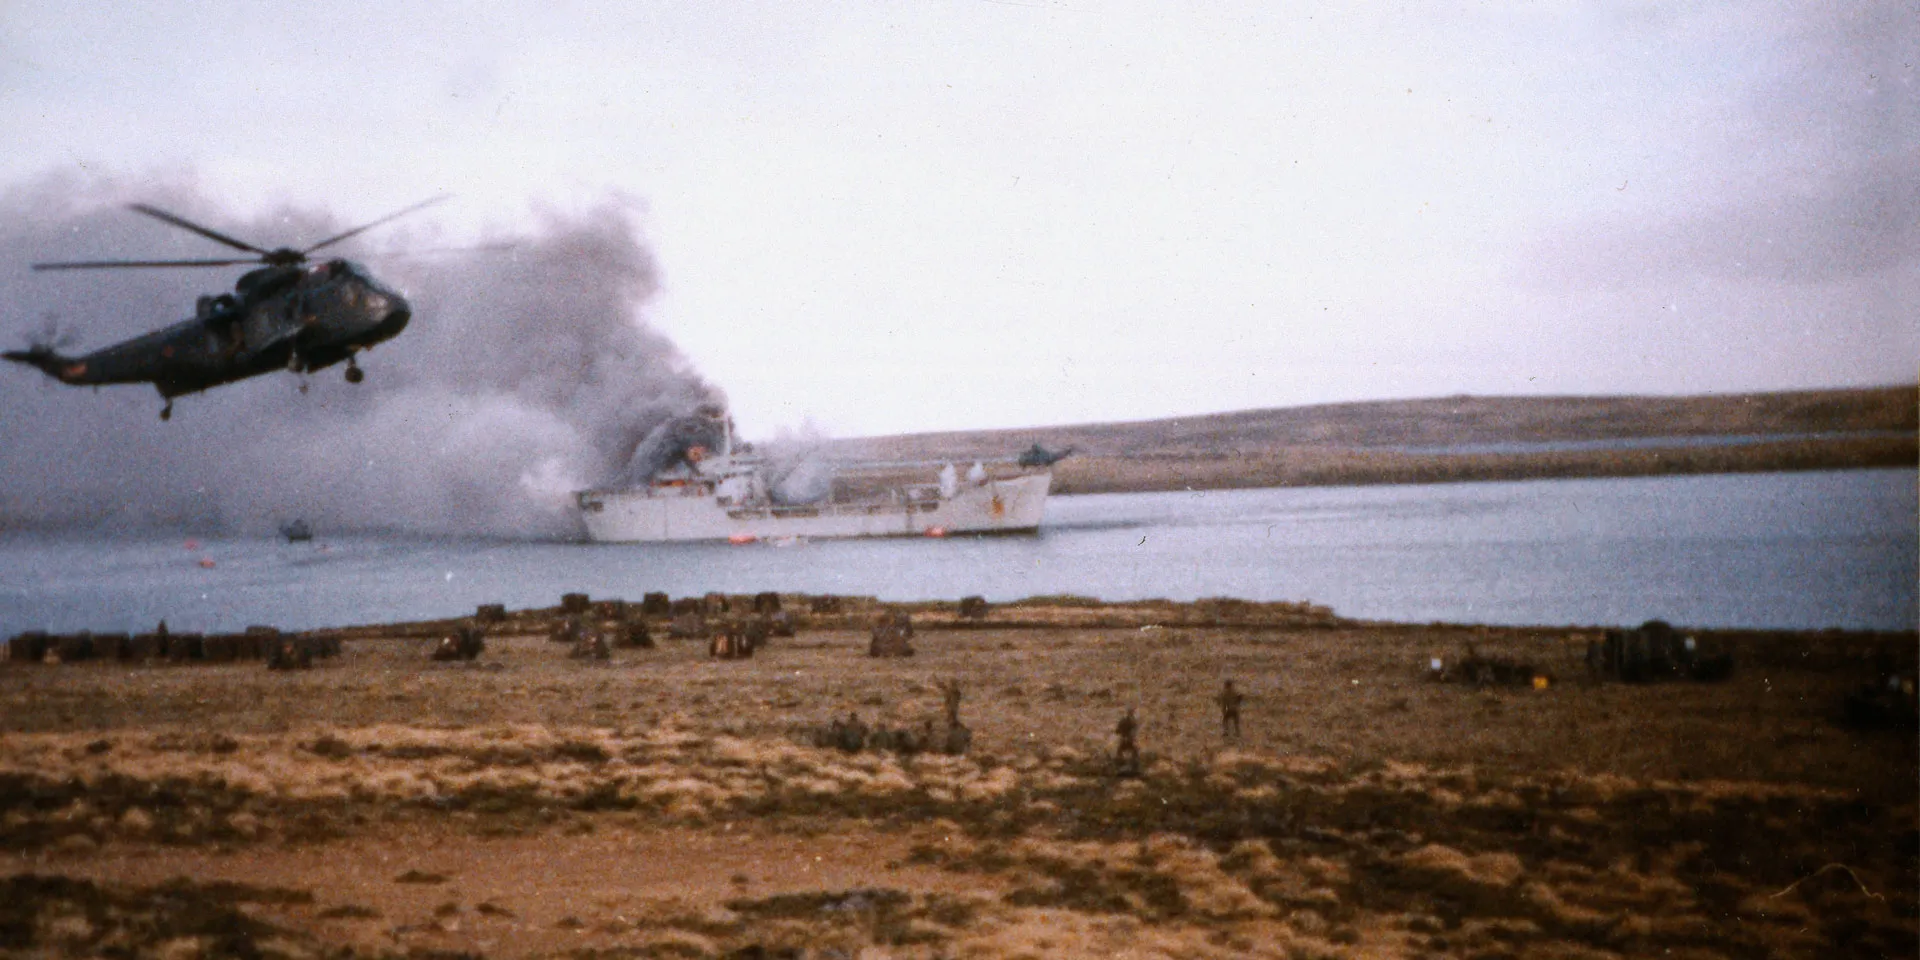
At 1.10pm, four Argentine jets came screaming over and bombed the two ships. Fuel for the Rapier generators on RFA 'Sir Galahad' exploded. Thirty-two Welsh Guards, 5 RFA crew and 11 other Army personnel were killed. Around 115 were badly burned and wounded. It was the single worst instance of loss of life in the war for the British.
BBC cameras recorded images of Royal Navy helicopters hovering in thick smoke to winch survivors from the burning landing ships, or use the down wash of their rotors to drive life rafts to shore. These images were seen around the world – although not in the UK until after the Argentine surrender owing to British censorship.
General Mario Menéndez, the Argentine commander on the islands, was informed that hundreds of men had been killed. He, therefore, expected a drop in British morale, and their advance to slacken.
‘[5th Brigade] actually hadn't seen the Argentine Air Force work, because for the five days they'd been there, the bad weather had kept the Argentine Air Force away; so they hadn’t seen how deadly those guys could be. I can tell you, if I’d have been on board that ship I would have swam ashore rather than stay there.’Brigadier Julian Thompson — 1991
Battle for the mountains
In the aftermath of Fitzroy, Moore reorganised his forces. He moved 2 Para and the remains of the 1st Welsh Guards, supplemented by two companies of 40 Commando to make up for the losses, back into Thompson’s brigade.
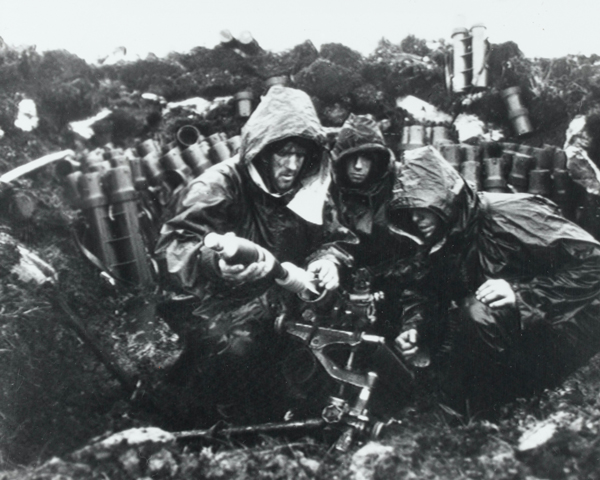
After the experiences at Goose Green, both Moore and Thompson put a great deal of attention into the fire plan. They moved as much ammunition forward as possible, and also carefully planned naval gunfire. All the attacks would also be made at night.
Nearly 12,000 rounds of 105mm ammunition were brought up for the first phase, and four warships were allocated for fire support. The next 48 hours would see the fate of the campaign decided.
Longdon
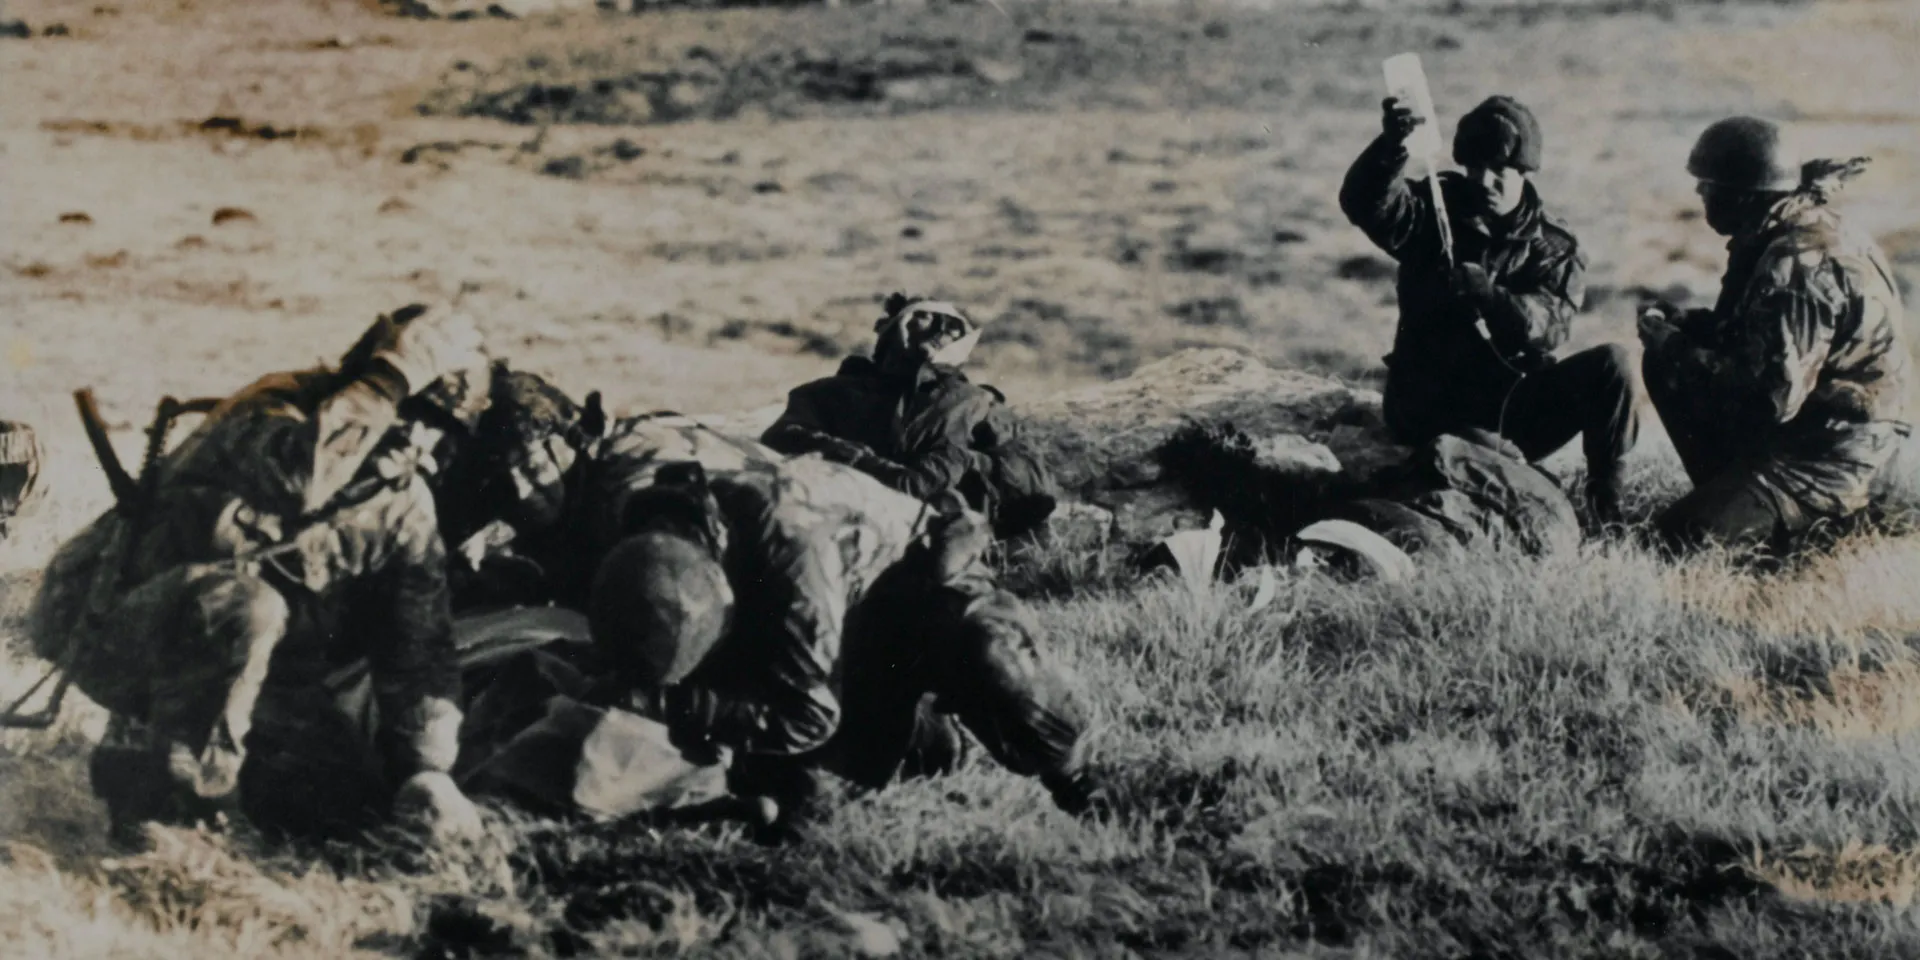
First, on the night of 11-12 June, 3 Para attacked well-prepared positions on Mount Longdon. Surprise was lost when the advancing Paras triggered a mine, and a hard and vicious fight followed. Sergeant Ian McKay won a posthumous VC for his bravery in rallying momentum and charging a machine-gun post.
The difficulty was that the mountain had a false ridge, which meant fighting across a series of crests. There were also small bowls, and concealed sangers, so the Argentines were able to maintain resistance despite a wave of Paras passing over them.
By the time the mount was secured, 3 Para had lost 23 men, making it the costliest battle of the war for the British. Fifty Argentines were killed, and 50 taken prisoner.
Wireless Ridge
At the same time as the Longdon attack, 45 Commando had taken Two Sisters and 42 Commando had captured Mount Harriet. The outer ring of Argentine defensive positions was now in British hands.
Moore had wanted to maintain momentum and continue operations on the next night with 5th Infantry Brigade. But the Scots Guards were still at Bluff Cove as the night closed in. Rushing them forward via airlift, in the dark, and then having them fight over terrain they had not reconnoitred in order to assault Tumbledown, and all without adequate artillery support, was too risky. Brigadier Wilson requested a 24 hour delay, which Moore granted. This time brought the opportunity to conduct reconnaissance, concentrate artillery ammunition for fire support, and prepare the battalion for the attack.
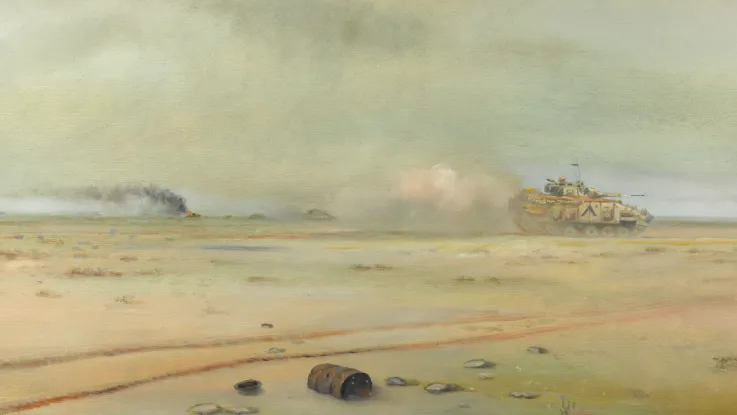
On the night of 13-14 June, operations continued. 2 Para was tasked with taking Wireless Ridge, a feature to the east of Longdon that could only be taken if 3 Para had secured their objective. In contrast to Goose Green, 2 Para was given much more fire support. HMS 'Ambuscade', two batteries of 105mm guns, two Scorpions and two Scimitars, the mortars of 3 Para, and divisionary raids by the SAS and SBS were all used.
The tanks’ night-sights proved very useful in picking out Argentine positions, and the first part of the ridge was quickly overrun. The tanks came onto the top of the ridge and began firing onto the second position. The final part of the second ridge proved hard to take, but the Argentines were eventually dislodged.
2 Para – the only unit to fight two battalion level actions in the conflict – took the objective for a cost of three killed and 11 wounded. Around 100 Argentines were killed and 17 captured.
Tumbledown
At the same time as the Paras were taking Wireless Ridge, the 2nd Scots Guards were launching their attack on Mount Tumbledown. Argentine defences were anchored on this feature, and it was the final key to unlocking the approaches to Stanley.
In the face of gale force winds and snow, the men scrabbled over the rocky outcrops under heavy fire. It was a hard fight, with some outstanding examples of leadership to motivate the Guardsmen to continue their advance. Nine men were killed and 43 wounded.
Final engagements
The delays in taking Tumbledown meant that the 1st/7th Gurkhas had been unable to advance onto Mount William in the dark. As the sun came up the next morning, the Gurkhas were spotted in the open, short of their objective, and shelled.
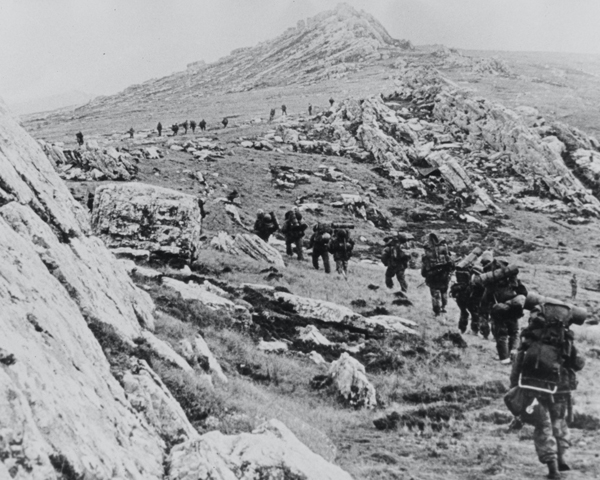
As daylight came up, the British began earlier preparations for another night battle, but continued to harass all Argentine movement with heavy artillery fire. From their high vantage points, the British began to notice that enemy troops were streaming away towards Stanley, and began to follow them up.
45 Commando advanced up to Sapper Hill, just a mile outside Stanley, but the minefields hemmed them in. The British were on the doorstep of the capital.
Surrender
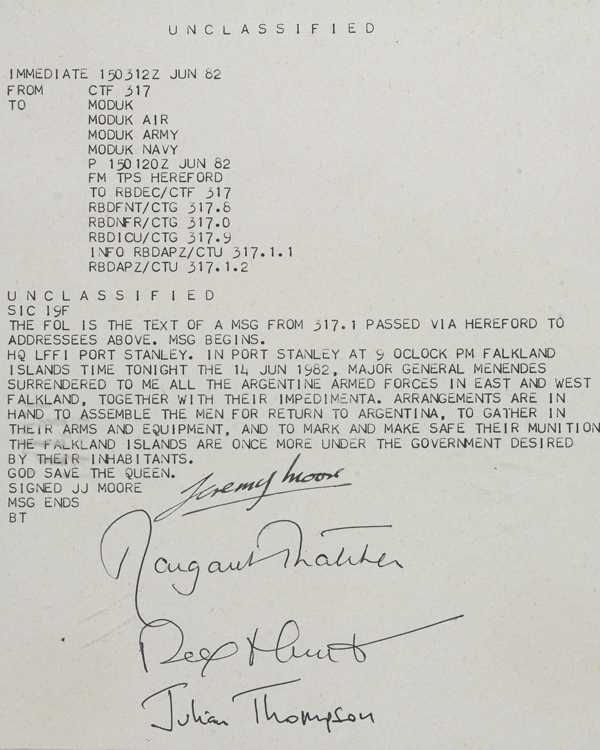
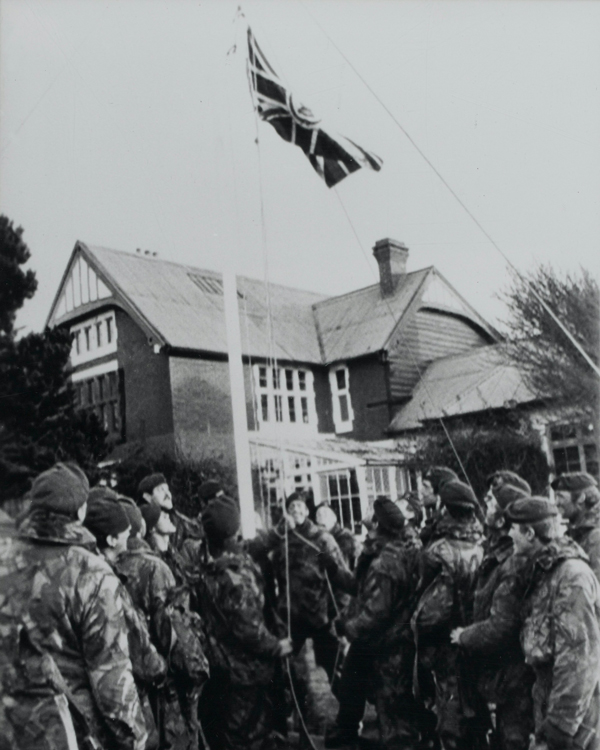
In the days leading up to the battles for the mountains around Stanley, the British had been waging a psychological operation against the Argentines, using an open radio frequency to call on them to surrender. By the morning of 14 June, it was obvious to Menéndez that the Argentines could not continue the fight.
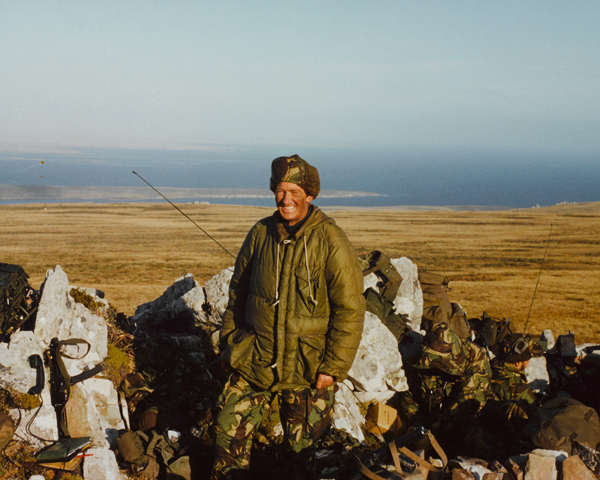
A ceasefire was declared, and Major General Moore went into Stanley to accept the surrender at 9.30pm. Having been living in the field since he arrived, he cut a noticeably different figure to the immaculately turned-out Menéndez.
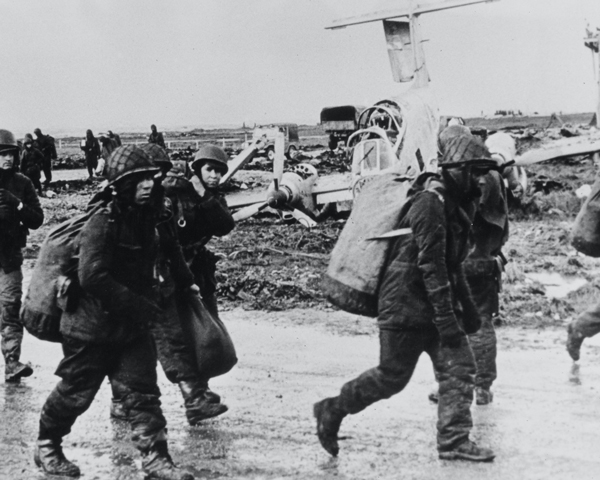
The British held fast in their positions overnight, rather than advancing into the town in the dark. The next morning, 15 June, the Paras and Royal Marines moved in to begin disarming the Argentines and moving them to the airport.
Aftermath
Following the capture of Stanley, further operations were launched to take the surrender of other Argentine troops on West Falkland. Royal Marines from HMS 'Endurance' also cleared the enemy from the South Sandwich Islands and Southern Thule.
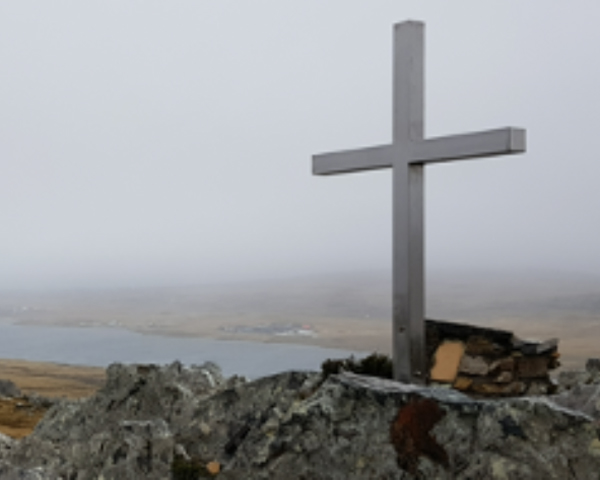
A total of 255 British servicemen and three female civilians were killed liberating the Falklands. 649 Argentines had been killed.
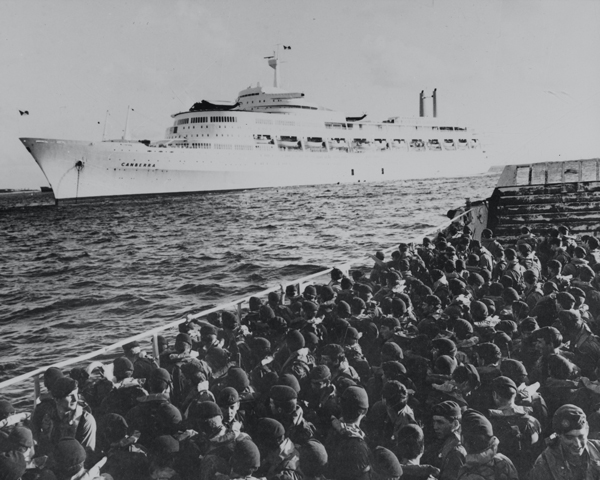
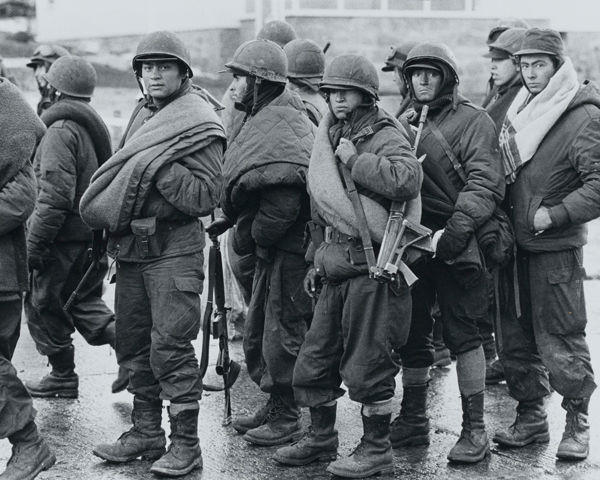
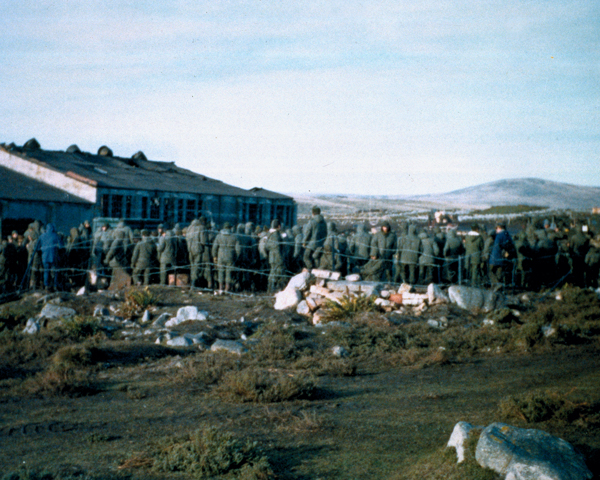
Repatriating Argentine prisoners of war (POWs) was a long process. Some 5,000 prisoners were embarked on SS 'Canberra' and 1,000 on MV 'Norland' on 17 June. By 20 June, 10,250 prisoners had been repatriated.
Only 593 remained, including Menéndez. These were held for intelligence gathering and to encourage Argentina to end hostilities. The last prisoners were repatriated by 14 July.
Coming home
The first units to return from the Falklands were 2 and 3 Para, which left on MV 'Norland' and MS 'Europic Ferry' in June. They sailed to the island of Ascension, and then flew back to the UK. 5th Infantry Brigade remained on garrison duties before they were relieved.
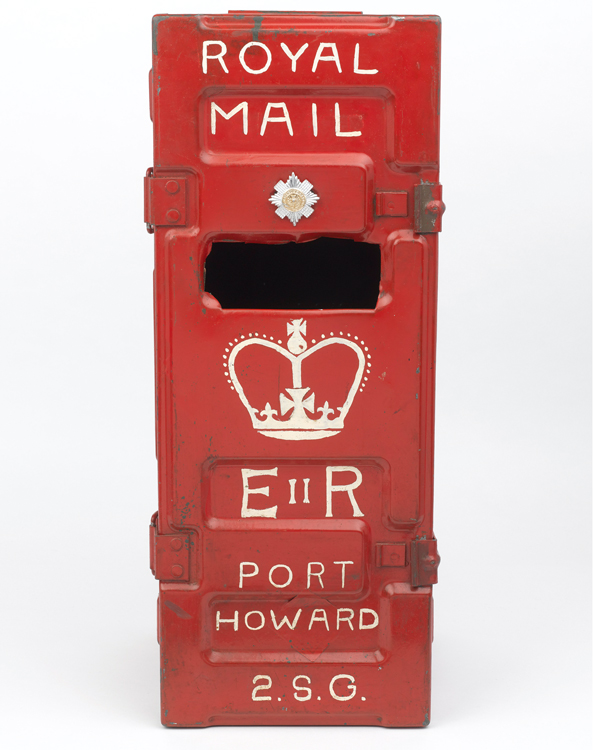
The Scots Guards moved to Ajax Bay and guarded POWs, before moving on again to Port Howard on West Falkland, where they lived under canvas. They were the last of the Army units to leave the Falklands when they sailed on 'Norland' on 19 July for Ascension.
'The significance of the Falklands War was enormous, both for Britain's self-confidence and for our standing in the world. Since the Suez fiasco in 1956, British foreign policy had been one long retreat. Victory in the Falklands changed that.'Margaret Thatcher, 'The Downing Street Years' — 1993
Legacy
Prior to the war, Mrs Thatcher's popularity had been at low ebb. But victory in the Falklands helped ensure a Conservative win in the 1983 General Election.
Argentina's junta had gambled all on a popular victory, but now faced humiliation. The country's dictator, General Leopoldo Galtieri, was forced to resign three days after his forces surrendered. Democracy was restored to Argentina in 1983 after the fall of the discredited military regime. To date, Argentina has not given up its claim to the Falklands.
The Falkland Islanders won a commitment to their sovereignty that any future government would be courageous to question. Economic investment and a much larger military presence also followed. Nearly 40 years on, Britain still retains a force on the islands.